Dollar Stores

Have you ever browsed a dollar store, store going out of business, or garage sale?  The senses are overwhelmed with the sheer number and variety of things you’d never ever want to take home with you.  It boggles the mind to even conceive of how or why such things were created in the first place.  The frustrating part of it is – there’s probably a really good deal on something very useful somewhere inside that place.

Unfortunately, this is kind of how I’m beginning to feel about Thingiverse.  I love the idea of a place for sharing digital designs.   Over the last month it has gotten flooded with “things.”  People just uploading Sketchup, SolidWorks, or other 3d modeling files directly to Thingiverse, outright plagiarism, and stuff that could never be printable/cuttable/makeable (such as several objects with zero thickness).

I’m totally good with uploading an unfinished design, partial designs, or the outline of an idea.  But, for heaven’s sake, please include a title, description, and a copy of your file for sharing.  And, by sharing I mean an STL or DXF file – not a proprietary format.  By all means, include your source Sketchup or SolidWorks file, but please also include a file type that’s actually meant for assisting in the production of the thing.

Next in the cranky-pants series:  Hey you kids!  Get off my damn lawn!

Printing a MakerBot

I’ve already pontificated on the idea that if you’ve purchased a MakerBot Cupcake CNC Deluxe kit, you basically get a second MakerBot for half off.  (Spoiler: it’s because you can print a ton of the most expensive parts that go into building a new one).  I don’t know why, but the idea of replacing wooden parts on my ‘bot with printed parts just fascinates me. 1

So, let’s have a list of potentially (and actually!) printable parts:

  • Electronics spacers
  • 3 large pulleys, 1 small pulley
  • Y stage, the entire thing, as a single print
  • X stage, in three large prints (there would be no need for the end caps if the three pieces were designed properly)
  • Insulating retainer ring
  • Printruder
  • Dinos
  • X stage end caps
  • Z stage captive nut guides
  • Z axis rod bearing brackets

Having more printed components for the MakerBot would reduce a lot of work in it’s assembly.  There’s a lot of tiny fiddly bits in the X and Y stages that would become obsolete.

Heck, it might even be possible to replace some of the bolts with some kind of printable fastener system.

  1. Cue Johnny Cash singin’ One Piece At A Time []

Must… stop… brain…

I can’t help it.  Another idea using the last mouse funnel occurred to me.

What if you had a long tube with a series of bristles all pointing in the same direction just like the mouse funnel?  Put some peanut butter on the outside, install in a door, and walk away happy and content that you’re saving mouse lives.

Once the mouse started down that tube it wouldn’t be able to turn around or back up easily.  Given the option of unlimited freedom outdoors and chewing its way back through pokey bits, I can’t imagine it would choose plastic splinters.

Printing mendel parts

I’m not even sure I would build a Mendel if I had all the plastic parts.  But for some reason I still want to have all of those parts.  I have no idea why.  :)

I printed up a single spring out of PLA before my extruder got clogged up.  It’s my one and only Mendel piece.

Having this one piece languish next to my MakerBot strikes me as funny.

I think there’s a haiku in there somewhere.

Upload right now!!!

Do you have an idea for a printable object that’s been kicking around in your head?  Perhaps you even designed a digital object and you’re patiently1 waiting for your MakerBot to arrive.  Sure, it might be untested or even unprintable.  I discovered that no matter how obscure one of my designs might be someone else is going to be interested in it.  Someone is going to print it, improve it, or give you some feedback.

So, upload the design files and see what happens!

  1. or impatiently []

And I’ll form the head!

I remember buying saving up to buy a Voltron toy as a kid.  It was a very small model with plastic lion limbs that did not transform or detach.  It was basically a toy robot with lion slippers and mittens.

Still, I thought it was the greatest freaking thing ever.  Unfortunately, I have no idea where the heck it could be.  Anyhow, I can’t wait to try modeling and printing a replacement.  I really like Tony Buser’s idea of modifying the Leonardo Robot as a starting point.

Why make blocks?

Making blocks with a MakerBot is almost counter productive.  Why would you want to make something out of plastic that can be used to make other things out of plastic?  Why not just print the final plastic object as a single piece all at once?

I like the idea of being able to physically play with the design of something.  Sketchup is easy to use, but legos are even easier.  I never worry about an operation that I can’t Ctrl-Z my way out of.  Plus, it’s even easier to go from idea to objection with physical building blocks.  I think it would also be a very interesting way to get around the overhang and size limitations of a CupCake CNC.

Playing with fire

Well, not really playing.  But, I suppose not really “working” either.  Here’s how my experiments in unclogging a clogged extruder barrel went:

You can see where there is some minor plastic residue left over from the PLA in PTFE insulator which oozed into the threads.  I had used a precision screw driver to follow along the threads and chip out plastic.
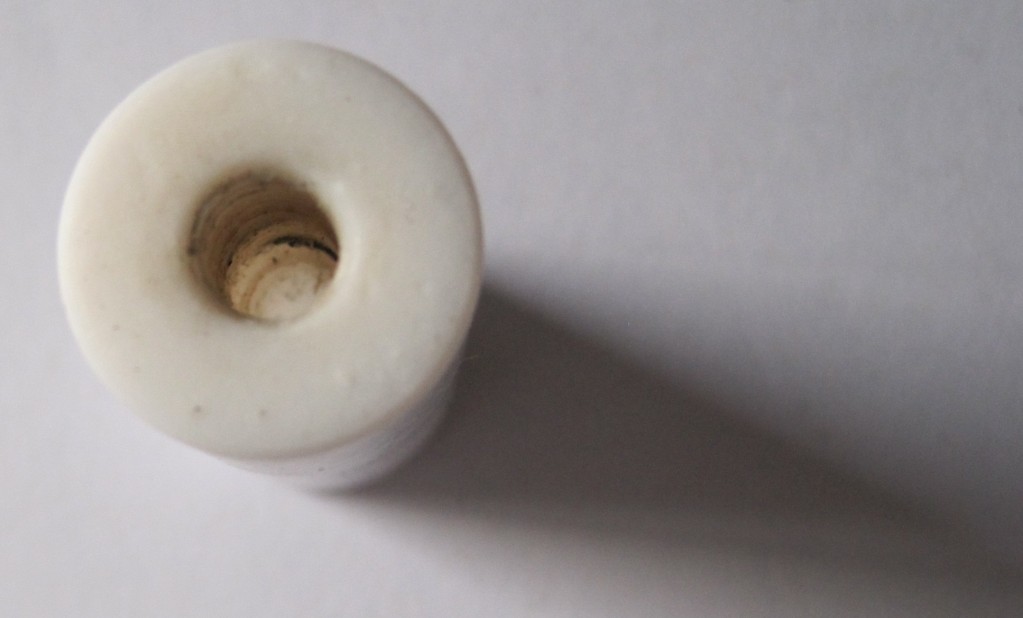
PTFE insulator, mostly clean

PTFE insulator, mostly clean

Here’s the clogged barrel.  I had chipped out plastic from the threads using the same precision screwdriver.  You can see some of the scar marks from my brilliant idea to use a wrench on the smooth part of the barrel at one point.  (FYI, that was sarcasm – don’t use a wrench on the barrel.  It was, in fact, a bad idea).  I was totally unable to remove the nozzle from the barrel.
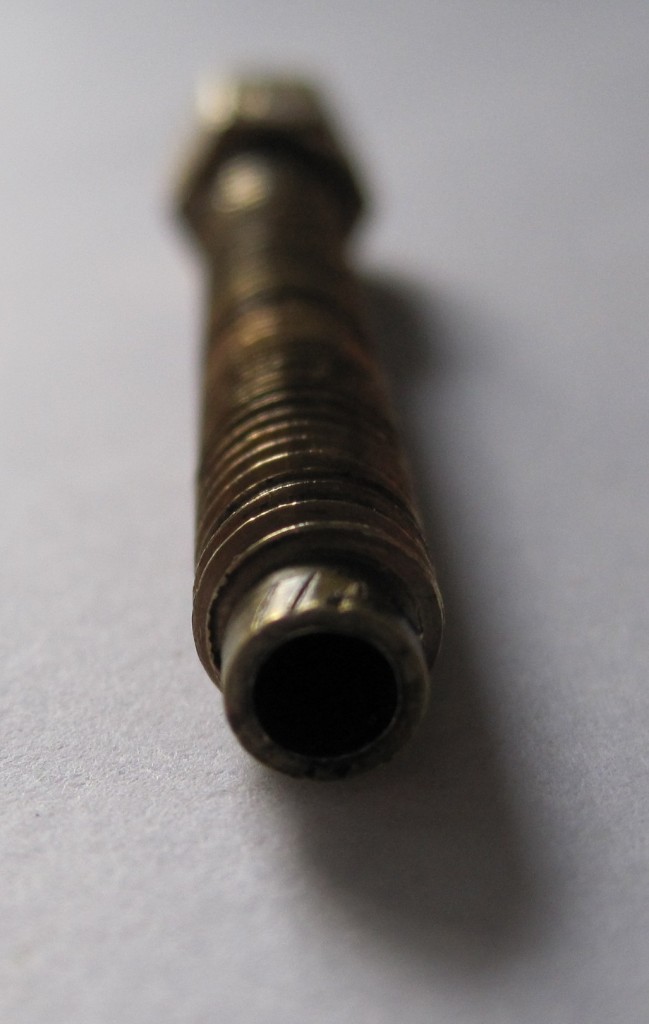
Extruder barrel, clogged

Extruder barrel, clogged

This was my idea for the setup so that the flame/heat would not discolor everything.  You can see where the nozzle has gotten a thin layer of black ABS fused to it.  Again, you can also see the marks on the nozzle where I tried to use a wrench.  And, again, not a good idea.  All I managed to do was just scar it up.
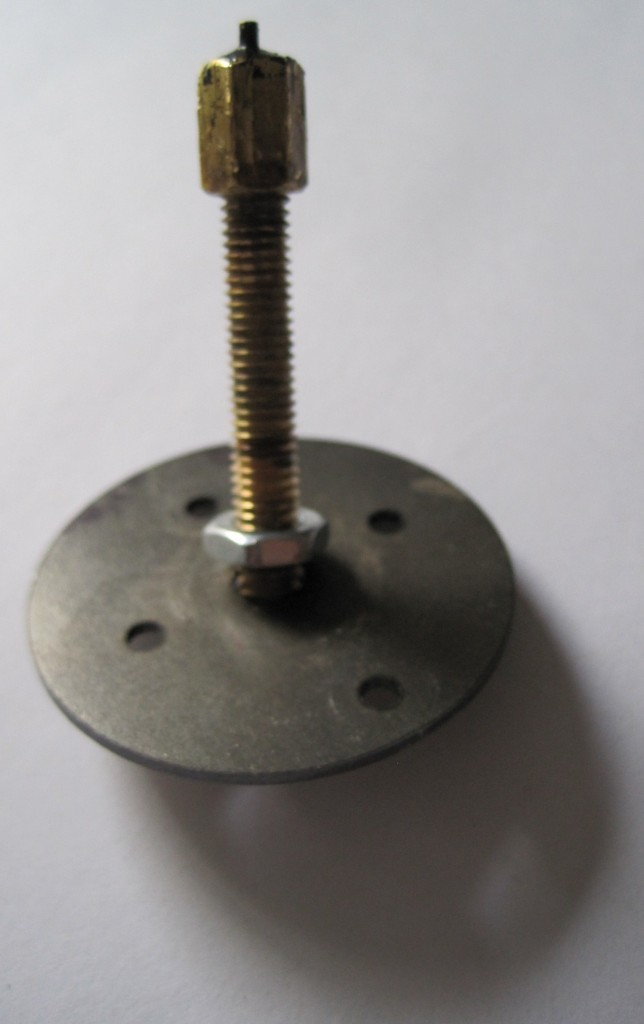
Extruder barrel with nut partway on

Extruder barrel with nut partway on

This is similar to the setup I settled on for trying to unclog the barrel.  I’m going to cut the suspense and let you know – this doesn’t work and you shouldn’t try it.  This setup did not work for two very important reasons you can learn from.  First, it was too low to the ground and the blow torch kept going out when I tilted it to get to the heater barrel.  Second, it relied on kitchen tiles – which is a terrible terrible idea.
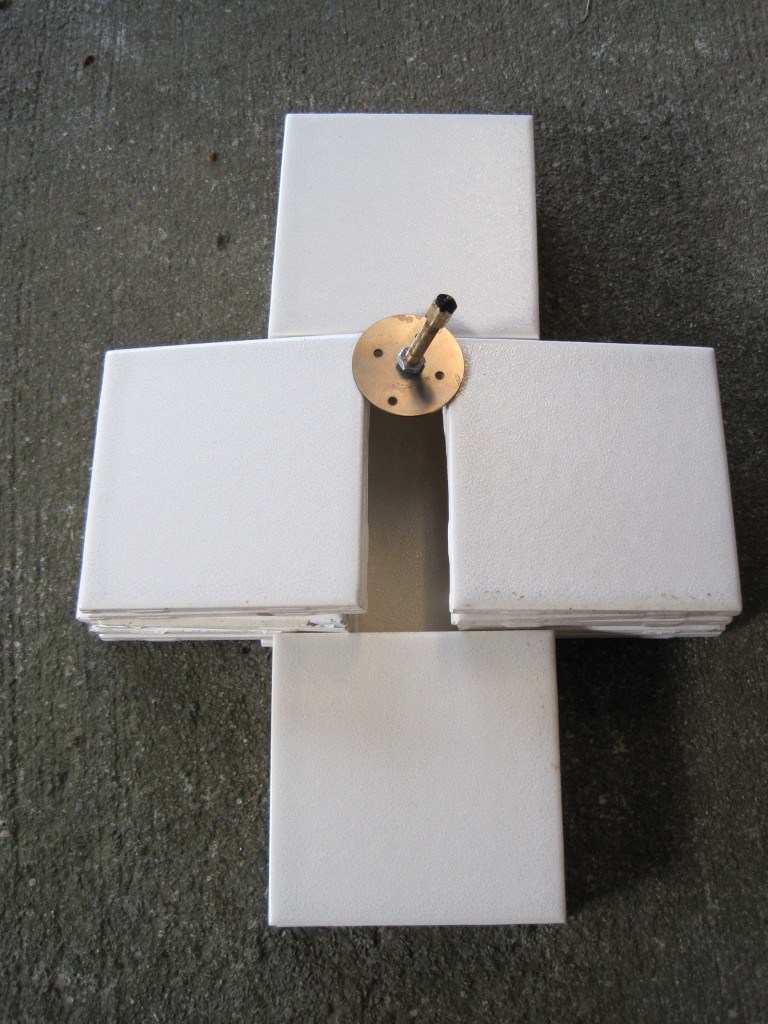
Kitchen tiles - good intentions, bad idea

Kitchen tiles - good intentions, bad idea

Here’s the next part of the setup:  blow torch, flint, wrench for picking up hot things, and fire extinguisher.  Off camera right is a garden hose.  Again, this setup relies on kitchen tiles – which will actually shatter when this kind of heat is applied.  So don’t do it.  Oh, and it turned out I did have a blow torch – but it was empty.  :)
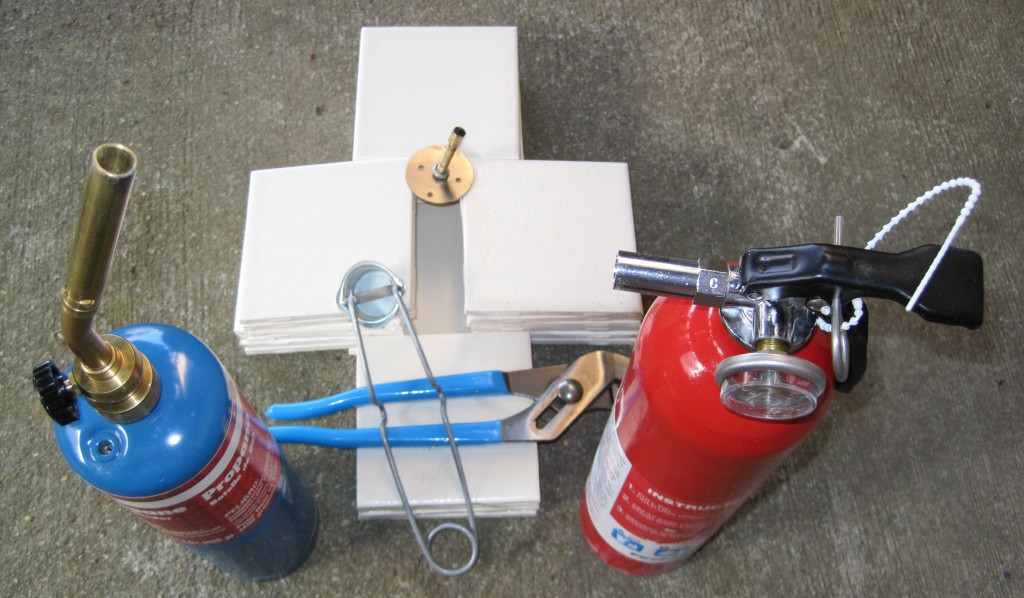
Setup - empty propane tank, bad kitchen tiles

Setup - empty propane tank, bad kitchen tiles

This is a better setup – with a brand new propane tank – but still a terrible idea with kitchen tiles.
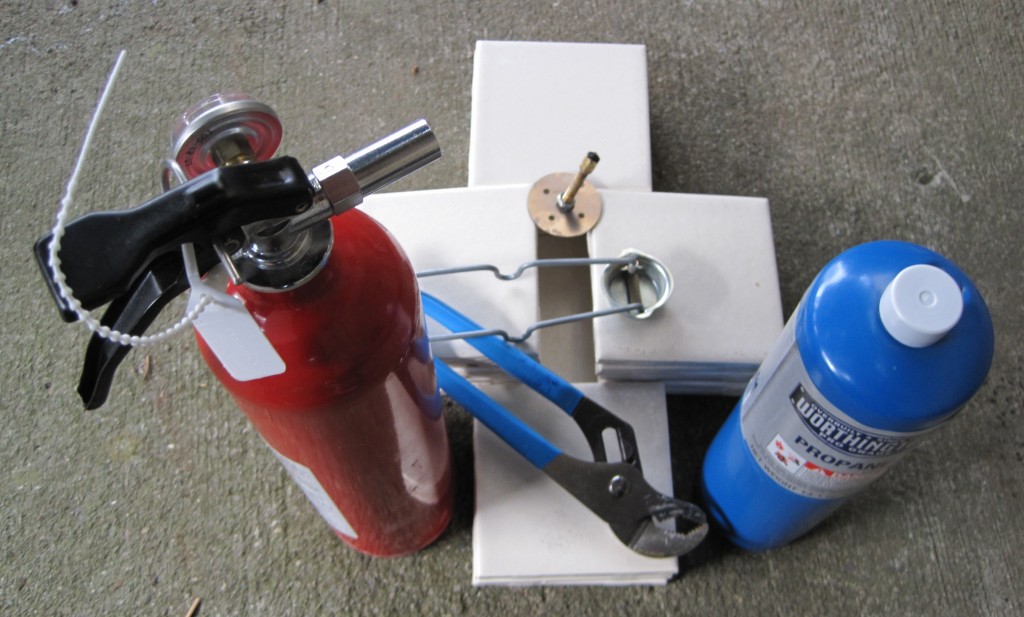
Setup - FULL propane tank, bad kitchen tiles

Setup - FULL propane tank, bad kitchen tiles

This was a good setup.  Friend nearby with a garden hose and fire extinguisher, no nut on the barrel so it sits in the washer and is easier for me to heat the entire barrel, suspended in air by a metal hook, held down by a big rock, high enough that I didn’t have to tilt the blow torch.  Here you can see the scorched and shattered kitchen tile in the pile on the right.
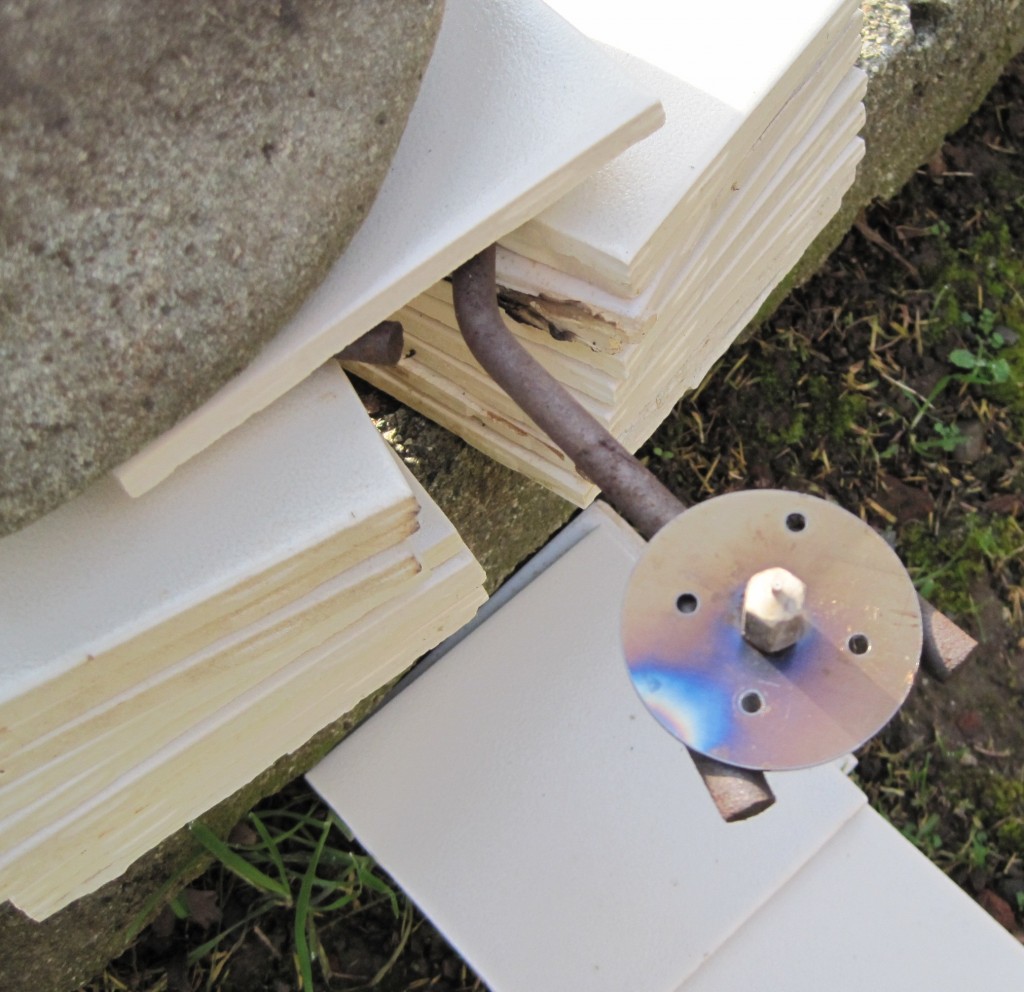
GOOD setup with extruder barrel suspended in air by metal

GOOD setup with extruder barrel suspended in air by metal

Since I was in charge of the blow torch and my friend had the fire safety equipment I really only pictures of stuff as it was in a relatively cool state.  This means I did not get a picture of the barrel as I was heating it – I had gotten it glowing red hot which was pretty nifty.  I also missed out on getting a picture of flame spewing from the nozzle as the ABS inside ignited.  It was like a mini flame thrower tossing out a thick black smoke.

I was expecting some of the ABS to leak out of the bottom – but the barrel was essentially clean.  I could see all the way through the nozzle with no problem.