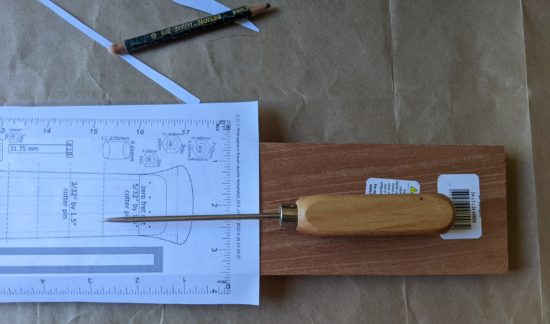
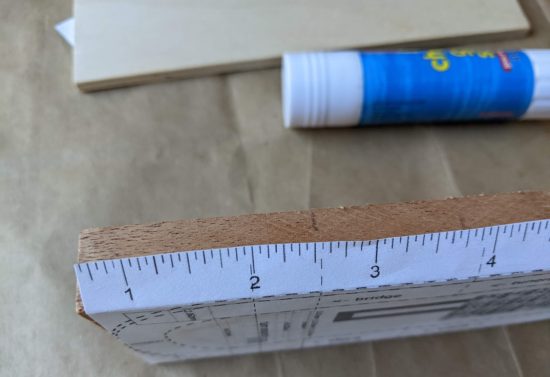
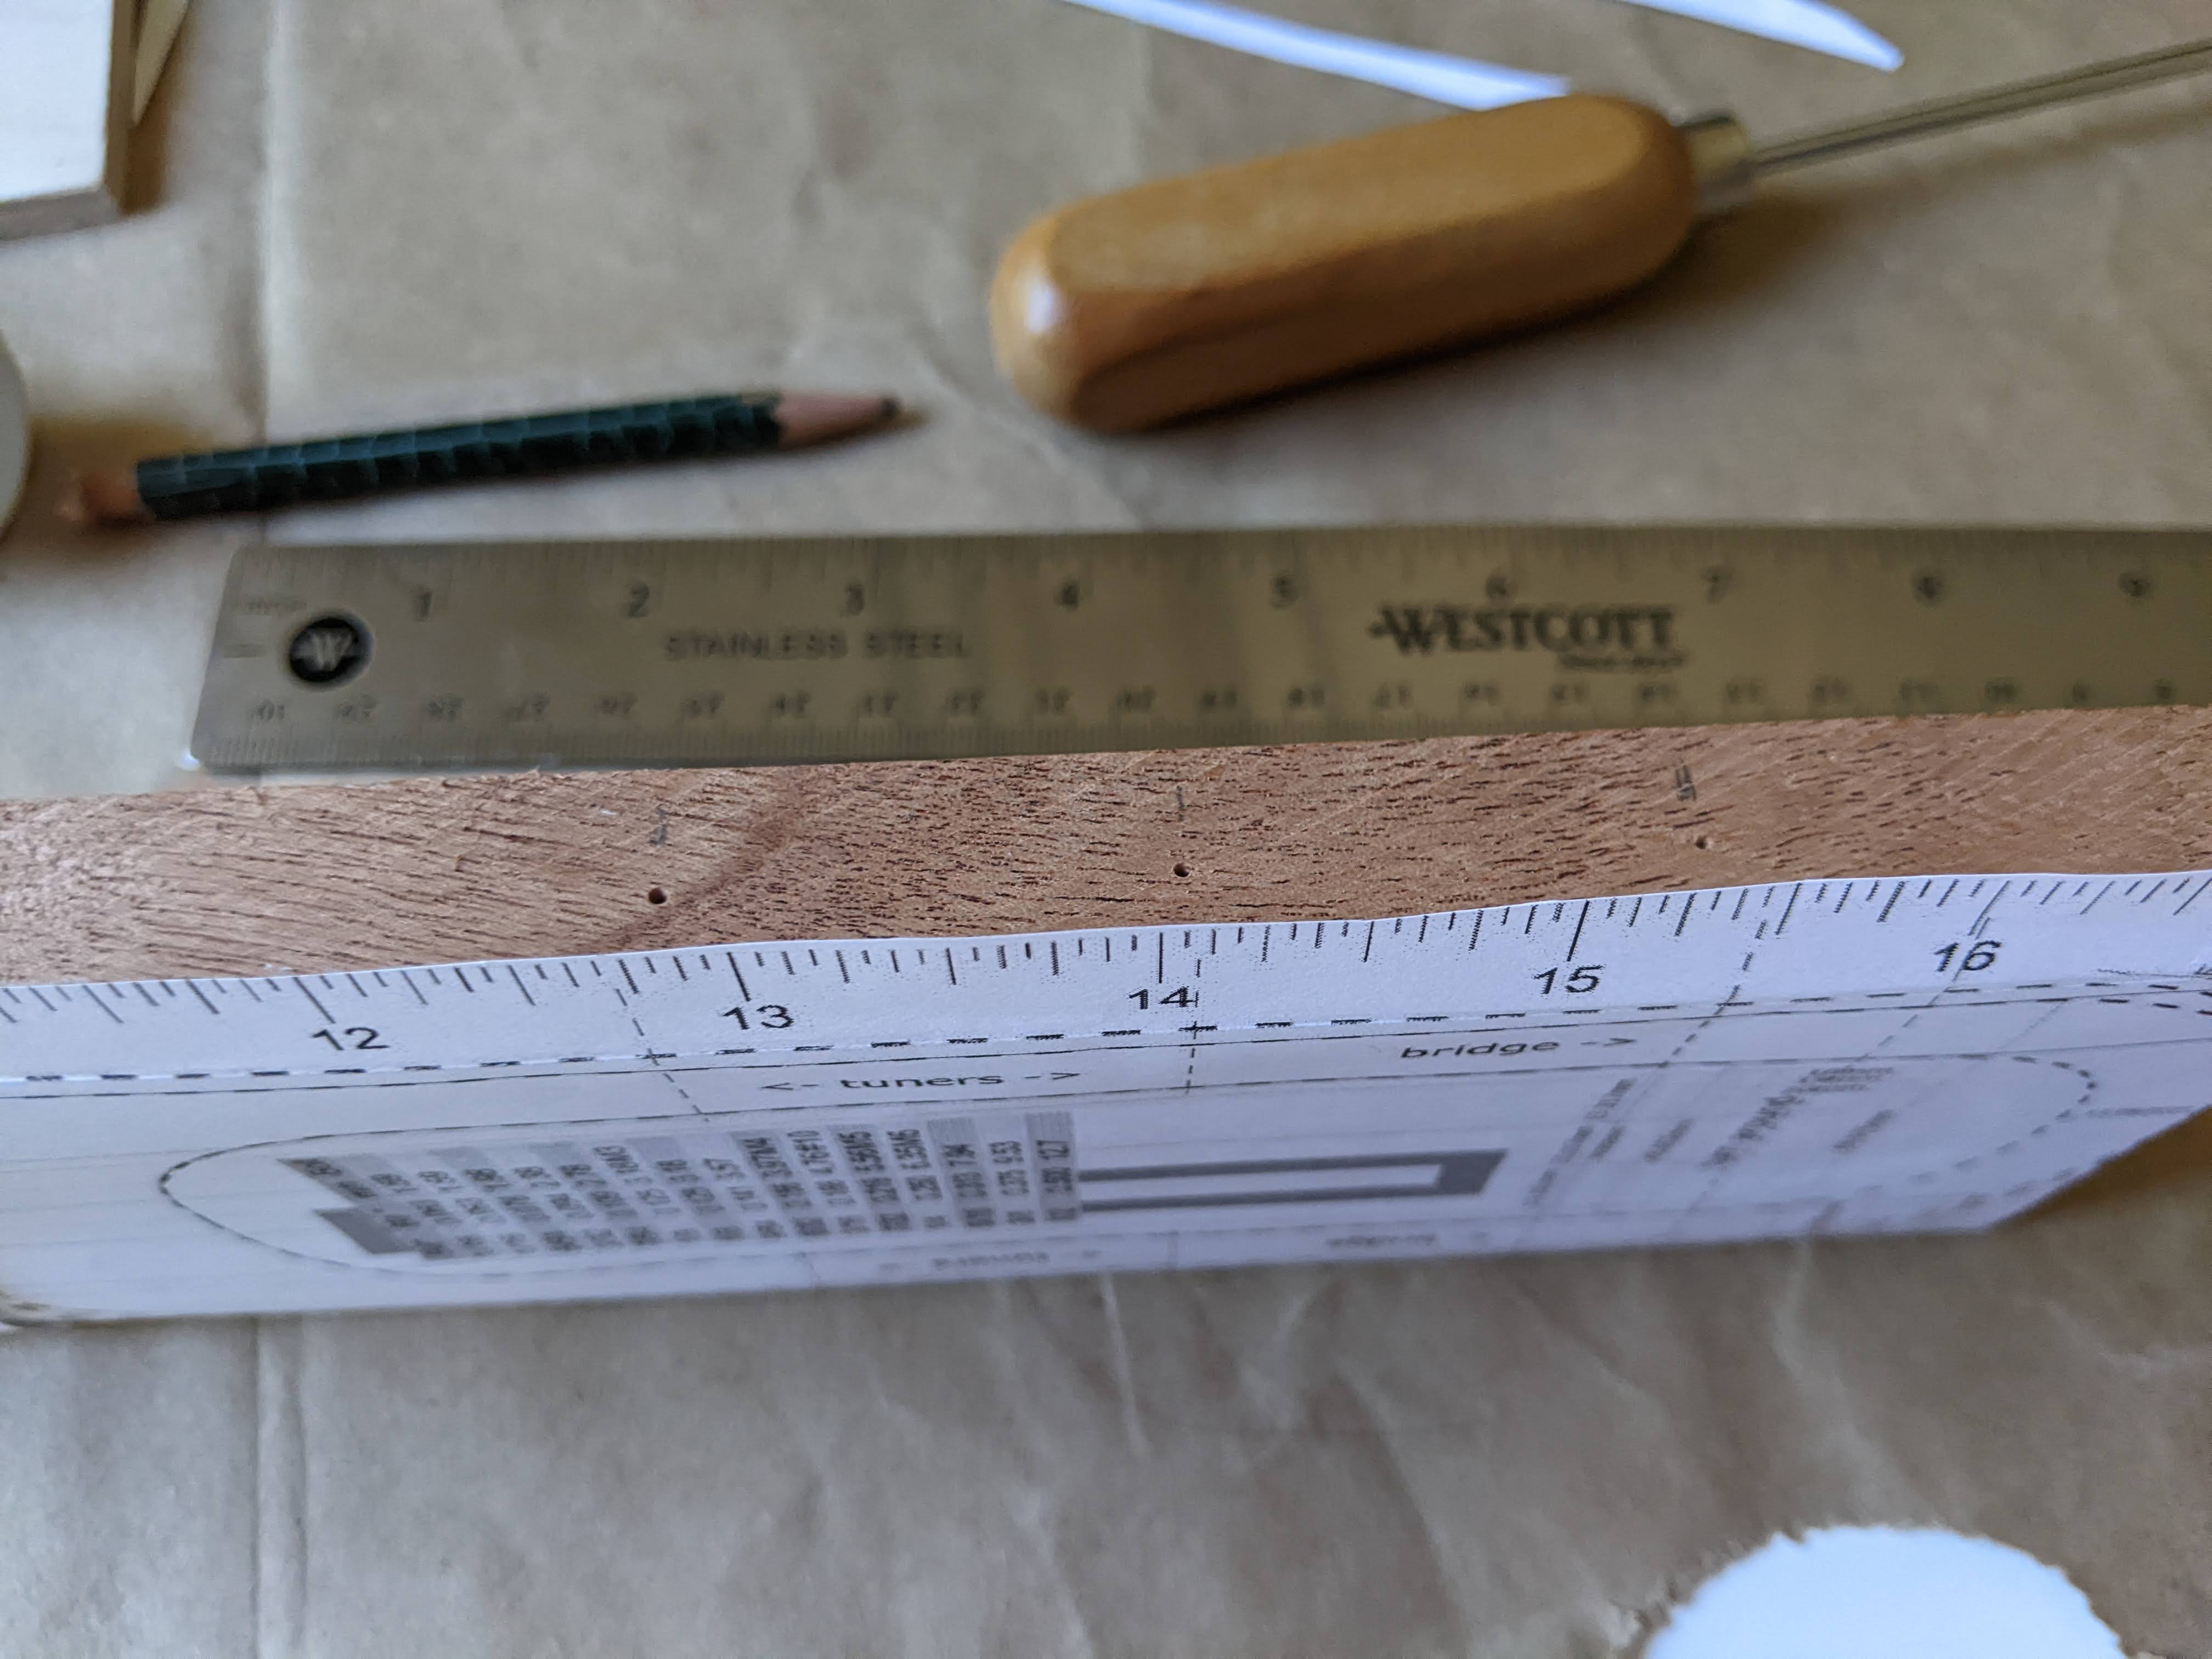
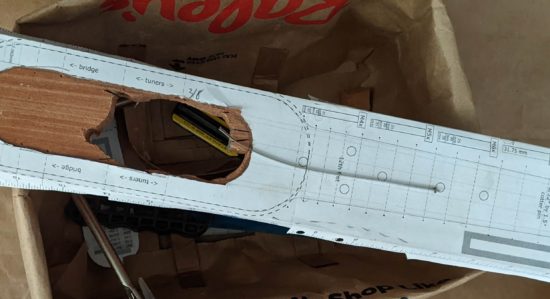
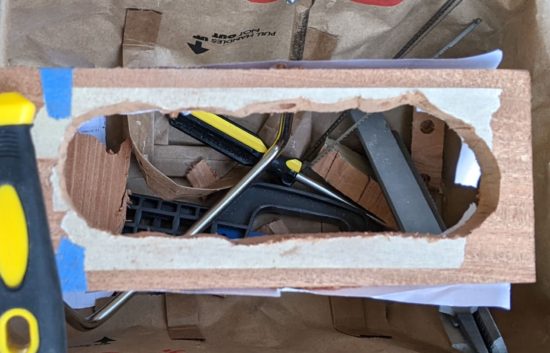
I’ll start with some spoiler pictures, already posted on my Instagram account:
It was a very busy week at work, so I didn’t get a chance to work on the ukulele until this morning. I needed to shape the ends of the frets so they won’t be sharp and pokey while I’m playing, sand the 3D printed turnaround so it won’t abrade the ukulele strings, and general sanding of the wood body.
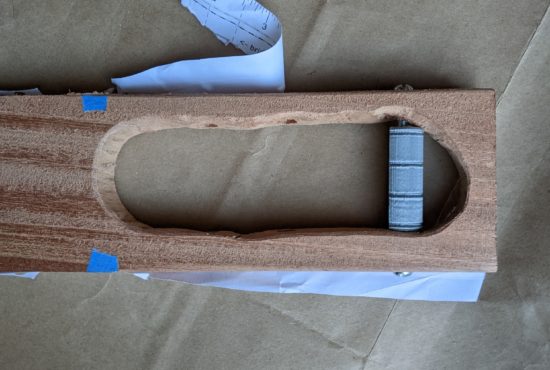
I don’t have a lot of pictures for it, but I sanded and wet sanded the 3D printed turn around. I used an old compostable tray left over from some prepared food. I just needed something to hold a little bit of water while I sanded the turnaround. There’s nothing fancy about this part. I sanded the turn around with 120 grit to get it mostly even, 150 grit to smooth it out a bit, then 400 and 1500 grit wet sanding paper to get it nice and smooth. I’m anxious to get this ukulele built, so I’ll probably install the turn around as-is. If the ukulele sounds good, I’ll remove the turn around, hit it with a light coat of spray paint (black or silver), and then reinstall it.
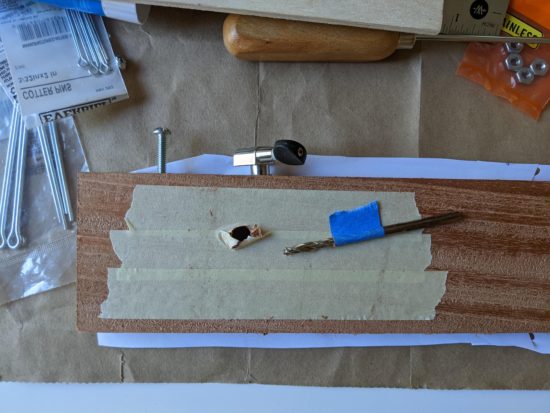
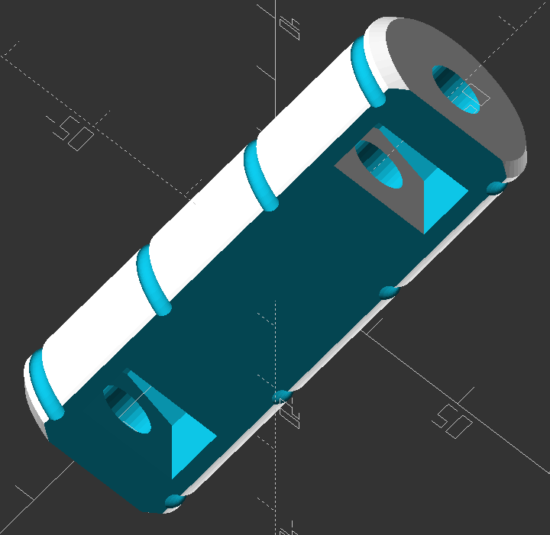
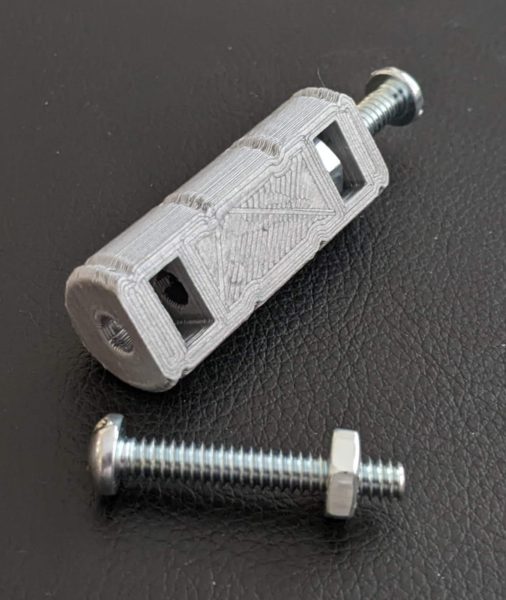
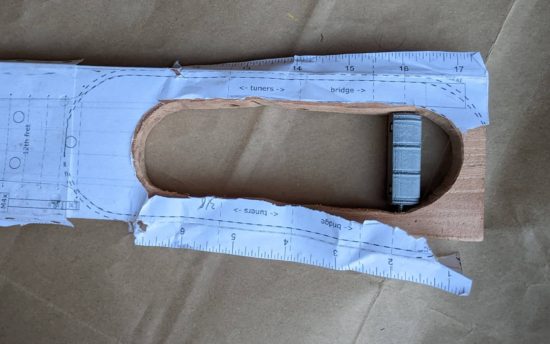
You’ll note the small 3D printed capped container. It’s a 45mm long, 15mm diameter double knurled cap version of this “Customizable Container with Knurled Lid” from Thingiverse.1 I’ve been posting things to Thingiverse since 2009 which almost seems like ancient history now. MakerBot launched the Thingiverse customizer in late 2012 or early 2013 and, unfortunately, 9 or 10 years down the road this functionality no longer works. This handy utility allowed makers to share not only their designs, but permit people unfamiliar with 3D design or programming to obtain custom STL’s of those designs. Although this tool no longer works, the underlying OpenSCAD code is fortunately still available. I used the script for the CCKL to create a small, narrow screw top container that was the perfect size for holding the frets, two machine screws, and two nuts.
Having a bespoke case for parts was a game changer for the way I work on projects. With a day job, kids, limited work space, and a longer term project, I frequently have to work on a project and then put it away for an hour or a week until I can have the time and space to come back to it. By putting a set of small parts into a custom container (that I could conceivably label) I can keep everything organized together.

Filing and shaping the frets was time consuming, but not arduous. Based on the the time stamps in the photographs, I spent a little over two hours filing and shaping the frets and sanding / wet sanding the turn around. I first flattened or bent flat each fret, then used my finest hand file to taper the end of the frets, rounded them off, then removed burs.
While I was at it, I sanded the ukulele body a little more with the 1500 grit sandpaper. Taking time away from the project and then coming back allowed me the distance to find a few new slightly rough patches. I think there’s a few more to go, but nothing that will ever really matter.
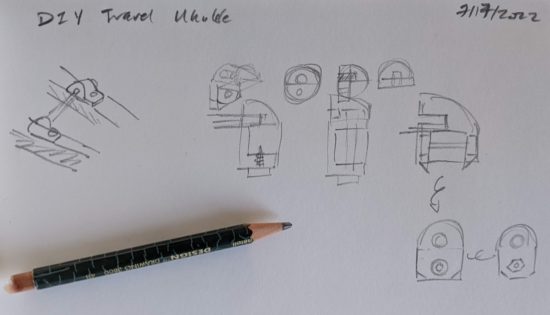
DIY Travel Soprano Ukulele- Learning Curves and Ukuleles
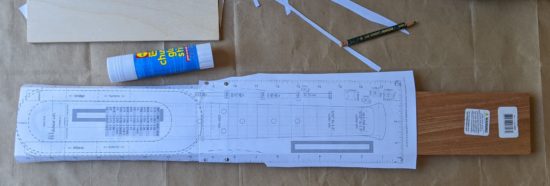
- Building a Travel Ukulele: Getting Started
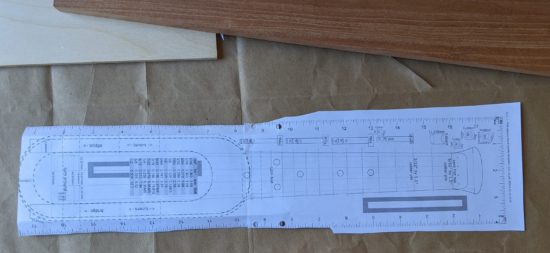
- Building a Travel Ukulele: Cutting Stuff
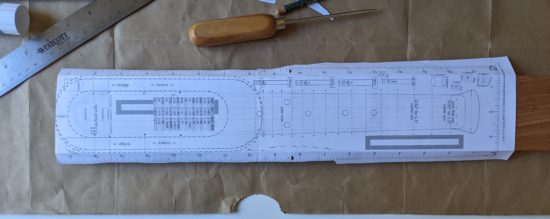
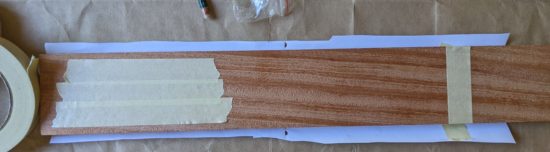
- Building a Travel Ukulele: Cutting, Filing, Shaping
- Building a Travel Ukulele: Filing, sanding, filing, sanding, filing…
- Building a Travel Ukulele: Sanding.
- Building a Travel Ukulele: Test Fitting
- Building a Travel Ukulele: Preparation, Marking and Cutting Frets
- Building a Travel Ukulele: Shaping Frets, Sanding
- Building a Travel Ukulele: Building a Drill
- Building a Travel Ukulele: No Turning Back
- Building a Travel Ukulele: Sanding, sanding, and finishing
- Building a Travel Ukulele: Finishing, sanding, painting, etc
- Building a Travel Ukulele: So Much Experimentation, Bridges, Printing, and Sanding
- Building a Travel Ukulele: Plancratineering
- Building a Travel Ukulele: Swapping Hardware, Fret Experiments
- Building a Travel Ukulele: Bridge, Stringing It Up, and a Sound Test!
- Building a Travel Ukulele: Improvements
- Building a Travel Ukulele: Back to Basics
- DIY Soprano Scale Travel Ukulele
- Repairing My DIY Travel Uke