
What would one of my blog posts look like, if it didn’t involve wild digressions? The saying, “Everyone has a plan until they get punched in the mouth” is attributed to Mike Tyson, speaking of the impending fight with Evander Holyfield.1
I’ll post some pictures, but suffice it to say very little has gone according to plan. :)
I got started by putting together a pattern based on Dan Hulbert’s designs. A few notes about how I put it together:
- Designs
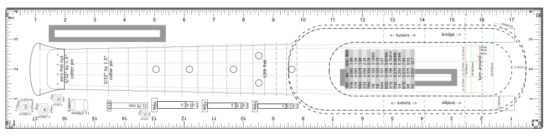
- I started with Dan’s designs, specifically the “backpacker travel ukulele,” added a rounded base similar to his concert sized “travel ukulele,” and then added a number of annotations. I wanted to have a way to visualize the size of the bolts, hardware, etc. I also added a grid showing the various drill bits, keyed to the various hardware.
- Process
- I created the above described design in Inkscape, using different layers for different aspects of the design.
- Printed the design on two sheets of paper, lined them up, and glued them together. I used a hole punch in the top sheet, to help line them up easily. I made sure to put the hole punches through parts with lots of detail, but nothing critical to the pattern.
- There are rulers on every side of the diagram, and a 100mm wide gray box, because the first several times I printed it out the scaling was all wrong.
- I’m not sure why the scaling was wrong – it could have been somewhere in the conversion process from SVG to PDF to a two-page PDF. In the end, I just measured the box, found it was too small, scaled up the next print, and it was close enough to 100mm that it was fine with me.
- I picked up the wood (a 3/4″ x 3″ x 24″ mahogany plank from Rockler Woodworking), hardware from Home Depot (I’m pretty sure they lost money shipping me a 4′ long steel bar), and 3D printed the turn around.
- I used a pencil to trace the reverse side of the design. This way, I would be sure not to put glue in any of the areas that would touch the final design. I then applied glue and glued the pattern to the wood using a glue stick.
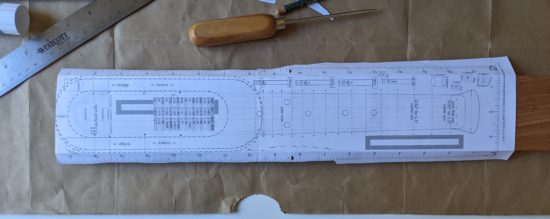
- I used a utility blade to cut out the center “sound hole” paper outline, making it easy to cut out the center.
- Used an awl to poke holes through the pattern where the strings go above the zero fret, on either side of the frets (so I could draw a line on the wood between these indentations for the fret locations), and other locations where I needed to drill holes.
- Taped the bottom of the wood, so that holes drilled and saw cuts wouldn’t cause the wood to splinter. I really should have taped the top too, but I’m learning!
- Drilled a hole in the “sound hole” to put saw blade through.
- I don’t have a scroll saw, router, drill press, or CNC – any of which would have made the rest of the process a snap. Instead, I bought a coping saw and cut part of the sound hole out.
- Snapped the blade. Bought some new blades. Cut the rest of the sound hole out, snapping another blade in the process.
- I installed the turn around – which looks like it is going to work well.
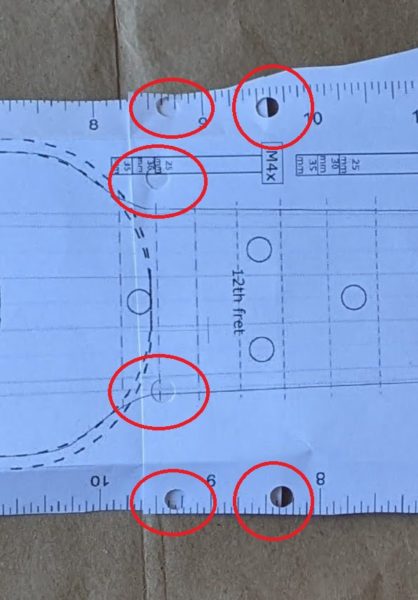
Hole punches through the top pattern allow the sheets to be aligned properly 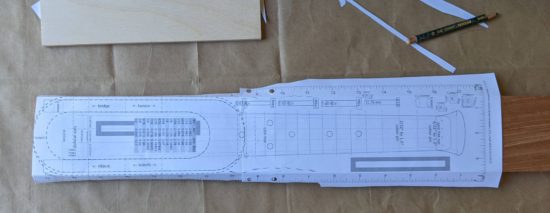
Paper lined up on the board 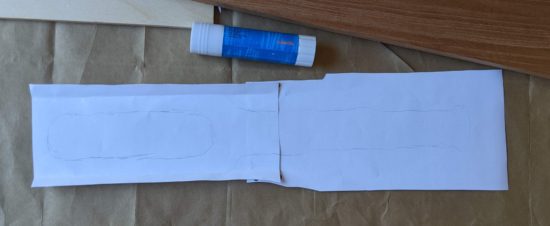
Drawing on the reverse of the pattern 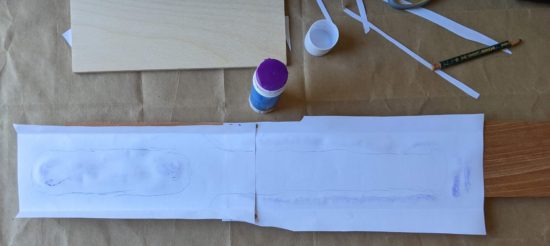
Glue in just the areas not touching the design 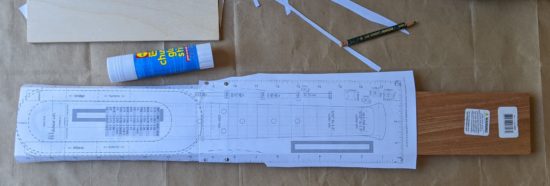
Glue! 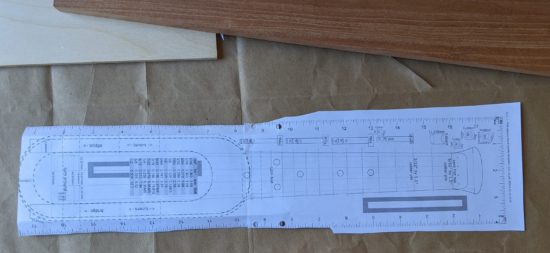
Poking holes through the pattern 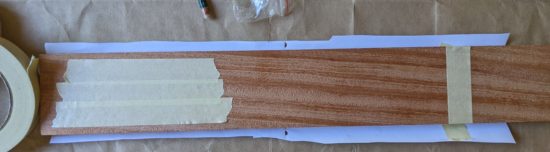
Taping the bottom of the plank 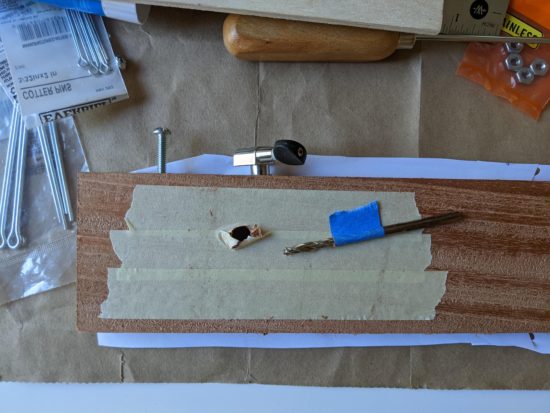
Hole through the center, for the coping saw blade 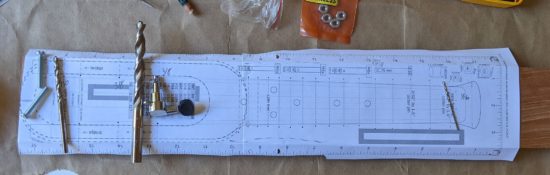
Drill bits and hardware 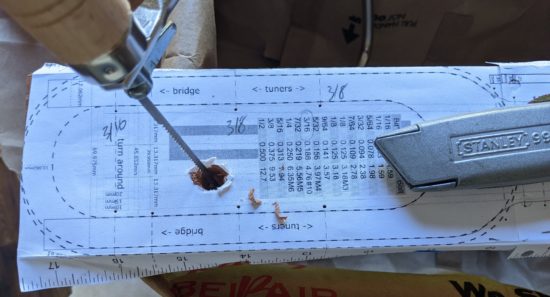
Coping saw blade through the hole 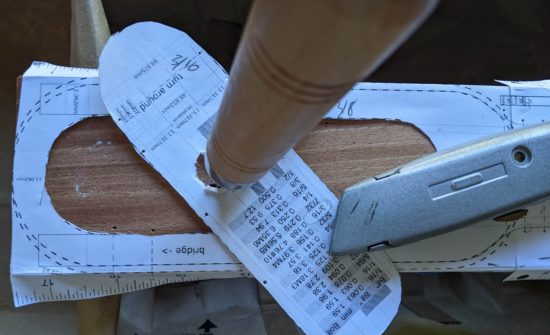
Center pattern cut out with utility knife 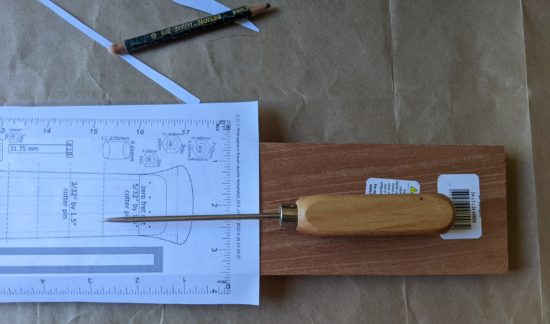
Awl ready! 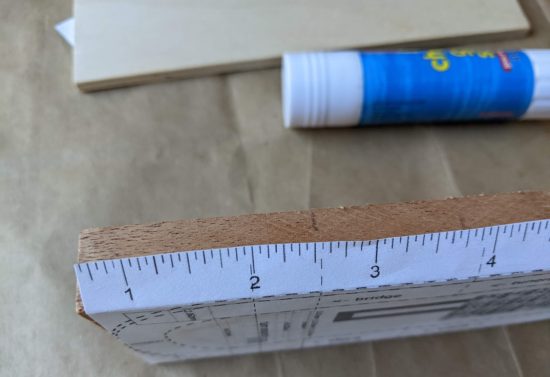
Marking spots for the awl holes 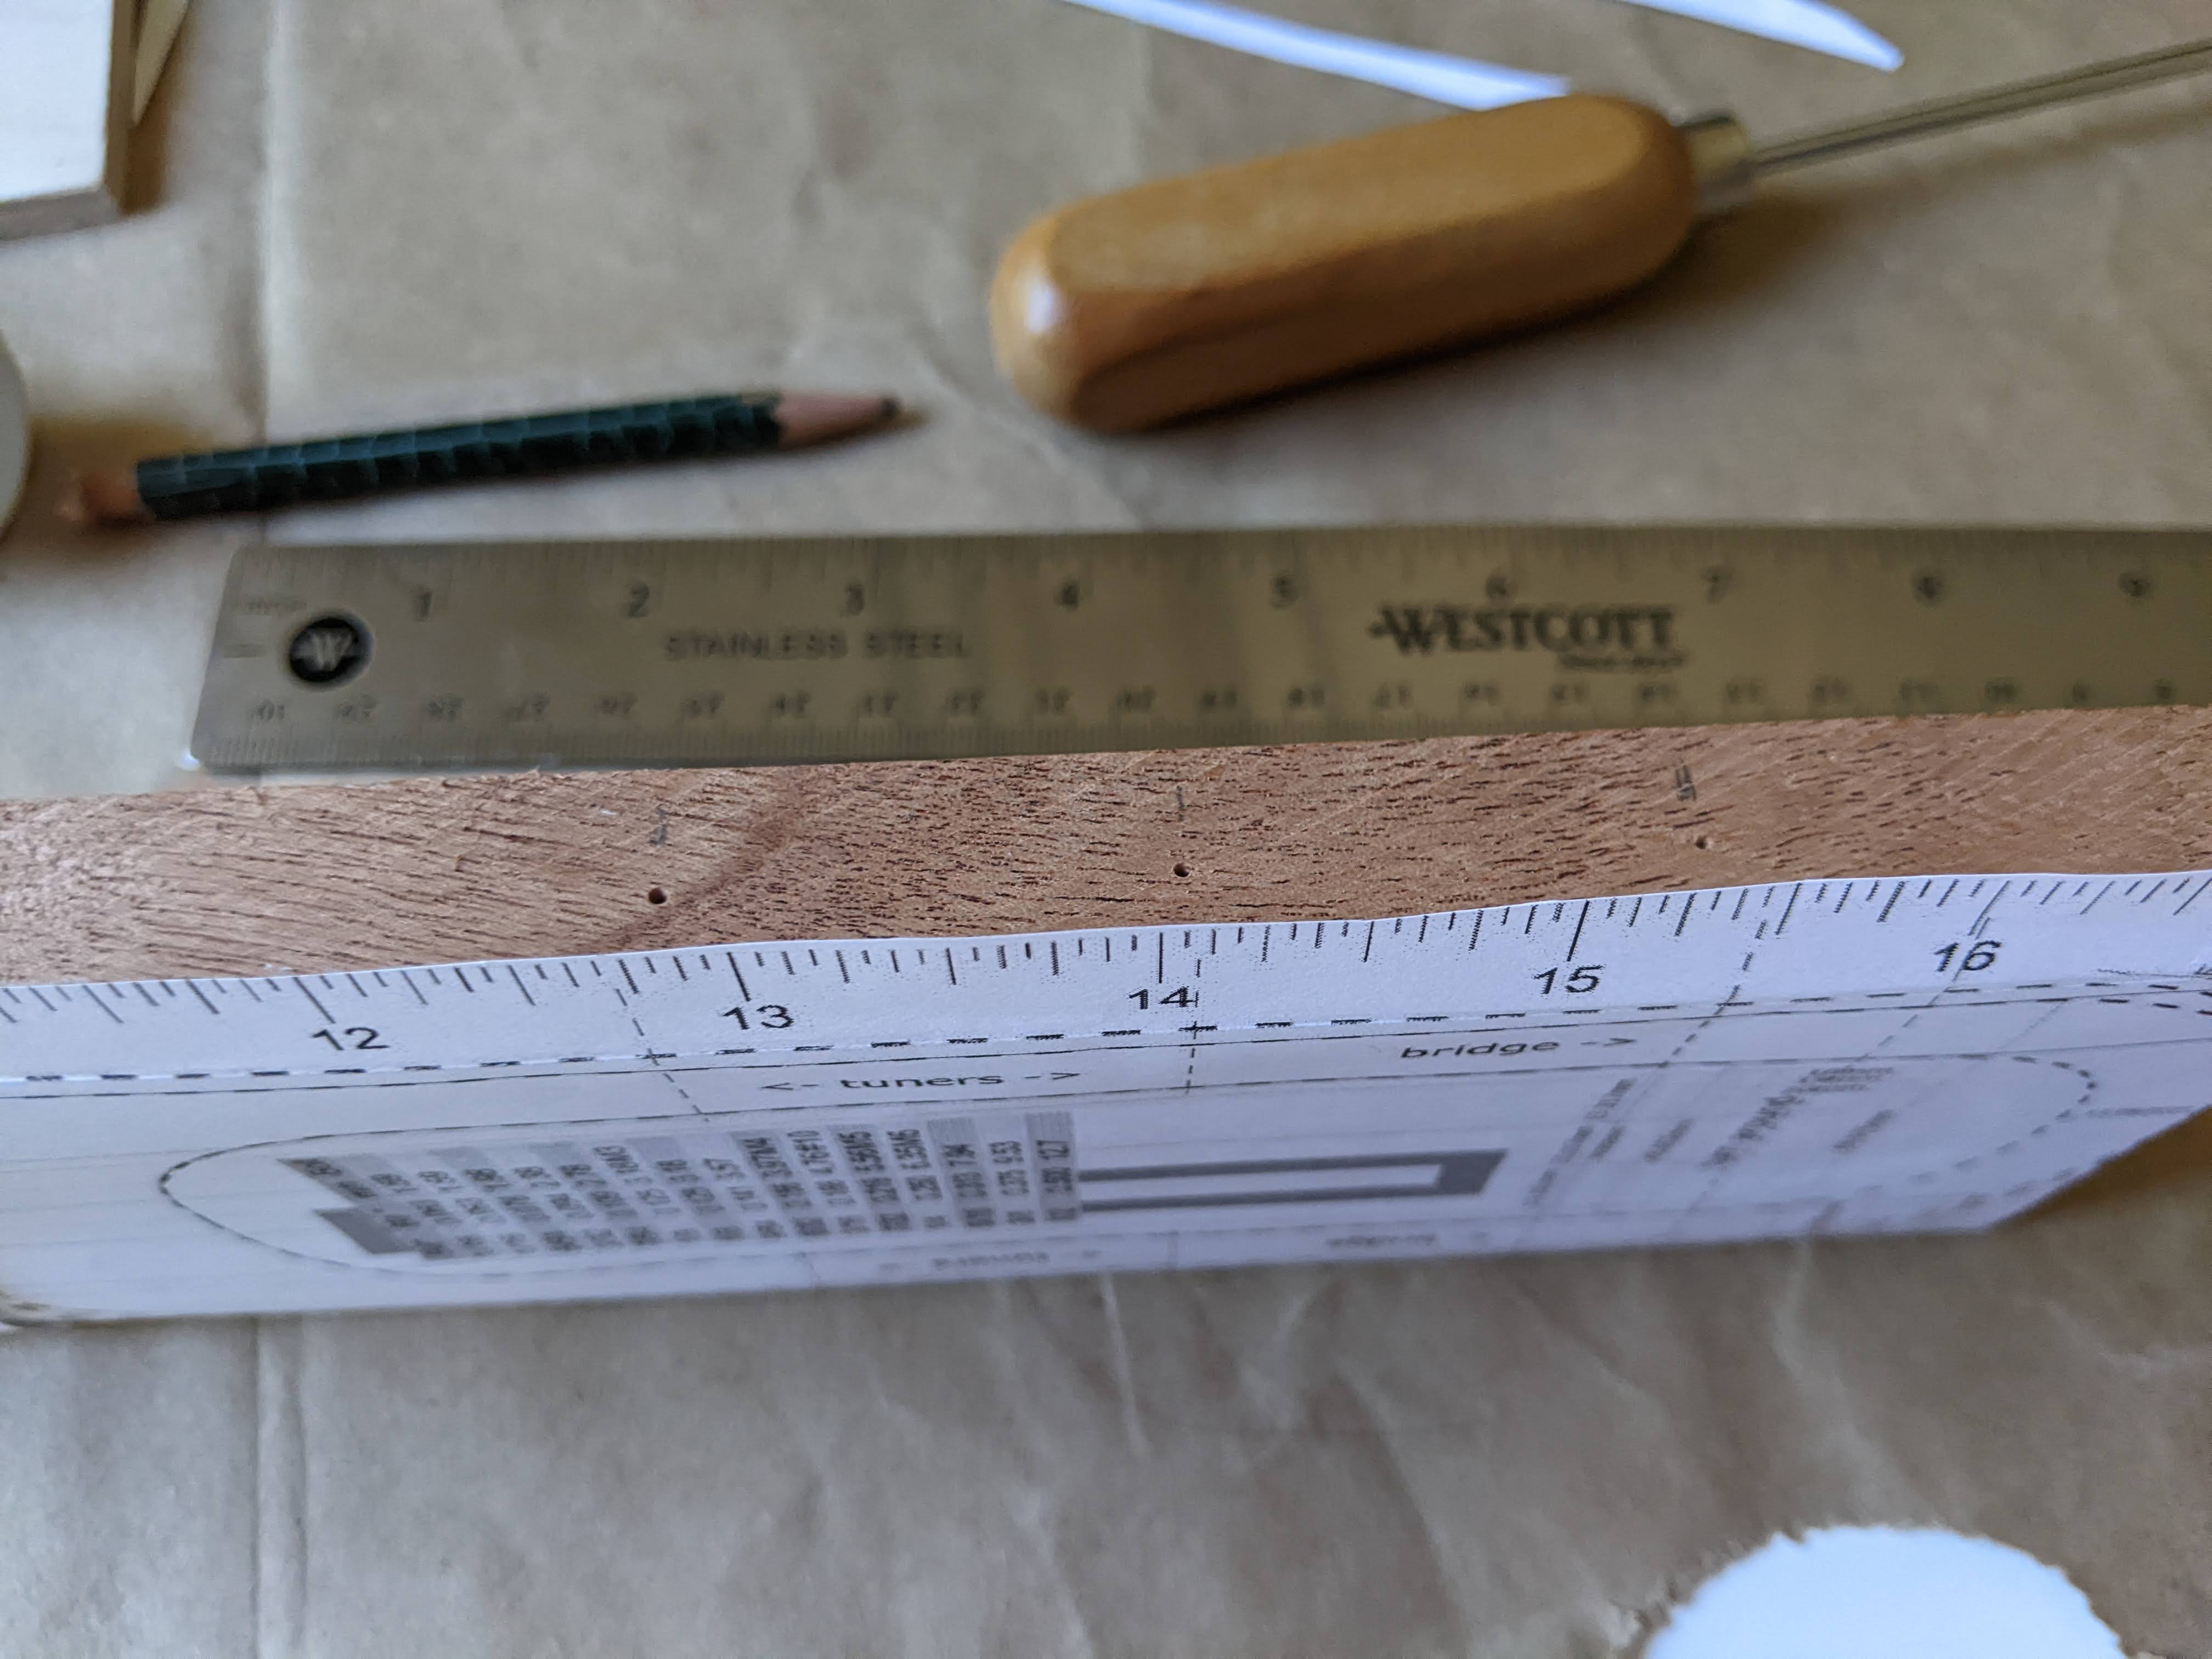
Marking the wood for the holes to be drilled 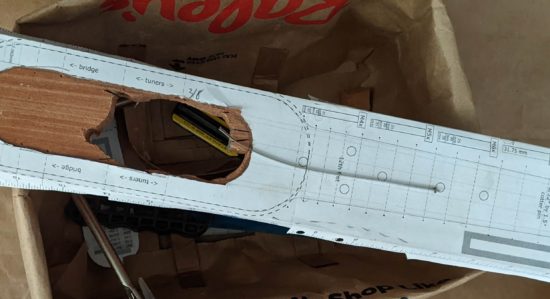
Partially cut, broken coping saw blade 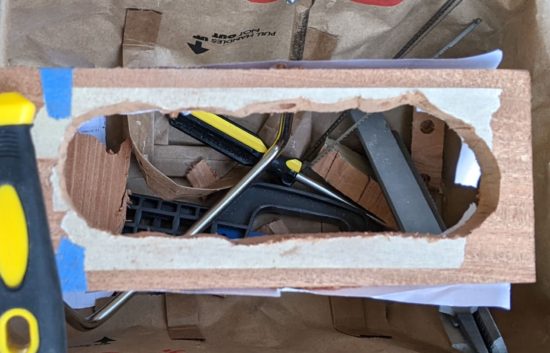
Cut out, tape still on 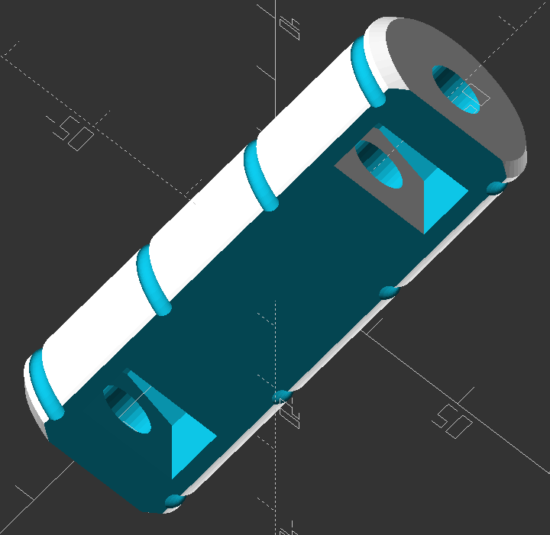
Render of 3D printable turn around 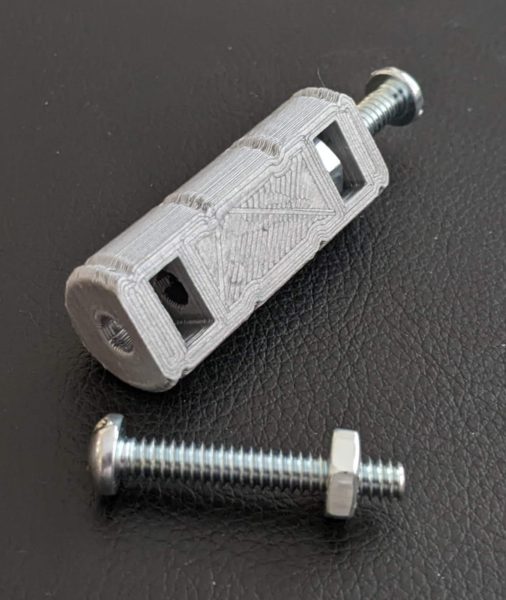
Printed turnaround with captive nuts and hardware 
Masking tape removed, filed down somewhat, turnaround installed 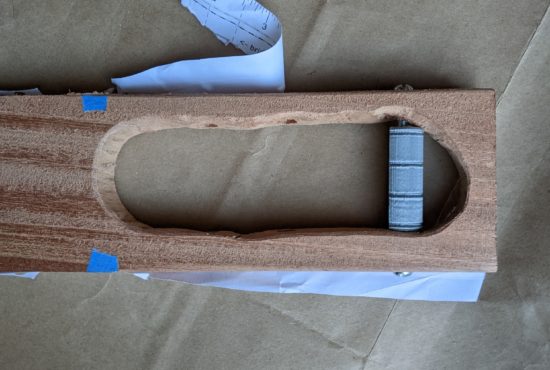
Turnaround installed and rotated so the captive nuts are out of view 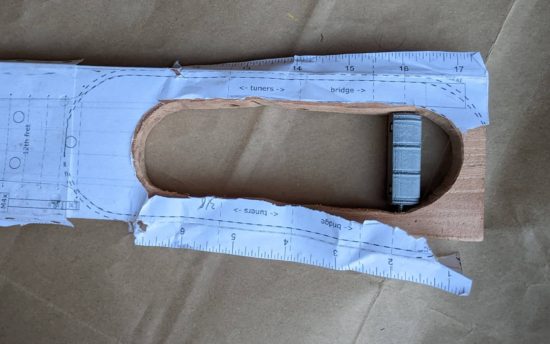
Top view
The result is … wildly uneven.
- Improvements
- As with any project, I find that as I am going through the first iteration2 I discover a few ways to improve the existing plans. Here are some ideas I had along the way:
- Creating the template so that I can fold the left and right sides down and they will indicate the precise location for the tuners and turn around holes.
- Including dotted lines from the widest part of the design all the way up – so I can be sure the pattern is straight all the way up the plank of wood.
- Create a cross hair pattern for the places where I need to drill, to make my awl punches through the design more precise.
- Add measurements to the gray scale boxes. (Quick tip – the boxes are exactly 100mm long with 0.0mm thick outlines. This prevents them from being draw very slightly too wide).
- Tape the top and bottom of the board, as well as sides, before drilling and cutting, to prevent the wood from splitting or splintering.
- Always print at least one extra3 of the pattern.4
- As with any project, I find that as I am going through the first iteration2 I discover a few ways to improve the existing plans. Here are some ideas I had along the way:
- Learning Curves and Ukuleles
- Building a Travel Ukulele: Getting Started
- Building a Travel Ukulele: Cutting Stuff
- Building a Travel Ukulele: Cutting, Filing, Shaping
- Building a Travel Ukulele: Filing, sanding, filing, sanding, filing…
- Building a Travel Ukulele: Sanding.
- Building a Travel Ukulele: Test Fitting
- Building a Travel Ukulele: Preparation, Marking and Cutting Frets
- Building a Travel Ukulele: Shaping Frets, Sanding
- Building a Travel Ukulele: Building a Drill
- Building a Travel Ukulele: No Turning Back
- Building a Travel Ukulele: Sanding, sanding, and finishing
- Building a Travel Ukulele: Finishing, sanding, painting, etc
- Building a Travel Ukulele: So Much Experimentation, Bridges, Printing, and Sanding
- Building a Travel Ukulele: Plancratineering
- Building a Travel Ukulele: Swapping Hardware, Fret Experiments
- Building a Travel Ukulele: Bridge, Stringing It Up, and a Sound Test!
- Building a Travel Ukulele: Improvements
- Building a Travel Ukulele: Back to Basics
- DIY Soprano Scale Travel Ukulele
- Repairing My DIY Travel Uke
- For a short, fun, deep dive on the origins of these quotes, I’d recommend this post by QuoteInvestigator. [↩]
- Sometimes the only iteration… [↩]
- Probably two extra [↩]
- Two is one and one is none. [↩]
I love the opening to your blog post. It reminds me of the famous Eisenhower statement that he learned in the army, “Plans are worthless, but planning is everything.”
Source with audio: https://www.eisenhowerlibrary.gov/media/3860
Oooooooooooooh – that love that. Giving it a listen and adding it to my memory banks now.