
This barely qualifies as an update. Or even any kind of a meaningful incremental improvement to include for this blog / project notebook. However, I’m so pleased with the look and feel of the progress, I couldn’t help take a few pictures.
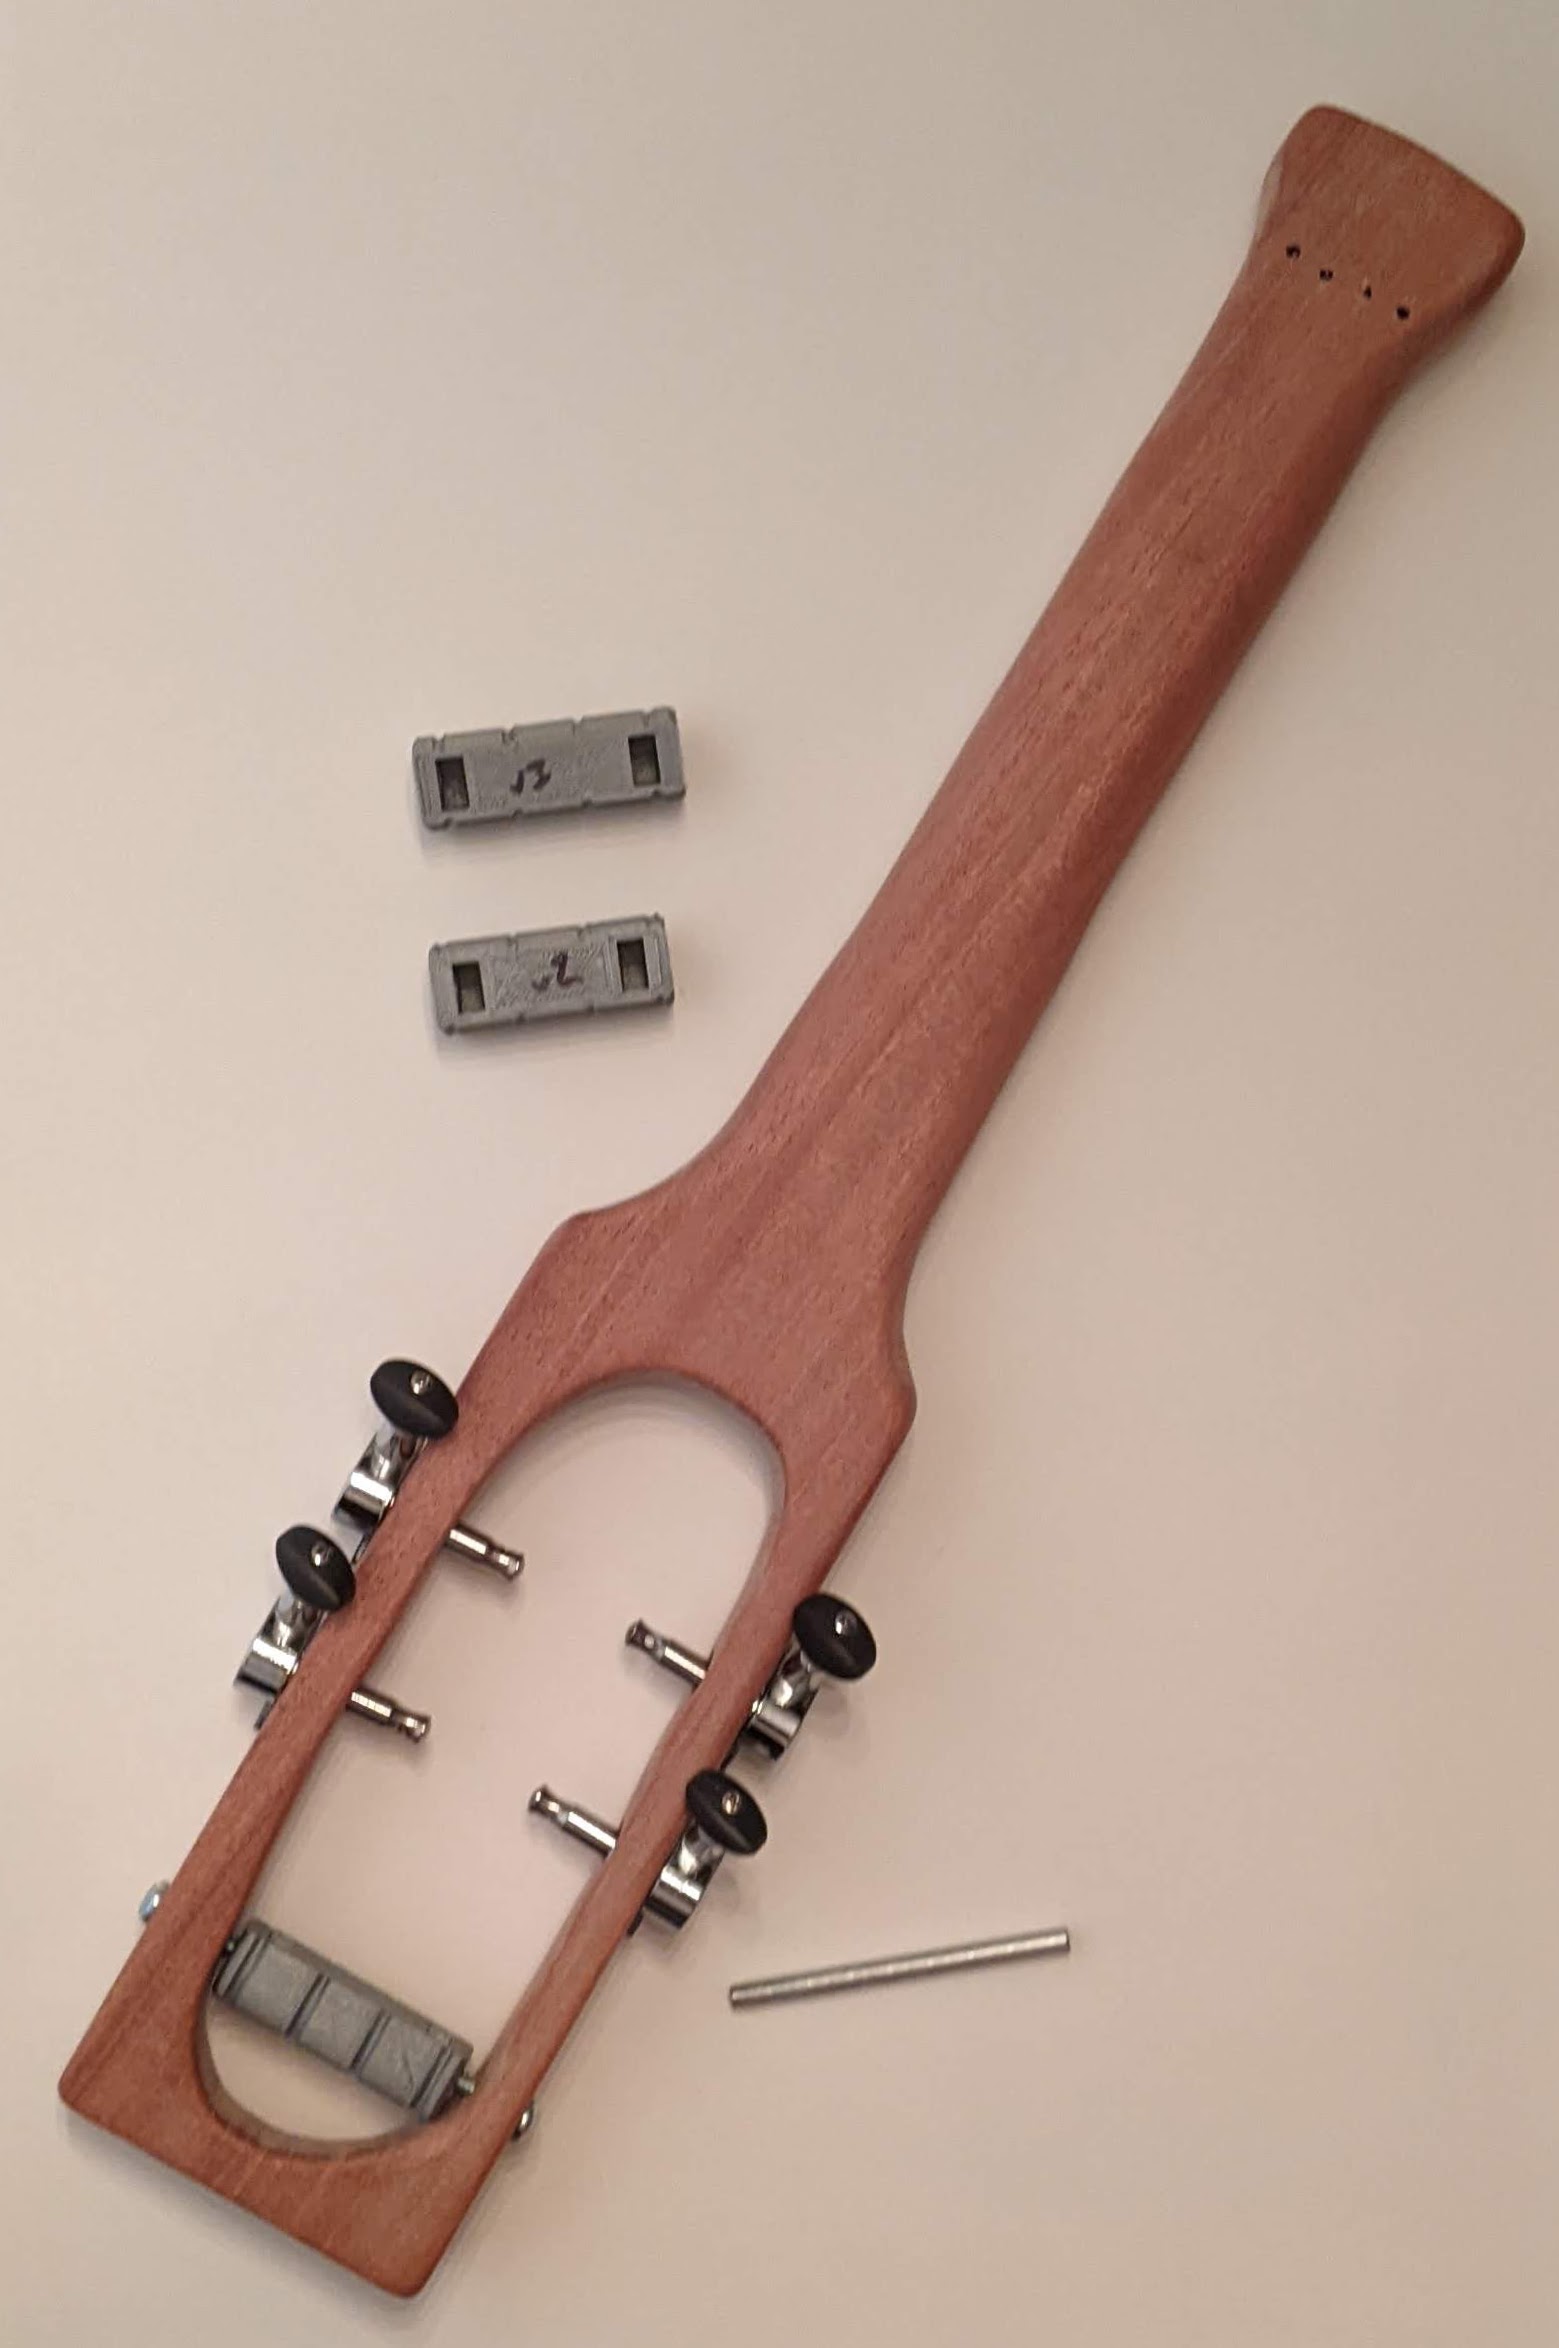
From the underside, with several prior iterations. The very first design / print of of the turn around didn’t have large enough holes for the hex nuts. The second version would still work, but it was about 5mm shorter than the final version and not as cosmetically pleasing. The third version was just barely too wide. I suppose I could have filed or sanded it to fit… but why? I have a 3D printer and it would only take 30 minutes for another version and a perfect fit.
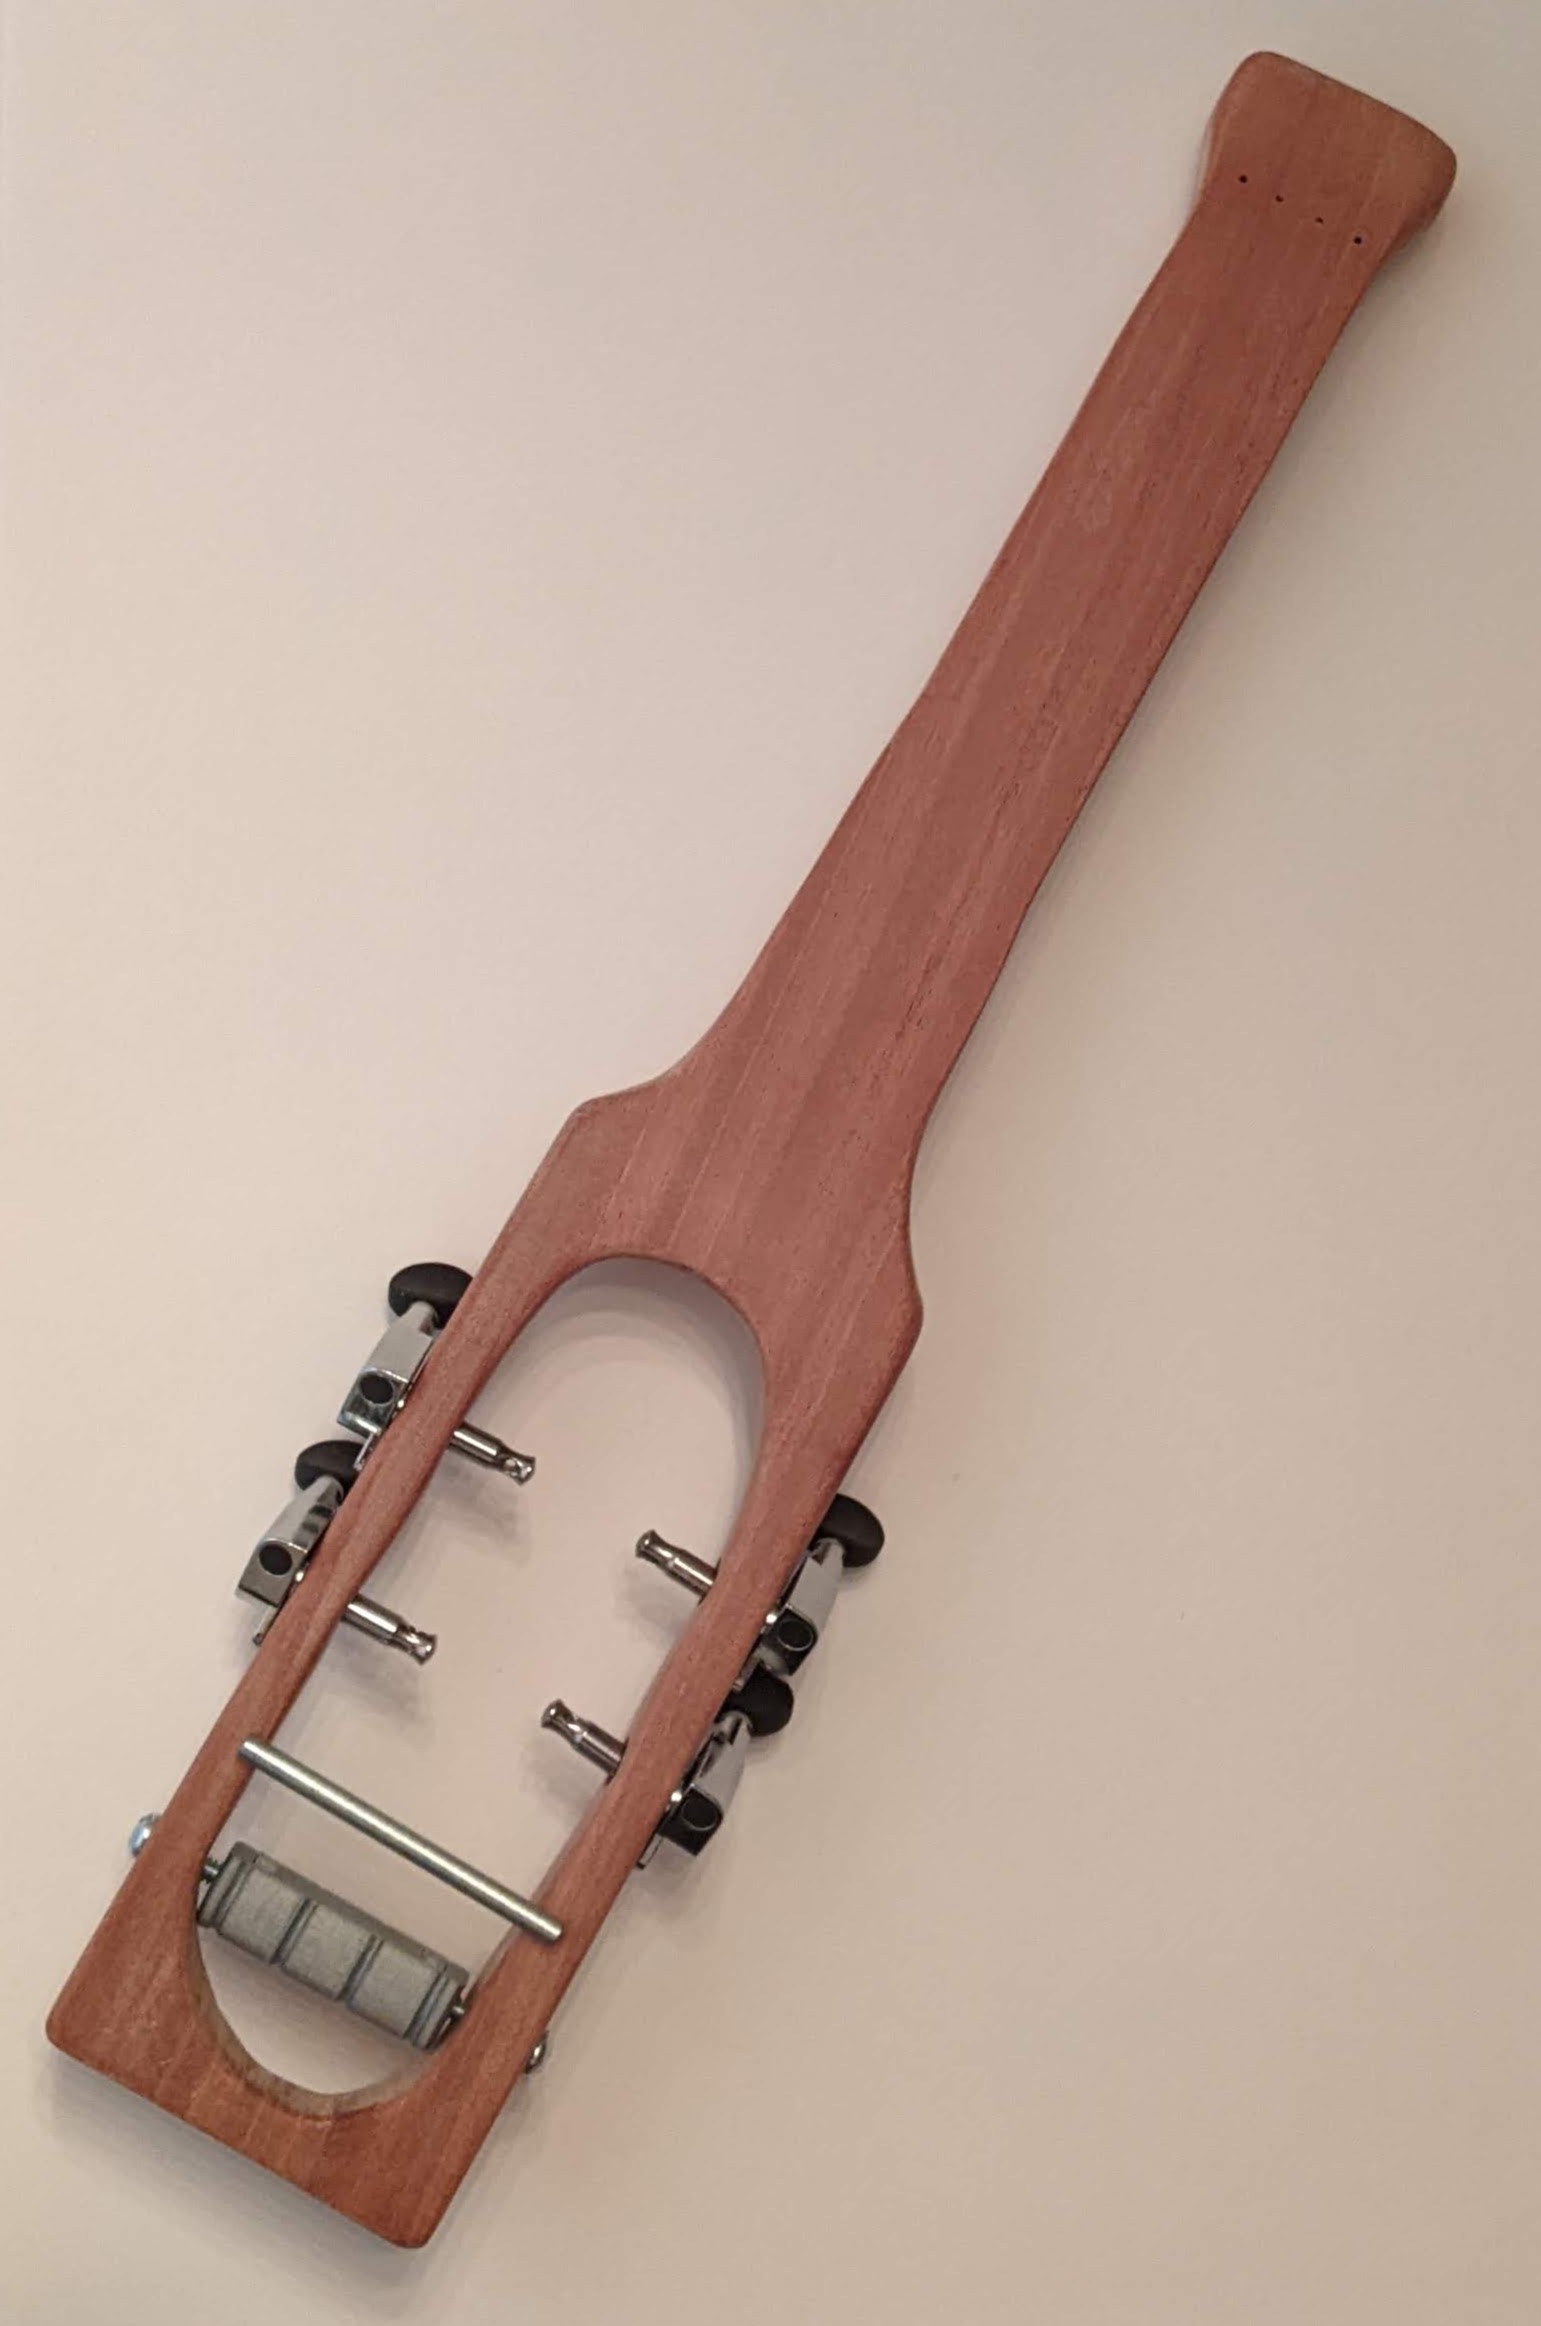
A 3D printed model involves very light layer ridges. I am a little concerned these ridges could, over time, abrade the ukulele strings. Before test fitting them, I used a very thin fine file to smooth out the grooves in the turn around.
In the photo you can’t really see the gap between the tuners and the wood, but you can see the tuner pegs are very slightly angled. This is because the holes I drilled were, unintentionally, very slightly angled. While this isn’t likely to adversely affect the tuners, string tension, or operation of the ukulele, the tuning pegs won’t sit flush against the ukulele body. My options are either to put the drill to it again (for the third time), live with the cosmetic look, or add a washer of some kind. I think the best option is to design a thin, lopsided washer, that I could tighten the tuning pegs against.
I am very happy with the way it’s shaping up! It’s starting to actually look like a ukulele.
DIY Travel Soprano Ukulele- Learning Curves and Ukuleles
- Building a Travel Ukulele: Getting Started
- Building a Travel Ukulele: Cutting Stuff
- Building a Travel Ukulele: Cutting, Filing, Shaping
- Building a Travel Ukulele: Filing, sanding, filing, sanding, filing…
- Building a Travel Ukulele: Sanding.
- Building a Travel Ukulele: Test Fitting
- Building a Travel Ukulele: Preparation, Marking and Cutting Frets
- Building a Travel Ukulele: Shaping Frets, Sanding
- Building a Travel Ukulele: Building a Drill
- Building a Travel Ukulele: No Turning Back
- Building a Travel Ukulele: Sanding, sanding, and finishing
- Building a Travel Ukulele: Finishing, sanding, painting, etc
- Building a Travel Ukulele: So Much Experimentation, Bridges, Printing, and Sanding
- Building a Travel Ukulele: Plancratineering
- Building a Travel Ukulele: Swapping Hardware, Fret Experiments
- Building a Travel Ukulele: Bridge, Stringing It Up, and a Sound Test!
- Building a Travel Ukulele: Improvements
- Building a Travel Ukulele: Back to Basics
- DIY Soprano Scale Travel Ukulele
- Repairing My DIY Travel Uke