Well, there’s your problem

I’ve been fiddling with settings on my MakerBot for the last week or so trying to improve print quality.  Skeinforge setting this, Skeinforge setting that.  Up, down, left, right, set it to pi, increase the print temperature, decrease the raft radius, adjust the feedrate speed.  Unfortunately, all I managed to do was decrease print quality.  Over the last two days I noticed the filament was coming out fairly slowly and today I noticed I kept stripping the filament.

Well, it’s because ABS oozed down the barrel threads and around the nut.  Yay.  Time to break out the blow torch, eh?

In disassembling (mostly) the extruder I found:

  1. Plastic down the threads of the barrel
  2. Plastic that had oozed onto the nut below the barrier
  3. Plastic still stuck inside the barrel itself
  4. A plastic plug inside the PTFE barrier and a slight bulge to the barrier

Plastic on the threads is not a huge deal, but not trial either – it mostly peeled off in spirals.  Plastic on the nut is not a big deal – I pulled that off with some needle nose pliers.  Plastic inside the barrel can be drilled out using my drill bit and rubber band trick.1

Plastic inside the PTFE barrier…  well, now, that’s a different animal.  I’ve succeeded once in rescuing my PTFE barrier from PLA oozing down the threads, but in that case there wasn’t a plastic plug inside the PTFE.  The problem with a plastic plug inside the barrel is that I can’t really drill it out.  If I try to drill it out from the top, I’ll probably still leave a bit of plastic where the barrier meets the barrel.  If I try to drill from up from the bottom, I stand a good chance of ruining the part where the PTFE meets the barrel – creating a small gap where plastic can get stuck.

Thus, I think I will drill out the barrel and slap in a new PTFE barrier.  Since I have this old (ruined?) one lying around, I have sliced off about a 2mm wafer to use as a washer on my next heater assembly. Using a small hacksaw blade did the trick – even if it left me with a relatively uneven slice.

While I’ve been putting off buying additional parts for my MakerBot, I think it’s time to invest in some new bits.  I’m liking the MakerGear modular thermistor kit ($5), MakerGear modular heater core ($15), MakerBot heated build platform ($42), MakerBot SMT Soldering Toolkit ($50), and a hotplate.2

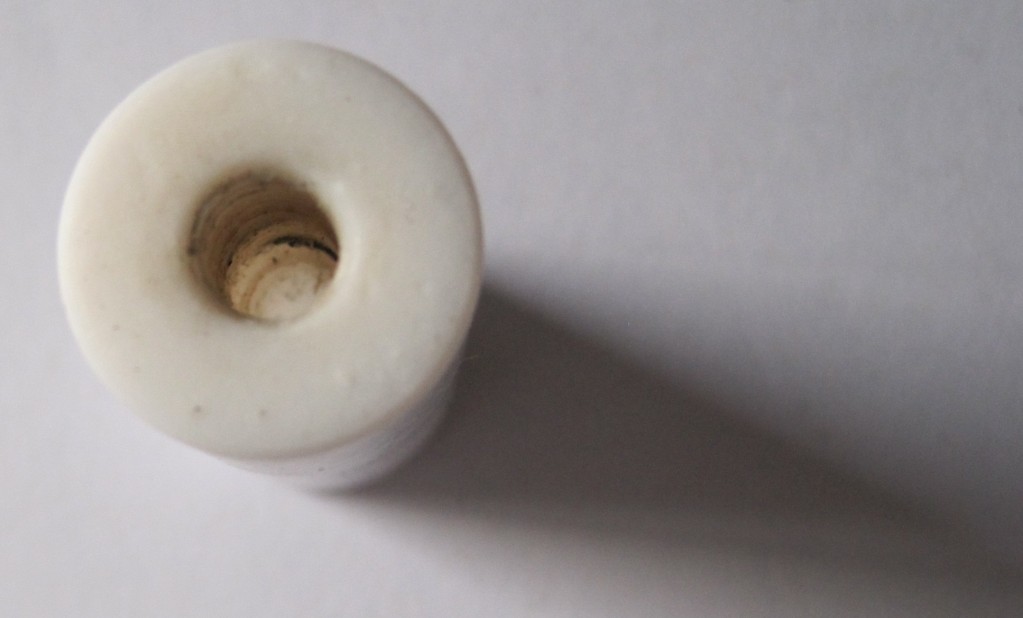
  1. Think of it as a poor man’s precision vise. []
  2. Cue George Plimpton: “And a hotplate!” []

Playing with fire

Well, not really playing.  But, I suppose not really “working” either.  Here’s how my experiments in unclogging a clogged extruder barrel went:

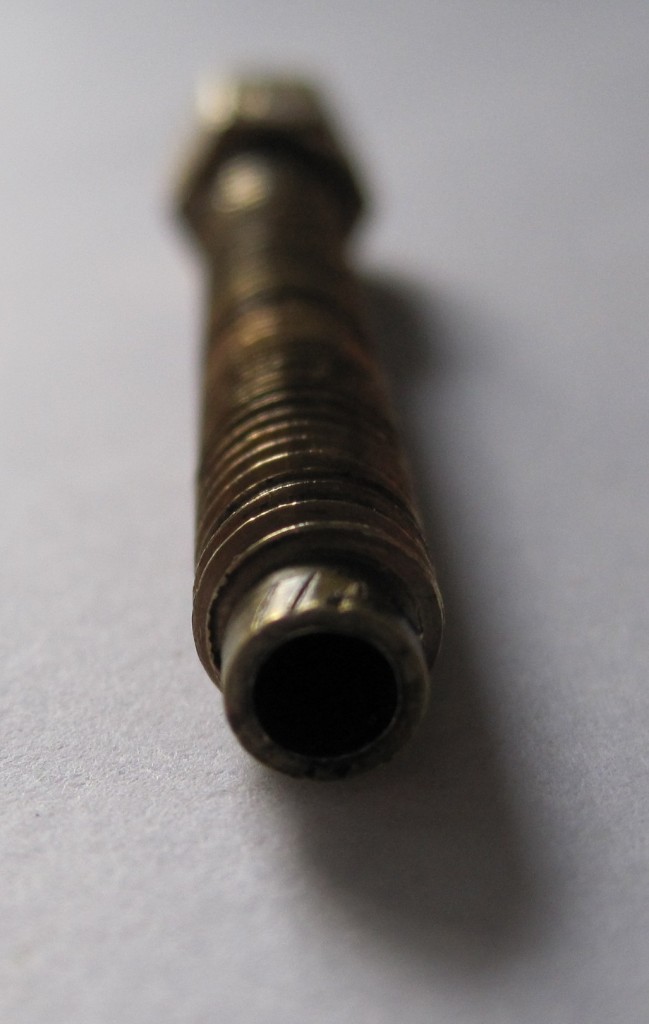
You can see where there is some minor plastic residue left over from the PLA in PTFE insulator which oozed into the threads.  I had used a precision screw driver to follow along the threads and chip out plastic.

PTFE insulator, mostly clean

PTFE insulator, mostly clean

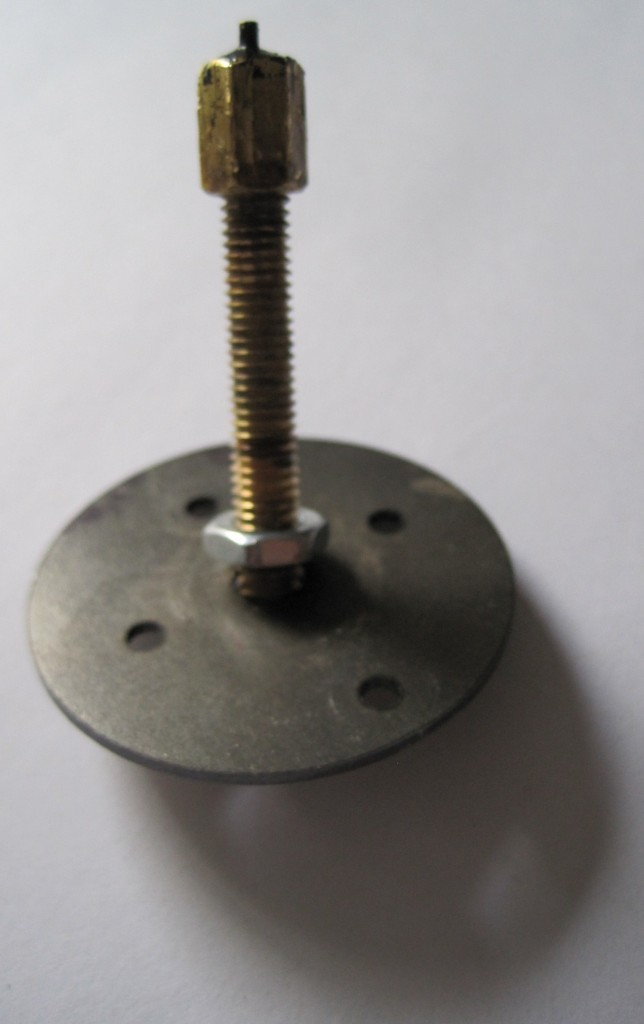
Here’s the clogged barrel.  I had chipped out plastic from the threads using the same precision screwdriver.  You can see some of the scar marks from my brilliant idea to use a wrench on the smooth part of the barrel at one point.  (FYI, that was sarcasm – don’t use a wrench on the barrel.  It was, in fact, a bad idea).  I was totally unable to remove the nozzle from the barrel.

Extruder barrel, clogged

Extruder barrel, clogged

This was my idea for the setup so that the flame/heat would not discolor everything.  You can see where the nozzle has gotten a thin layer of black ABS fused to it.  Again, you can also see the marks on the nozzle where I tried to use a wrench.  And, again, not a good idea.  All I managed to do was just scar it up.

Extruder barrel with nut partway on

Extruder barrel with nut partway on

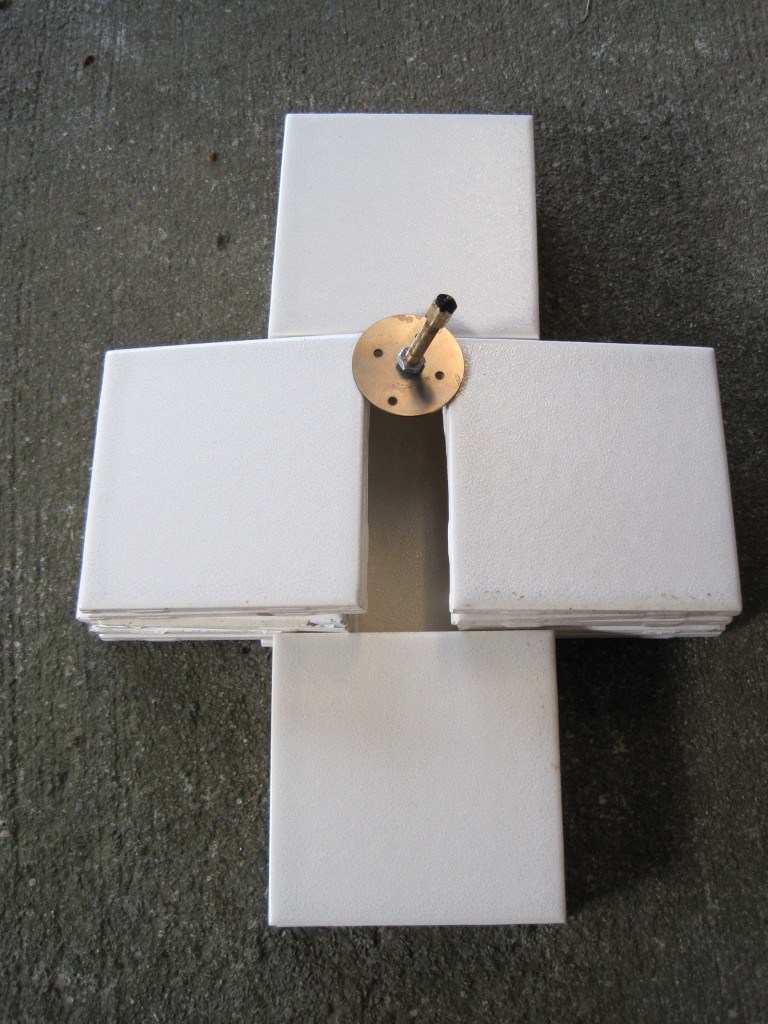
This is similar to the setup I settled on for trying to unclog the barrel.  I’m going to cut the suspense and let you know – this doesn’t work and you shouldn’t try it.  This setup did not work for two very important reasons you can learn from.  First, it was too low to the ground and the blow torch kept going out when I tilted it to get to the heater barrel.  Second, it relied on kitchen tiles – which is a terrible terrible idea.

Kitchen tiles - good intentions, bad idea

Kitchen tiles - good intentions, bad idea

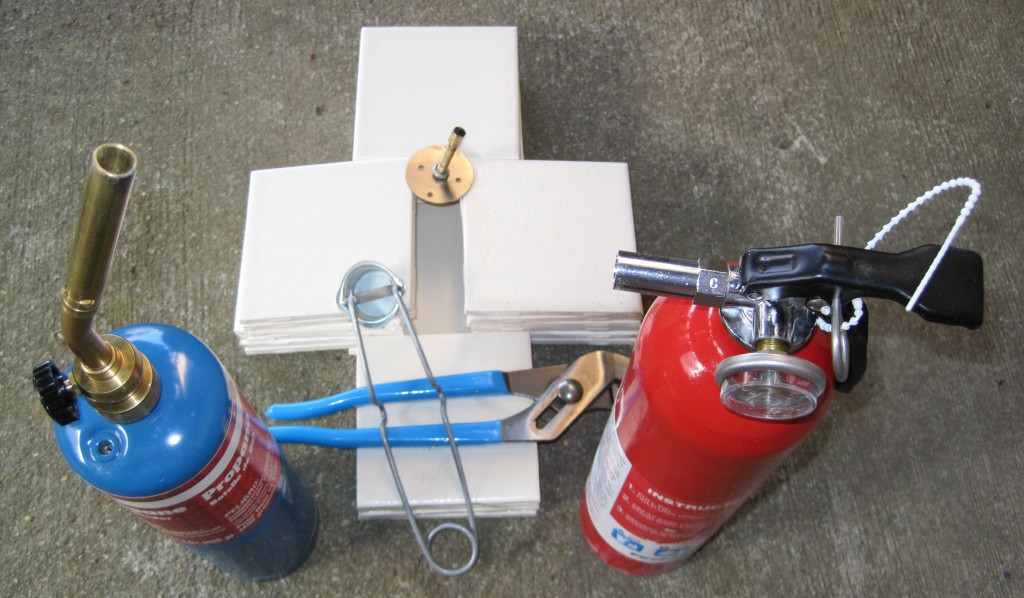
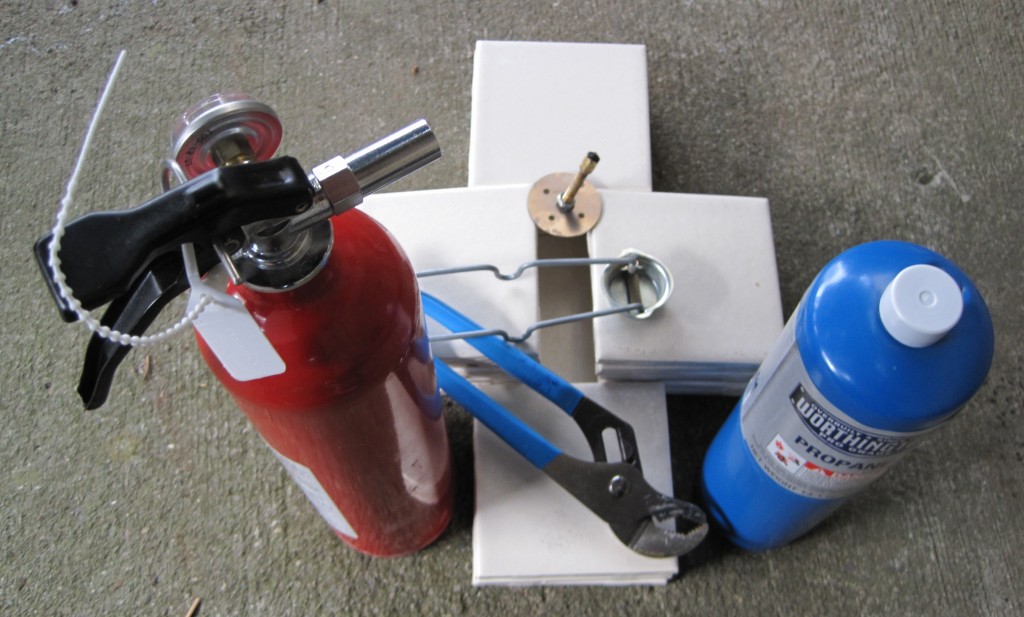
Here’s the next part of the setup:  blow torch, flint, wrench for picking up hot things, and fire extinguisher.  Off camera right is a garden hose.  Again, this setup relies on kitchen tiles – which will actually shatter when this kind of heat is applied.  So don’t do it.  Oh, and it turned out I did have a blow torch – but it was empty.  :)

Setup - empty propane tank, bad kitchen tiles

Setup - empty propane tank, bad kitchen tiles

This is a better setup – with a brand new propane tank – but still a terrible idea with kitchen tiles.

Setup - FULL propane tank, bad kitchen tiles

Setup - FULL propane tank, bad kitchen tiles

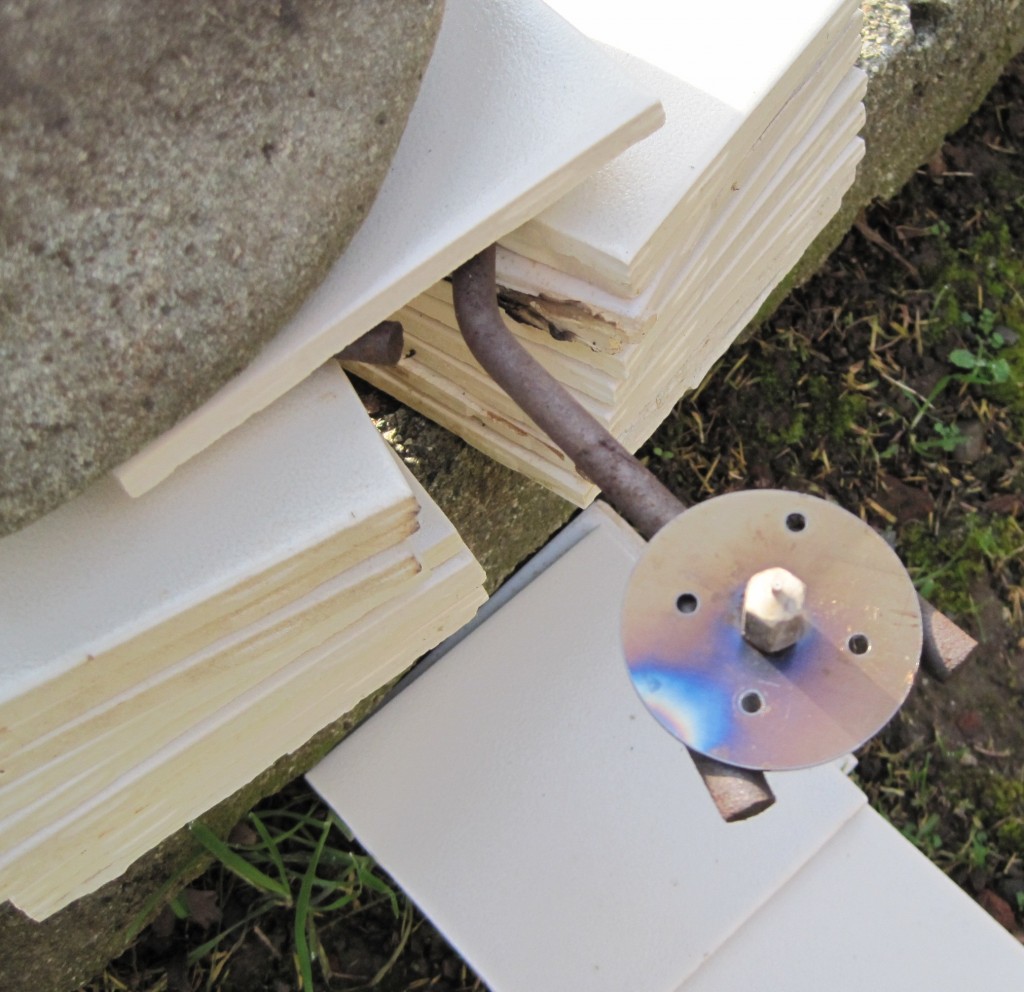
This was a good setup.  Friend nearby with a garden hose and fire extinguisher, no nut on the barrel so it sits in the washer and is easier for me to heat the entire barrel, suspended in air by a metal hook, held down by a big rock, high enough that I didn’t have to tilt the blow torch.  Here you can see the scorched and shattered kitchen tile in the pile on the right.

GOOD setup with extruder barrel suspended in air by metal

GOOD setup with extruder barrel suspended in air by metal

Since I was in charge of the blow torch and my friend had the fire safety equipment I really only pictures of stuff as it was in a relatively cool state.  This means I did not get a picture of the barrel as I was heating it – I had gotten it glowing red hot which was pretty nifty.  I also missed out on getting a picture of flame spewing from the nozzle as the ABS inside ignited.  It was like a mini flame thrower tossing out a thick black smoke.

I was expecting some of the ABS to leak out of the bottom – but the barrel was essentially clean.  I could see all the way through the nozzle with no problem.

Things I learned while trying to unclog my extruder barrel

I learned a lot this morning!  And now you don’t have to learn, as they say, the hard way.

  1. Never ever ever use tiles. I thought I was being very clever with the tile idea.  Apparently leftover kitchen tiles can shatter and fly apart when you heat them.  Who knew?
  2. Instead, use a big piece of metal to hold the barrel. I ended up using a piece of metal I had laying around to hold the extruder barrel and weight it down with a rock.  This worked perfectly.
  3. Don’t tilt your blow torch too much. Probably an elementary thing for most people.  My torch kept going out when I tilted it too far – probably a safety feature.  This meant I had to change the set up so that the barrel was somewhat elevated so I could keep the torch mostly vertical.
  4. Keep a friend handy. This was one of my few ideas/preconceptions that actually worked out.  Thankfully I didn’t need him to use the fire extinguisher or garden hose, but I very well could have.
  5. Don’t leave a nut on the extruder barrel. At the last minute I decided to screw a nut part way on the barrel.  I figured I could prop the extruder barrel up in the washer, heat it, and not discolor the nut or washer.  This didn’t work out because I needed to apply more heat to the barrel to get the clog out.

Burn with me

Doctor Who - "42"

Doctor Who - "42"

I’m really looking forward to my blow torch/clogged extruder barrel adventures.  Obviously, it will take place (1) outside (2) on a wide patch of cement (the non-flamable variety) (3) with a friend, hose, and fire extinguisher handy. 1  Since I haven’t had any time to do unclog it this week, I’ve been thinking about it all week.  And every time I do I remember this episode of Doctor Who and the phrase, “burn with me.”

A MakerBot, a blow torch, Doctor Who, and Hitchhiker’s Guide to the Galaxy.  Pinch me!

  1. Photo courtesy of BBC. []

MakerBot extruder clog experiment

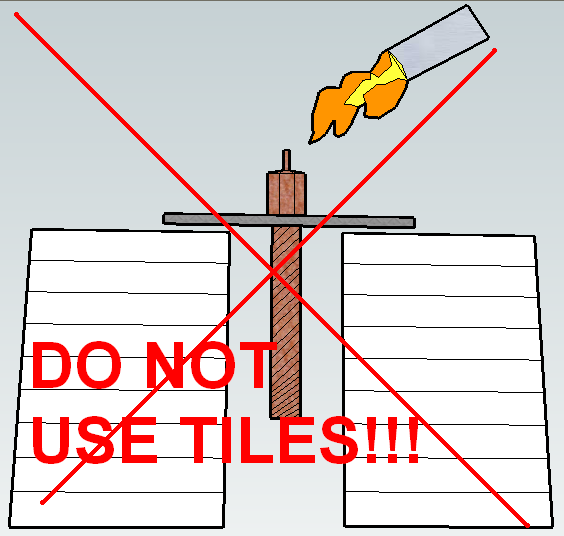
DO NOT USE THIS extruder unclogger setup

DO NOT USE THIS extruder unclogger setup

UPDATE: DO NOT USE TILES!!!  THEY WILL SHATTER!  READ LATEST POST!

The bad news is this is my first clogged extruder.  The good news is I have all the spare parts to whip up a new extruder, no problem.  That means I can experiment with wild abandon!  My backup plan is to slice and dice the PTFE insulator into washers.

Having drilled out most of the plastic clog from the barrel, it’s mostly empty.  The PTFE is in pretty good shape with the threads intact, if a little worse for wear.  My plan to get the remaining plastic out of the nozzle is to put the nozzle/barrel assembly into the large washer upside down and prop it up on some ceramic tiles.

My hope is that by applying a heat source to the nozzle the plastic will just drip/fall out.  The suggestion for using a blow torch to clear out the barrel and nozzle comes from Rick Pollack / MakerGear.  Thanks again Rick!

By the way, wicked Google Sketchup skillz, no?