How to unclog your extruder barrel and nozzle

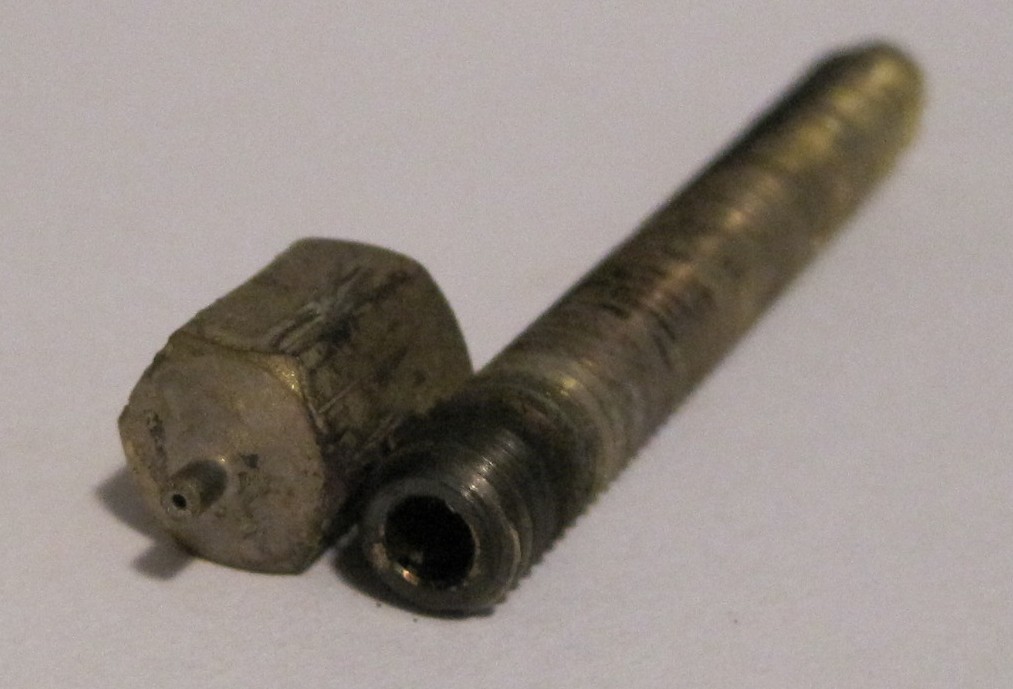
Nozzle and barrel apart

Nozzle and barrel apart

Here’s the process I used to unclog my extruder barrel and nozzle without a lot of extra equipment.  Obviously you should take all reasonable safety precautions with goggles, gloves, tongs, with a fire extinguisher, etc.  Plan ahead and be safe.

1. Materials:

  • Clogged extruder
  • Yarn
  • Q-tips
  • Heavy iron hook
  • Wrench
  • A big rock
  • Ethernet cable
  • Wire strippers
  • Blow torch
  • Safety equipment
  • Drill bits
  • Thick rubber band
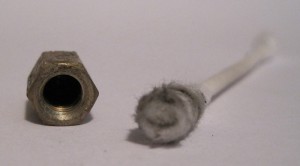
Cleaning the inside of the nozzle - kinda gross

Cleaning the inside of the nozzle - kinda gross

2. Process:

  1. Disassemble the extruder
    1. Since PLA had gotten into the threads I had to leave the extruder warm as I unscrewed the PTFE insulating barrier.
    2. Unwrap the heater – taking off the ceramic tape, thermistor, nichrome, and Kapton tape.
  2. Remove plastic from the extruder
    1. I wrapped the unsharp end of my smallest drill bit in a thick rubber band to give it a grip.
    2. I then rotated the drill bit into the barrel by hand.
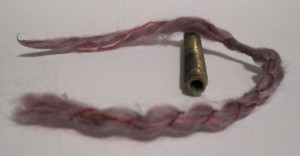
    3. Extruder barrel and thick yarn

      Extruder barrel and thick yarn

    4. When I had gotten as much out as I could, I switched to a slightly larger drill bit (again wrapped in a rubber band for grip) and drilled out as much as I could.  I repeated this until I had gotten to my largest drill bit that would fit in the barrel.
    5. I used a precision flathead screwdriver to follow along the threads of the extruder barrel and chip out plastic.
    6. I used the same precision flathead screwdriver to follow the threads inside the PTFE and chip out plastic.
  3. Heat the barrel
    1. This prior post has pictures for the entire setup.
    2. I was unable to remove the nozzle from the barrel.  Don’t worry if you can’t either.
    3. Put the extruder nozzle and barrel inside the large washer so the barrel is hanging down through the washer with the nozzle keeping it in place.
    4. Place the washer on a big iron hook or some similar piece of large thick heavy metal.
    5. Weigh down one end of the hook with the rock.
    6. With all reasonable proper safety measures in place and with adult supervision, heat the barrel and nozzle with the blow torch until it emits black smoke (which you should NOT breathe) and then keep it hot until it stops emitting smoke.
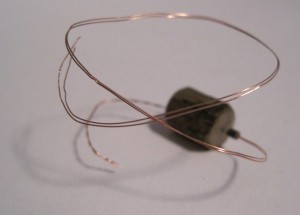
    7. Flossing the nozzle with copper wire

      Flossing the nozzle with copper wire

    8. Use the wrench to pick up the assembly and check if you can see through the nozzle.
    9. If you can’t see through the nozzle, keep heating it.
    10. Once you can see through the nozzle, it’s time to clean the extruder again
  4. Clean the extruder
    1. Once the barrel and nozzle had been heated, I found the nozzle came off very easily.
    2. Clean out the large cavity of the nozzle with the Q tip.
    3. Clean out the barrel with the yarn by inserting the yarn and “flossing” it.
    4. I happened to have pieces of an ethernet cable lying around.  I cut open one of the wires inside and pulled out the thin copper strands.  I took two of them and fed them through the 0.5mm nozzle.  I “flossed” the nozzle until it felt reasonably clean.
  5. Reassemble!

Playing with fire

Well, not really playing.  But, I suppose not really “working” either.  Here’s how my experiments in unclogging a clogged extruder barrel went:

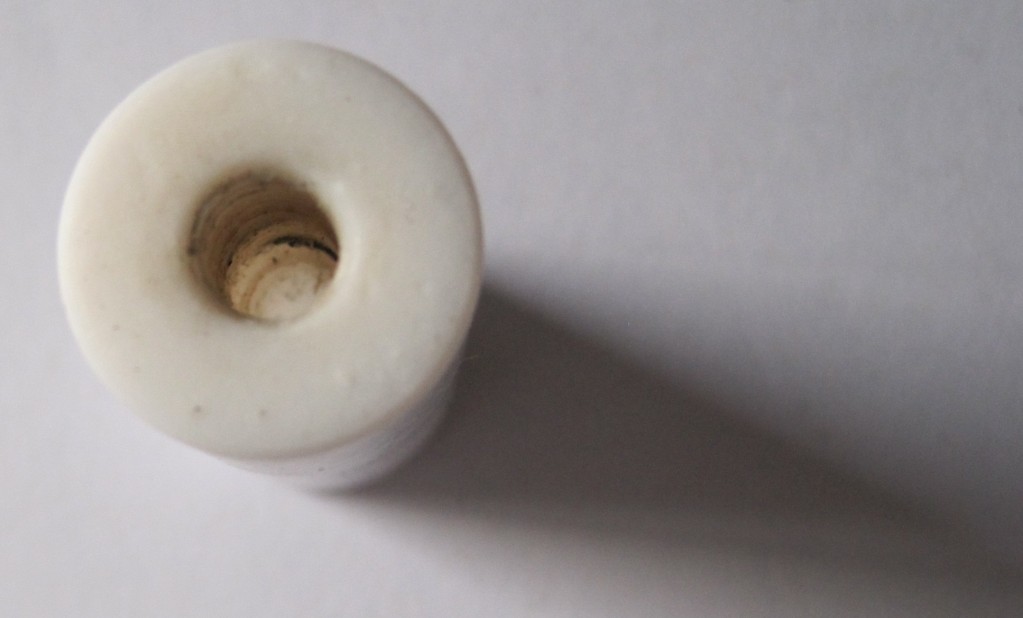
You can see where there is some minor plastic residue left over from the PLA in PTFE insulator which oozed into the threads.  I had used a precision screw driver to follow along the threads and chip out plastic.

PTFE insulator, mostly clean

PTFE insulator, mostly clean

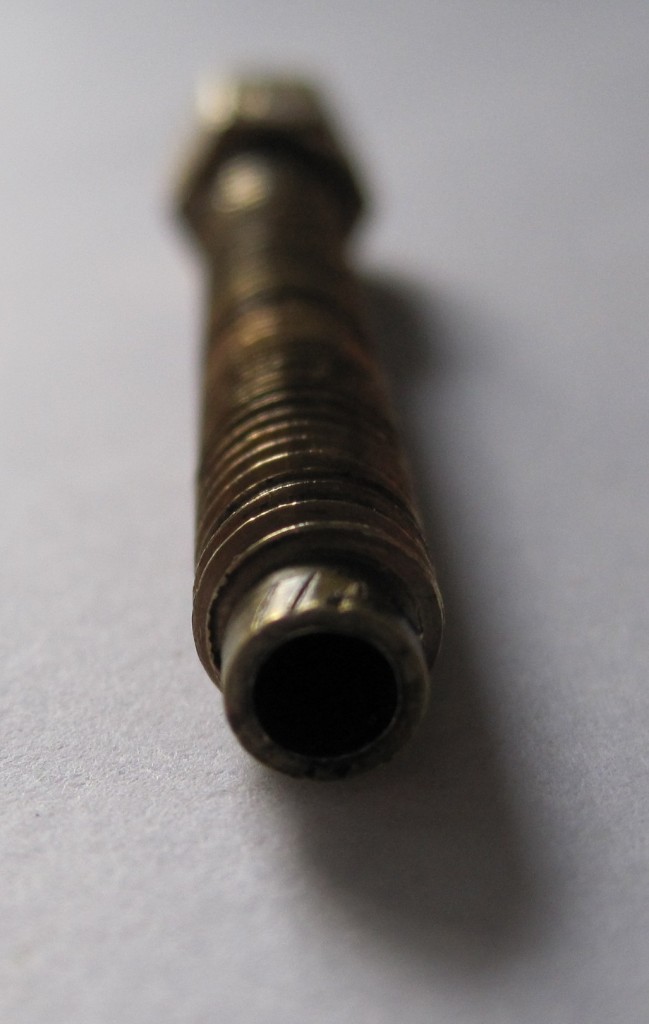
Here’s the clogged barrel.  I had chipped out plastic from the threads using the same precision screwdriver.  You can see some of the scar marks from my brilliant idea to use a wrench on the smooth part of the barrel at one point.  (FYI, that was sarcasm – don’t use a wrench on the barrel.  It was, in fact, a bad idea).  I was totally unable to remove the nozzle from the barrel.

Extruder barrel, clogged

Extruder barrel, clogged

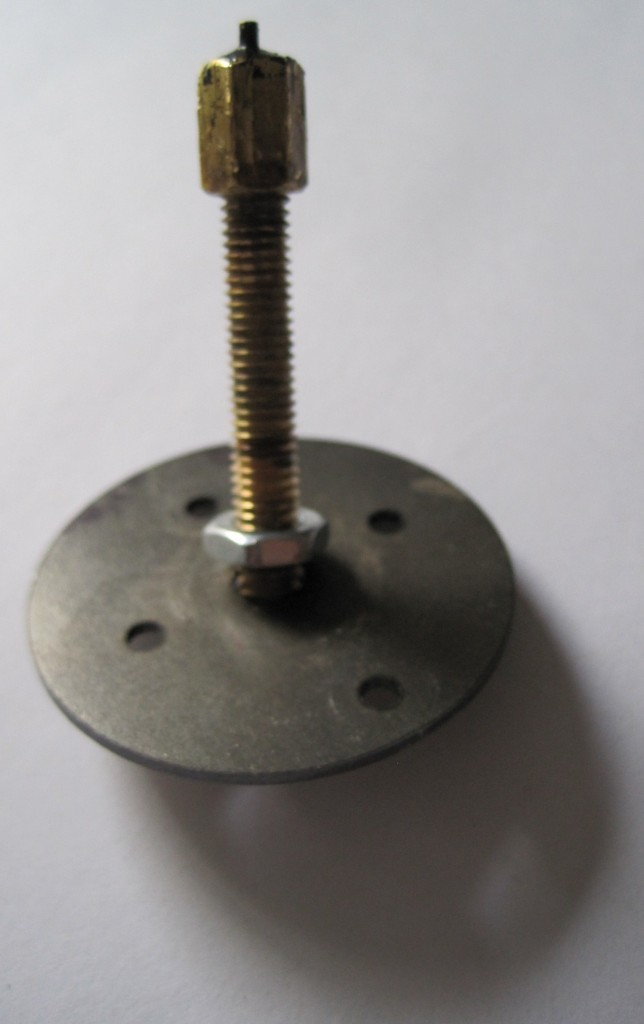
This was my idea for the setup so that the flame/heat would not discolor everything.  You can see where the nozzle has gotten a thin layer of black ABS fused to it.  Again, you can also see the marks on the nozzle where I tried to use a wrench.  And, again, not a good idea.  All I managed to do was just scar it up.

Extruder barrel with nut partway on

Extruder barrel with nut partway on

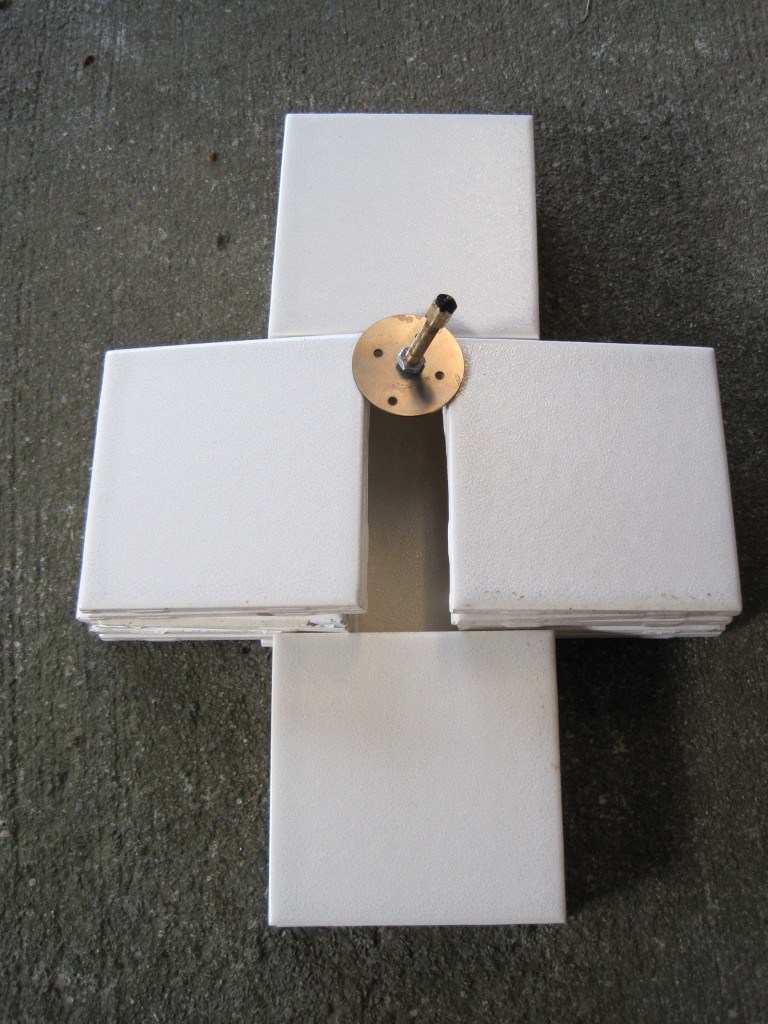
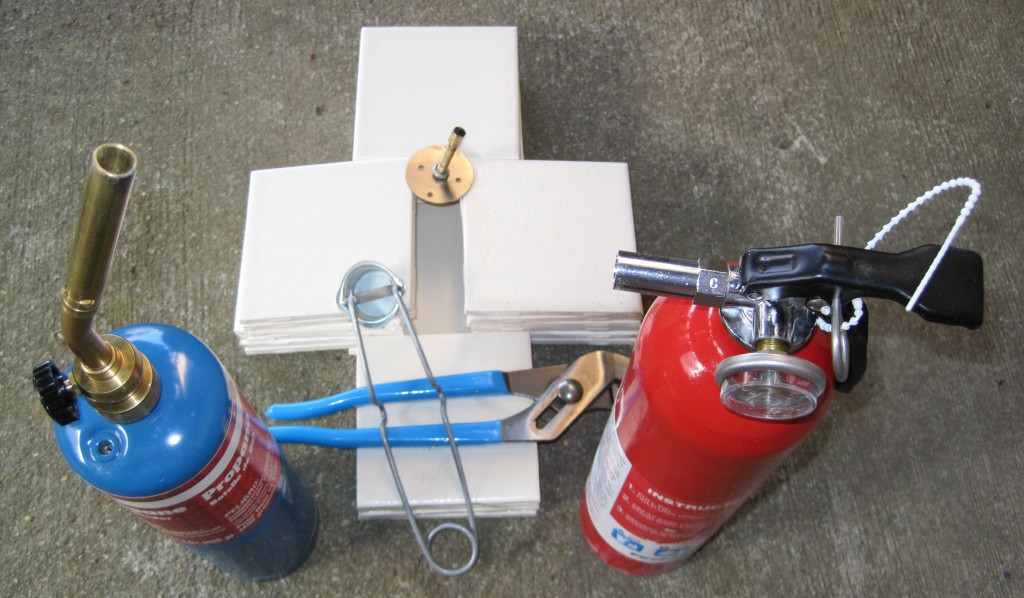
This is similar to the setup I settled on for trying to unclog the barrel.  I’m going to cut the suspense and let you know – this doesn’t work and you shouldn’t try it.  This setup did not work for two very important reasons you can learn from.  First, it was too low to the ground and the blow torch kept going out when I tilted it to get to the heater barrel.  Second, it relied on kitchen tiles – which is a terrible terrible idea.

Kitchen tiles - good intentions, bad idea

Kitchen tiles - good intentions, bad idea

Here’s the next part of the setup:  blow torch, flint, wrench for picking up hot things, and fire extinguisher.  Off camera right is a garden hose.  Again, this setup relies on kitchen tiles – which will actually shatter when this kind of heat is applied.  So don’t do it.  Oh, and it turned out I did have a blow torch – but it was empty.  :)

Setup - empty propane tank, bad kitchen tiles

Setup - empty propane tank, bad kitchen tiles

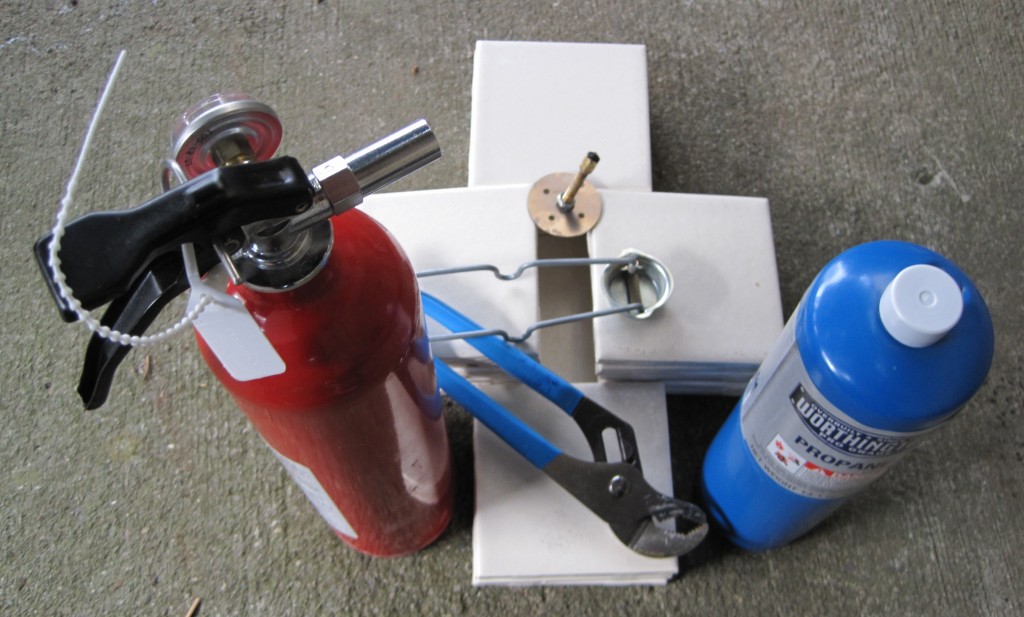
This is a better setup – with a brand new propane tank – but still a terrible idea with kitchen tiles.

Setup - FULL propane tank, bad kitchen tiles

Setup - FULL propane tank, bad kitchen tiles

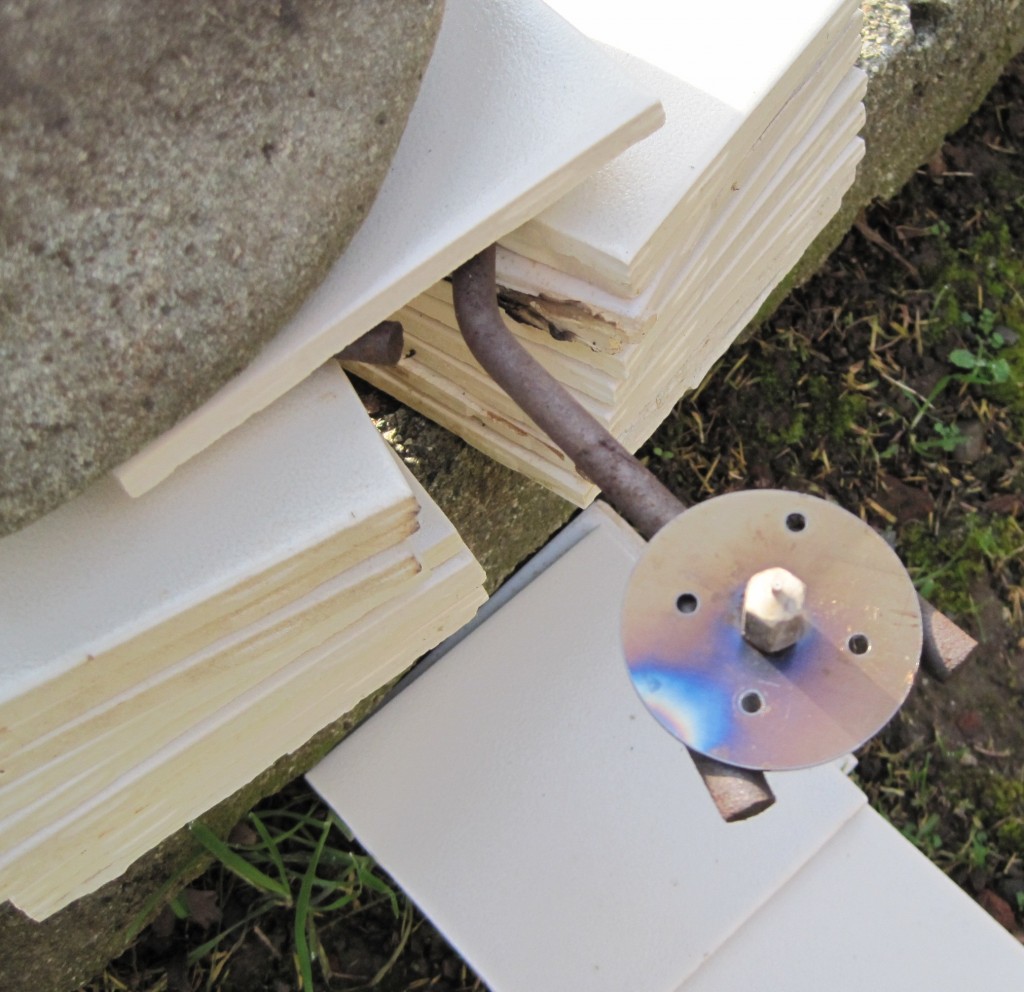
This was a good setup.  Friend nearby with a garden hose and fire extinguisher, no nut on the barrel so it sits in the washer and is easier for me to heat the entire barrel, suspended in air by a metal hook, held down by a big rock, high enough that I didn’t have to tilt the blow torch.  Here you can see the scorched and shattered kitchen tile in the pile on the right.

GOOD setup with extruder barrel suspended in air by metal

GOOD setup with extruder barrel suspended in air by metal

Since I was in charge of the blow torch and my friend had the fire safety equipment I really only pictures of stuff as it was in a relatively cool state.  This means I did not get a picture of the barrel as I was heating it – I had gotten it glowing red hot which was pretty nifty.  I also missed out on getting a picture of flame spewing from the nozzle as the ABS inside ignited.  It was like a mini flame thrower tossing out a thick black smoke.

I was expecting some of the ABS to leak out of the bottom – but the barrel was essentially clean.  I could see all the way through the nozzle with no problem.

Things I learned while trying to unclog my extruder barrel

I learned a lot this morning!  And now you don’t have to learn, as they say, the hard way.

  1. Never ever ever use tiles. I thought I was being very clever with the tile idea.  Apparently leftover kitchen tiles can shatter and fly apart when you heat them.  Who knew?
  2. Instead, use a big piece of metal to hold the barrel. I ended up using a piece of metal I had laying around to hold the extruder barrel and weight it down with a rock.  This worked perfectly.
  3. Don’t tilt your blow torch too much. Probably an elementary thing for most people.  My torch kept going out when I tilted it too far – probably a safety feature.  This meant I had to change the set up so that the barrel was somewhat elevated so I could keep the torch mostly vertical.
  4. Keep a friend handy. This was one of my few ideas/preconceptions that actually worked out.  Thankfully I didn’t need him to use the fire extinguisher or garden hose, but I very well could have.
  5. Don’t leave a nut on the extruder barrel. At the last minute I decided to screw a nut part way on the barrel.  I figured I could prop the extruder barrel up in the washer, heat it, and not discolor the nut or washer.  This didn’t work out because I needed to apply more heat to the barrel to get the clog out.

Burn with me

Doctor Who - "42"

Doctor Who - "42"

I’m really looking forward to my blow torch/clogged extruder barrel adventures.  Obviously, it will take place (1) outside (2) on a wide patch of cement (the non-flamable variety) (3) with a friend, hose, and fire extinguisher handy. 1  Since I haven’t had any time to do unclog it this week, I’ve been thinking about it all week.  And every time I do I remember this episode of Doctor Who and the phrase, “burn with me.”

A MakerBot, a blow torch, Doctor Who, and Hitchhiker’s Guide to the Galaxy.  Pinch me!

  1. Photo courtesy of BBC. []

Repairing ABS parts

The spout on the black teapot on the left snapped off as I was trying to clean the model.  I don’t have any ABS glue lying around so I tried white glue – which didn’t work at all.  Later I held up the broken piece and the body of the teapot to my hot extruder barrel and melted them back together.  Clearly not a recommended way to repair a part – but it’s been pretty effective.

It’s not just me!

See!  Spacexula has discovered the hard way she’s a wicked temperamental woman!

Shattered acrylic plastruder…  Yikes!  I printed up one of Zaggo’s Prinstruders – but it appears to be optimized for an early MakerBot Batch 5 with large/small dinos.  If I wanted to use my printstruder I would need to pick up some of the extra parts required and essentially print up a small dino.1  However, I think I’d like to start replacing parts out of my MakerBot with printed parts so that I can keep the originals as backups.  However, I have a feeling a prinstruder out of ABS is going to be much more robust/resilient than the layered acrylic plastruder.  What do I need?

  • 2x 626 ball bearings.
  • 4x M4 bolts, 60mm long
  • 4x M4 nuts (optionally two of them as wingnuts)
  • 1x M6 bolt (30mm long)
  • 1x M6 nut
  • 3x M3 bolts (30mm long)
  • 3x+ M6 washers
  • 3x+M3 washers
  • 4x M4 washers

In addition to these parts, I’ll also need to measure my ‘bot for a small dino equivalent.  Since my extruder barrel is out of commission and the plastruder is just lying on the platform, this is as good a time as any to measure it up.

  1. Shopping list below []