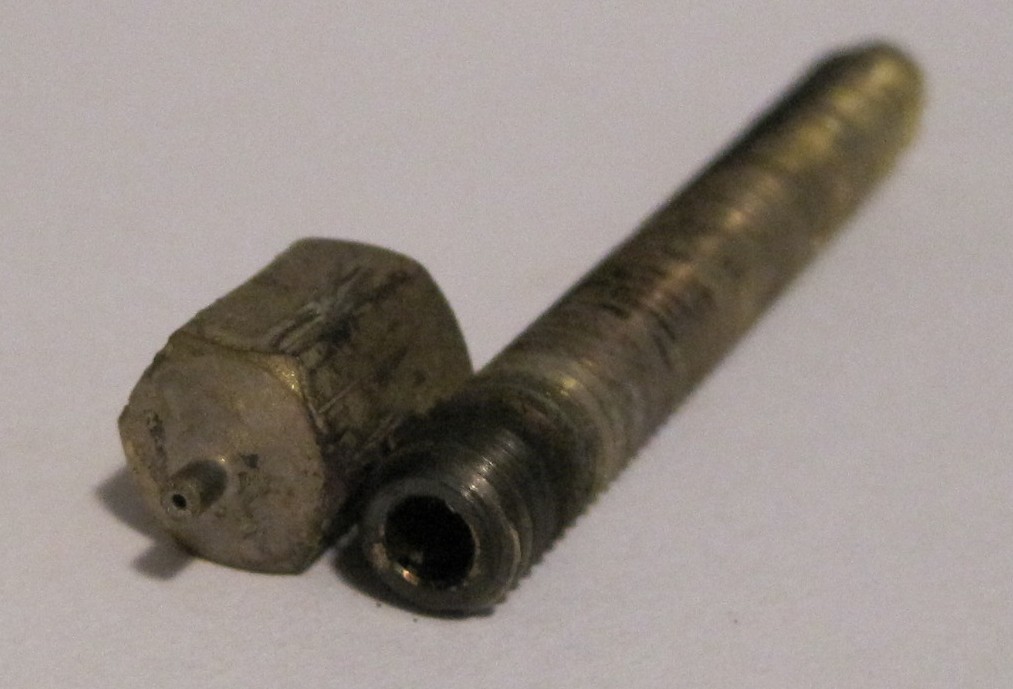
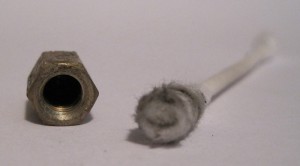
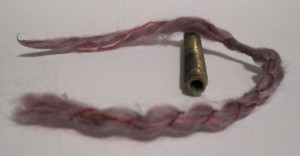
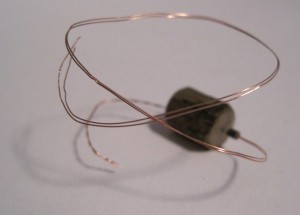
Here’s the process I used to unclog my extruder barrel and nozzle without a lot of extra equipment. Obviously you should take all reasonable safety precautions with goggles, gloves, tongs, with a fire extinguisher, etc. Plan ahead and be safe.
1. Materials:
- Clogged extruder
- Yarn
- Q-tips
- Heavy iron hook
- Wrench
- A big rock
- Ethernet cable
- Wire strippers
- Blow torch
- Safety equipment
- Drill bits
- Thick rubber band
2. Process:
- Disassemble the extruder
- Since PLA had gotten into the threads I had to leave the extruder warm as I unscrewed the PTFE insulating barrier.
- Unwrap the heater – taking off the ceramic tape, thermistor, nichrome, and Kapton tape.
- Remove plastic from the extruder
- I wrapped the unsharp end of my smallest drill bit in a thick rubber band to give it a grip.
- I then rotated the drill bit into the barrel by hand.
- When I had gotten as much out as I could, I switched to a slightly larger drill bit (again wrapped in a rubber band for grip) and drilled out as much as I could. I repeated this until I had gotten to my largest drill bit that would fit in the barrel.
- I used a precision flathead screwdriver to follow along the threads of the extruder barrel and chip out plastic.
- I used the same precision flathead screwdriver to follow the threads inside the PTFE and chip out plastic.
- Heat the barrel
- This prior post has pictures for the entire setup.
- I was unable to remove the nozzle from the barrel. Don’t worry if you can’t either.
- Put the extruder nozzle and barrel inside the large washer so the barrel is hanging down through the washer with the nozzle keeping it in place.
- Place the washer on a big iron hook or some similar piece of large thick heavy metal.
- Weigh down one end of the hook with the rock.
- With all reasonable proper safety measures in place and with adult supervision, heat the barrel and nozzle with the blow torch until it emits black smoke (which you should NOT breathe) and then keep it hot until it stops emitting smoke.
- Use the wrench to pick up the assembly and check if you can see through the nozzle.
- If you can’t see through the nozzle, keep heating it.
- Once you can see through the nozzle, it’s time to clean the extruder again
- Clean the extruder
- Once the barrel and nozzle had been heated, I found the nozzle came off very easily.
- Clean out the large cavity of the nozzle with the Q tip.
- Clean out the barrel with the yarn by inserting the yarn and “flossing” it.
- I happened to have pieces of an ethernet cable lying around. I cut open one of the wires inside and pulled out the thin copper strands. I took two of them and fed them through the 0.5mm nozzle. I “flossed” the nozzle until it felt reasonably clean.
- Reassemble!

