Well, not really playing. But, I suppose not really “working” either. Here’s how my experiments in unclogging a clogged extruder barrel went:
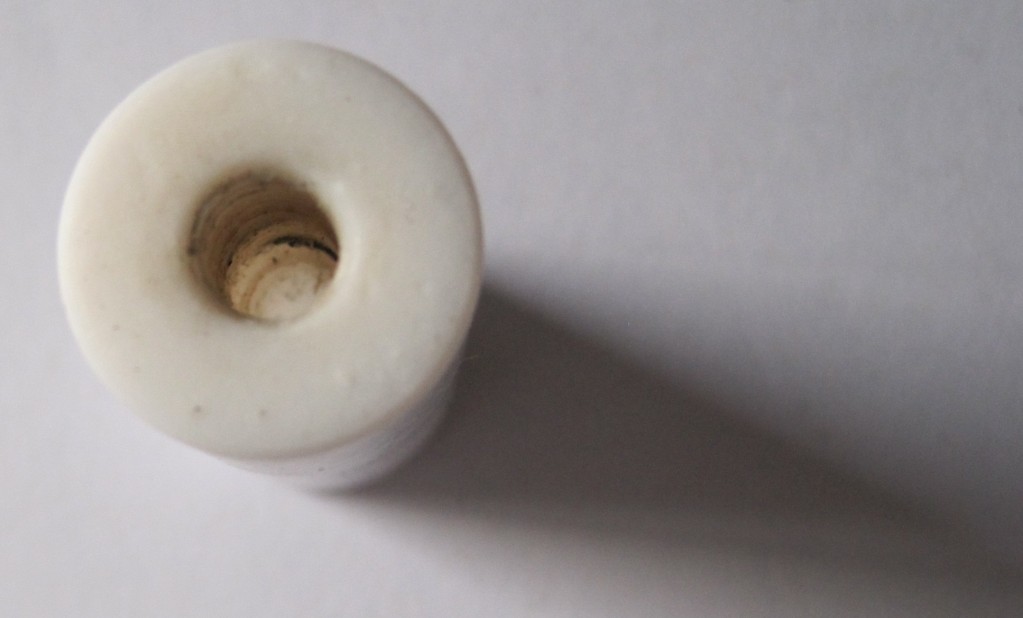
You can see where there is some minor plastic residue left over from the PLA in PTFE insulator which oozed into the threads. I had used a precision screw driver to follow along the threads and chip out plastic.
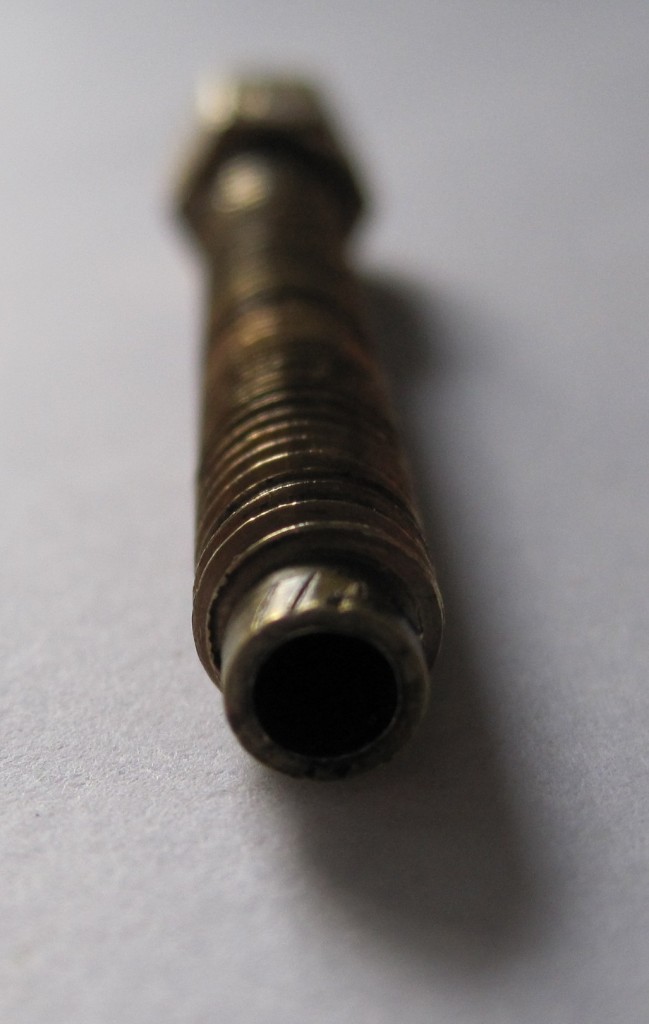
Here’s the clogged barrel. I had chipped out plastic from the threads using the same precision screwdriver. You can see some of the scar marks from my brilliant idea to use a wrench on the smooth part of the barrel at one point. (FYI, that was sarcasm – don’t use a wrench on the barrel. It was, in fact, a bad idea). I was totally unable to remove the nozzle from the barrel.
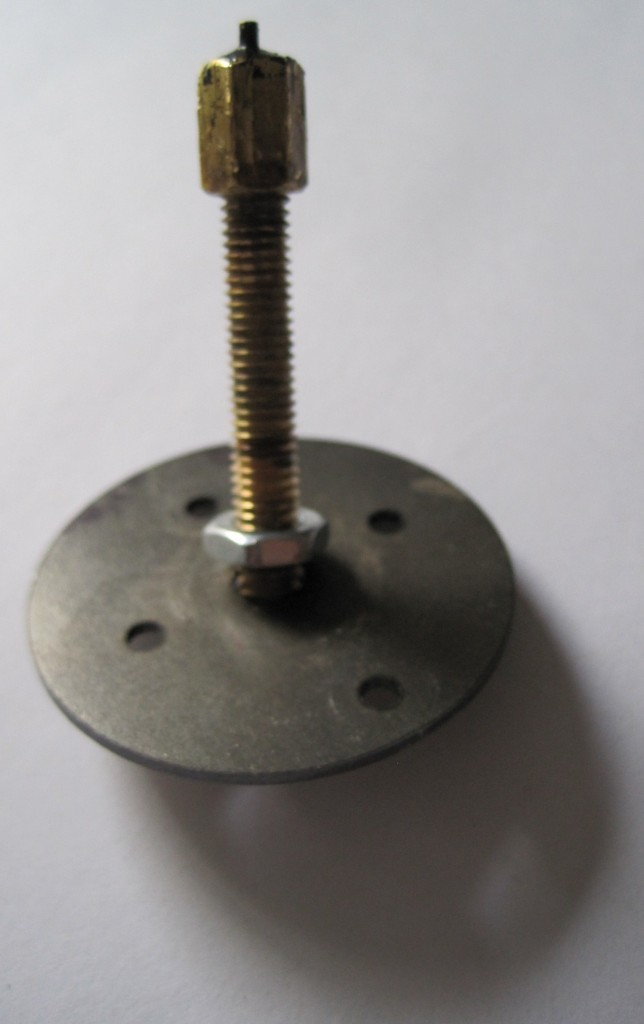
This was my idea for the setup so that the flame/heat would not discolor everything. You can see where the nozzle has gotten a thin layer of black ABS fused to it. Again, you can also see the marks on the nozzle where I tried to use a wrench. And, again, not a good idea. All I managed to do was just scar it up.
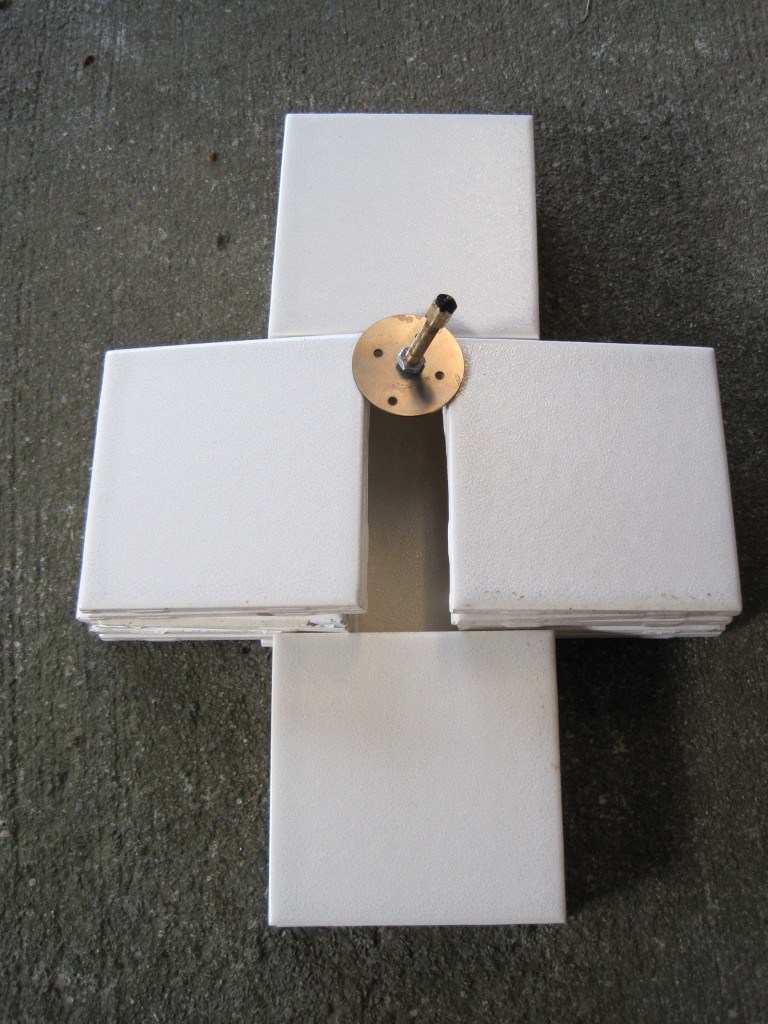
This is similar to the setup I settled on for trying to unclog the barrel. I’m going to cut the suspense and let you know – this doesn’t work and you shouldn’t try it. This setup did not work for two very important reasons you can learn from. First, it was too low to the ground and the blow torch kept going out when I tilted it to get to the heater barrel. Second, it relied on kitchen tiles – which is a terrible terrible idea.
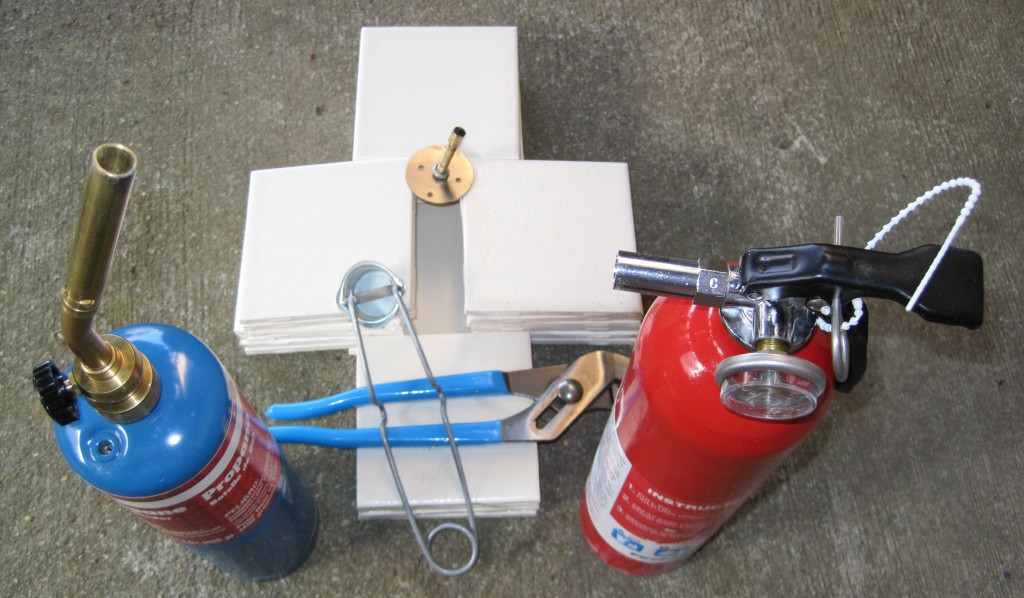
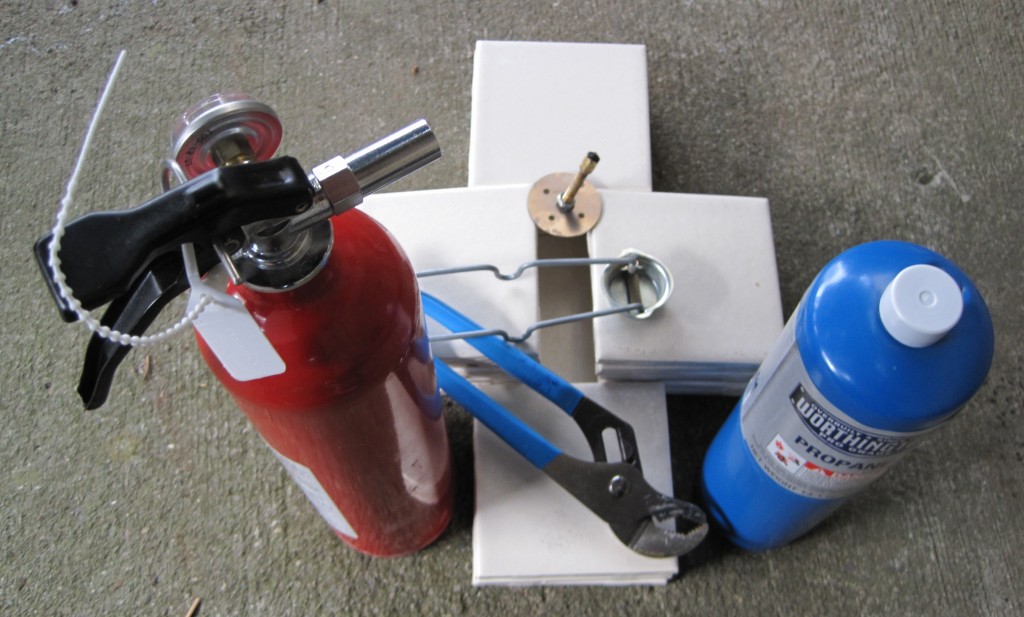
Here’s the next part of the setup: blow torch, flint, wrench for picking up hot things, and fire extinguisher. Off camera right is a garden hose. Again, this setup relies on kitchen tiles – which will actually shatter when this kind of heat is applied. So don’t do it. Oh, and it turned out I did have a blow torch – but it was empty. :)
This is a better setup – with a brand new propane tank – but still a terrible idea with kitchen tiles.
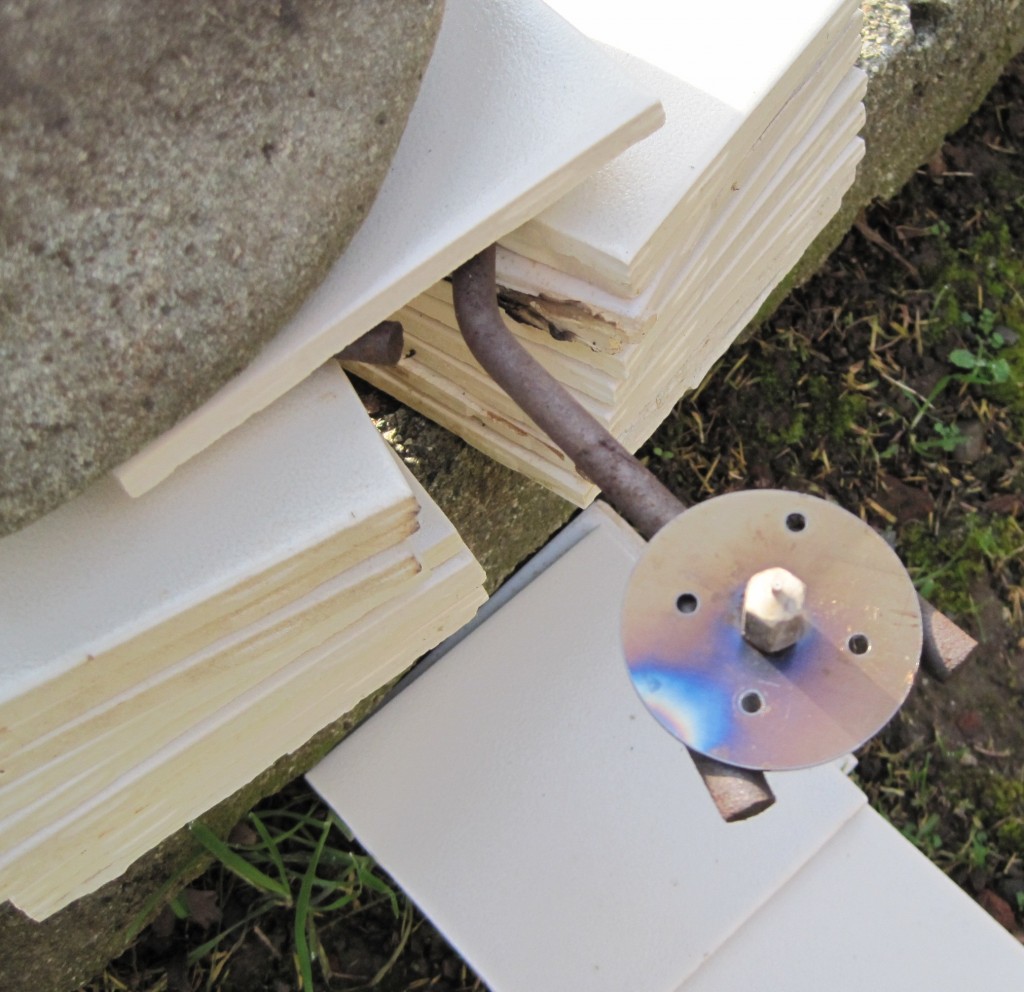
This was a good setup. Friend nearby with a garden hose and fire extinguisher, no nut on the barrel so it sits in the washer and is easier for me to heat the entire barrel, suspended in air by a metal hook, held down by a big rock, high enough that I didn’t have to tilt the blow torch. Here you can see the scorched and shattered kitchen tile in the pile on the right.
Since I was in charge of the blow torch and my friend had the fire safety equipment I really only pictures of stuff as it was in a relatively cool state. This means I did not get a picture of the barrel as I was heating it – I had gotten it glowing red hot which was pretty nifty. I also missed out on getting a picture of flame spewing from the nozzle as the ABS inside ignited. It was like a mini flame thrower tossing out a thick black smoke.
I was expecting some of the ABS to leak out of the bottom – but the barrel was essentially clean. I could see all the way through the nozzle with no problem.

