PLA versus ABS, initial thoughts

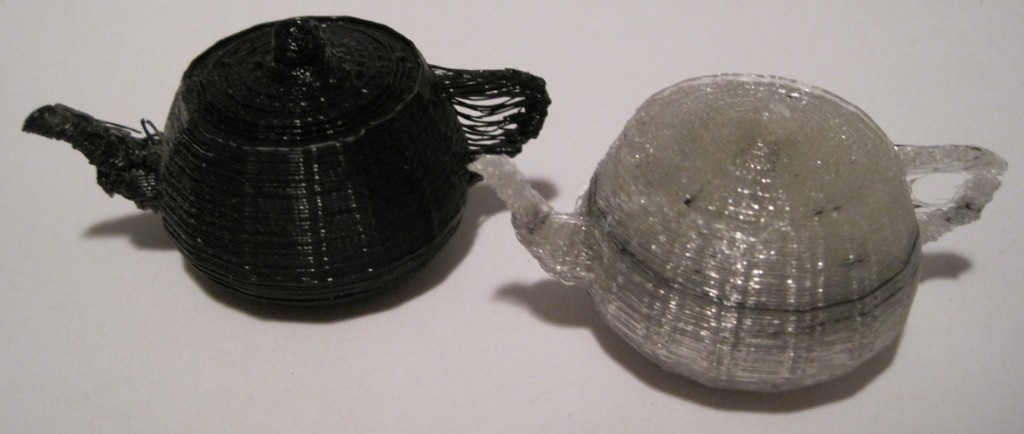
I’ve yet to print something big as I am still working out some of the black ABS specks from the extruder.  Of the things I have printed so far, it looks like the PLA feels more brittle than the ABS.  ABS will flex slightly when pressure is applied, whereas PLA seems to resist until it snaps.  I like that I’m not wasting PLA by building rafts any more, now that the raft option is turned off in Skeinforge.

PLA takes a little longer to cool which has a few effects on a build.  If the layer underneath is still molten and saggy, the layer on top will sag too.  When an ABS part is done printing you’re basically ready to remove it.  I find that a PLA object can still be a little soft for as much as 15-30 seconds after a build.

I’m loosing finer details on prints.  I just reprinted the toy fire truck swivel.  It turned out really nice except for the actual swivel part.  Unlike the ABS model where the swivel snapped off immediately, the PLA model’s swivel was pretty solid (once it cooled and hardened).  However, it came out too thin!  As I watched it print, the PLA was so warm that it just stretched back during parts of the print – meaning the extruder nozzle made the full circuit, but the plastic stretched a little and pulled back closer to it’s last position.  Uh, that may not sound like the clearest example.

Suffice it to say that small round details such as the swivel didn’t turn out very well.  Which is pretty odd since similar small round detailed parts on the teapot did turn out well.  I suppose part of the reason is the swivel was one small round part where the next hot layer was set down on the prior still hot layer, unlike on the teapot where the thin round spout would be drawn, then the body, then the thin round part for the handle and back over the body – so that by the time the next thin layer was set down the prior layer had cooled.

Noise reduction via rubber bands

A common question from some of my friends is “How noisy is the robot?”  Since getting the belts tensioned pretty well and getting the stepper motors tuned up, it’s a little noisier.  But, it is quieter than our dishwasher or central heating unit.

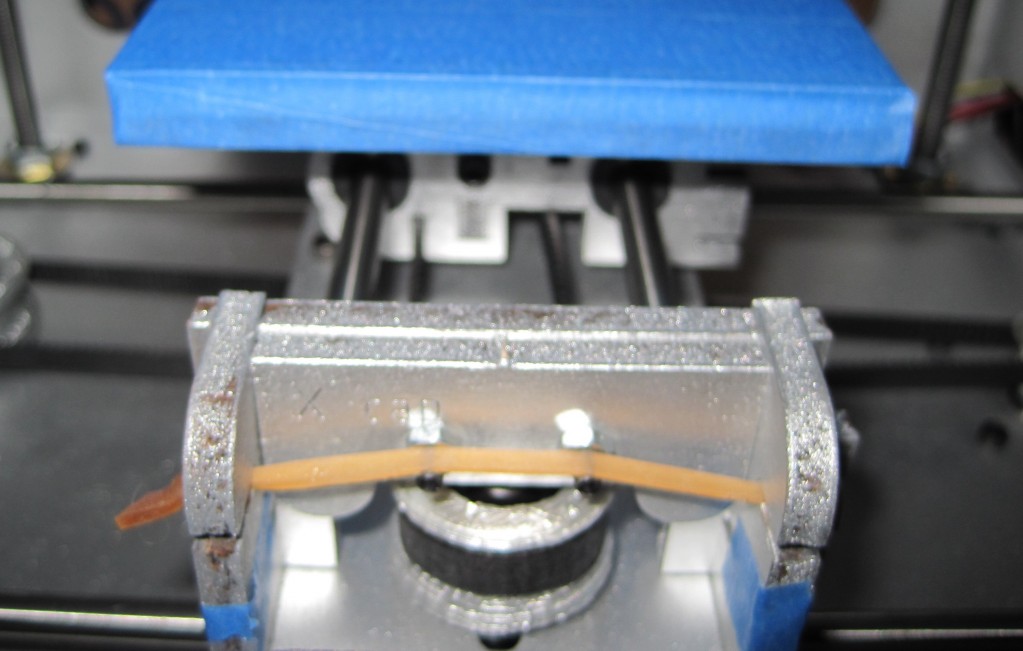
Rubber band for MakerBot noise reduction

Rubber band for MakerBot noise reduction

Besides making sure the rods are oiled and bolts tightened (they get loose with all the shaking) I noticed that compressing the two sides of the Y stage helped with noise reduction.  By taking a thick rubber band, stretching it, and tying a big knot in either end I can put it in the slots for the opto-endstop triggers.  This has helped a little.  You’ll notice I stretched them over the two bolts.  This seems to also have helped just a little bit.

Blue platform

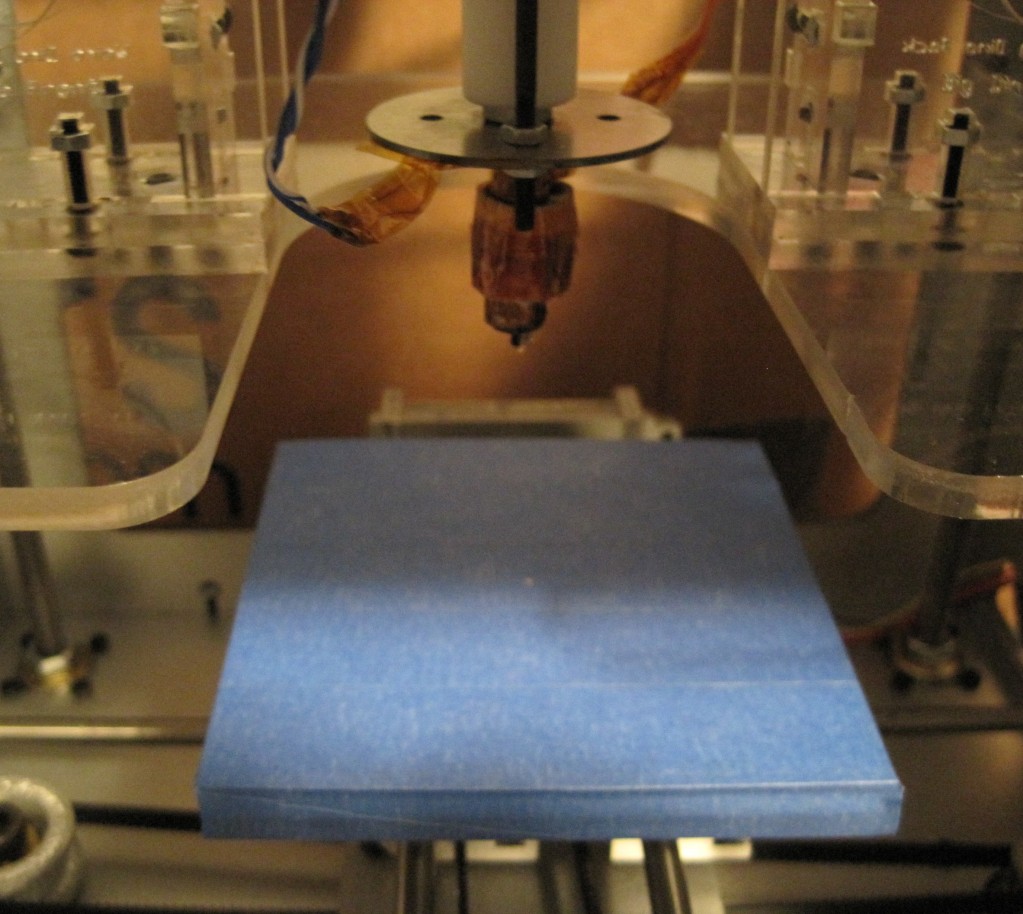
Foam core build platform, covered in blue painters tape

Foam core build platform, covered in blue painters tape

As the caption suggests, this is just the foam core build platform placed on top of the wooden platform and taped down with blue painter’s tape.  The tape has worked very well for my first PLA print, the teapot.  I’ll try this new platform setup in a little bit.

Ball bearings

A standard MakerBot Cupcake CNC requires:

  • 8x 608 bearings for the four X axis threaded rods
  • 2x 608 bearings for the two Z axis pulleys
  • 1x 608 bearing for the X axis pulley
  • 1x 606 bearing for the Y axis pulley

With all the cool things that could be built with the addition of bearings to a MakerBot toolkit I wanted to pick up some additional bearings.  I figure I could print an improved version of my retractable spring loaded tape measure, the microlathe, and other cool things.

But, where to find these things?  My local hardware store didn’t carry them.  I went to a hobby shop nearby which had exactly two bearings for $5.  It sounded expensive, but I’d never priced bearings before and I really just wanted the two at the time.

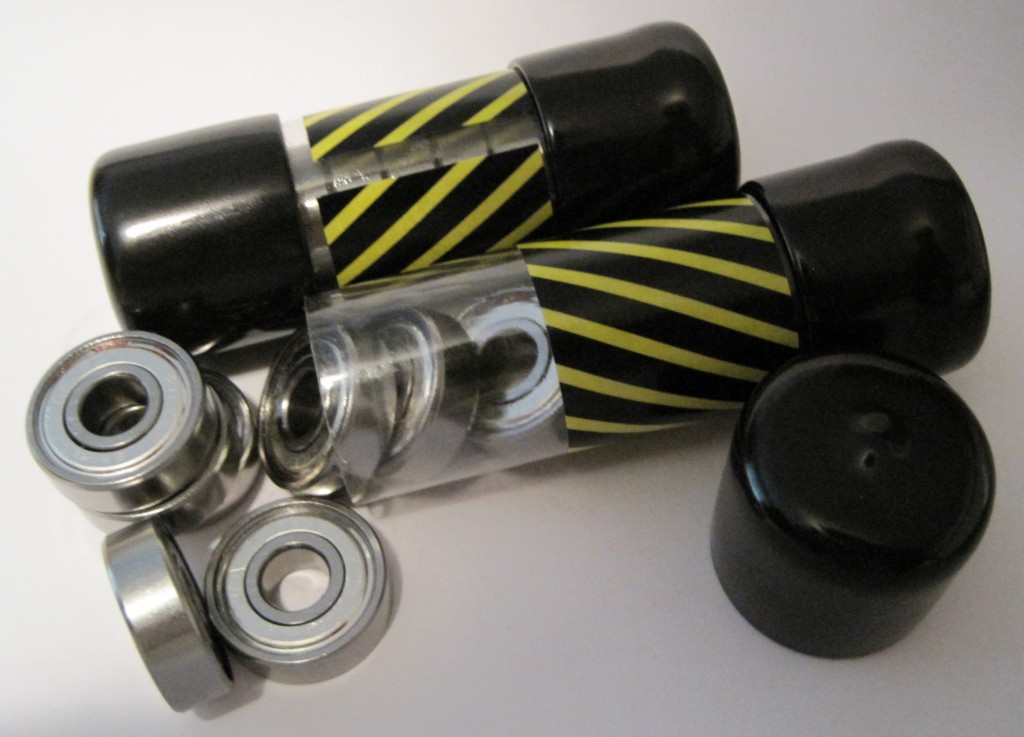
A few weeks later I had a brainstorm.  Where could I find cheap skate ball bearings?  Well, why not a place that sells cheap skates!  I called my local used sporting goods store and they had a 16 pack of bearings for $5.  Right on.

Ball bearings

Ball bearings

Microlathe thoughts

Cathal Garvey’s Mircolathe is a printable mini lathe made from MakerBot printable parts, ball bearings, a dremmel and other minor parts.

Microlathe by Cathal Garvey

Microlathe by Cathal Garvey

Now, I don’t have a dremmel… but from problems are born solutions.  Everyone has an electric drill, right?  What if the back of the left printable piece had a flathead screwdriver shaped hollow?  You could pop a flathead screwdriver bit into the drill, slide the drill up to the microlathe, put the screwdriver bit into the hollow and turn it on.

Skeinforge settings changes

I figured, why not treat this blog as my lab book, right?  It’s a good way to document changes in settings, as well as my rationale for doing so.  Thusly, and without further ceremony, delay, pomp, or ado, I present for your kind consideration and review my latest Skeinforge changes:

  1. Skeinforge->Raft->Activate Raft: checked->unchecked
    • Now that I’m printing in PLA, I won’t need the raft.  As you can probably tell from the pictures below I’ve covered my acrylic build base in blue painter’s tape.  I think I’ll probably just take one of my spare foamcore build surfaces and cover that with blue tape and give that a shot.  I’ve noticed that as soon as my extruder heats up the PLA starts to ooze out.  This isn’t a problem as far as I can tell.  However, it does let some PLA drip – but when I start to run the extruder again it doesn’t extrude at all.  My guess is that the oozing PLA is dripping out of the nozzle, which then has to be filled back up to extrude.  ANYhow, my point is that if I heat up the extruder and don’t immediately start to print it will take a while to fill the nozzle, which means the raft gives the extruder sufficient time to get going before the part is being printed.  Rather than print a raft, waste the plastic, and then have to chip it off later it makes more sense to make sure I advance the extruder a little before I start printing.
  2. Skeinforge->Fill->Infill Solidity (ratio): 0.4->0.3
    • I’ve printed with as little as a 20% fill with no noticeable problems.  I suppose it would really depend on your model.  If the top of the model begins to taper up to a point, then you could probably print with 0% fill.  However, if the top of your build is flat, the topmost layers won’t have much to rest on and will sag just a little.  This doesn’t appear to be a structural problem, but more of an aesthetic one.
  3. Skeinforge->Fill->Infill Begin Rotation (degrees): 45.0->90.0
    • I tried reprinting Zaggo’s whistle in PLA and it didn’t come out – just like it didn’t come out in ABS.  I’m not sure how or why, but my infill rotation got set to 45.  I figure I might have a more solid fill/wall if I had this rotate to 90 degrees.  We’ll find out!
  4. Skeinforge->Fill->Solid Surface Thickness (layers): 3->4
    • This was just a slight tweak to see if I could make solid layers slightly more solid and waterproof/airtight.

Working out

I would have thought that the PLA would have just worked out all of the black ABS out of the way already, but it’s still got the occasional black streak.  Again, I don’t mind – I kinda like it.  However, I would like to be able to build some pieces out of pure PLA.  No matter, I’ll keep printing stripey non-cosmetic parts.  :)