
Before it got too hot this morning, I spent a little time experimenting with materials before taking another scary step towards finishing the travel ukulele.
- Bridge.
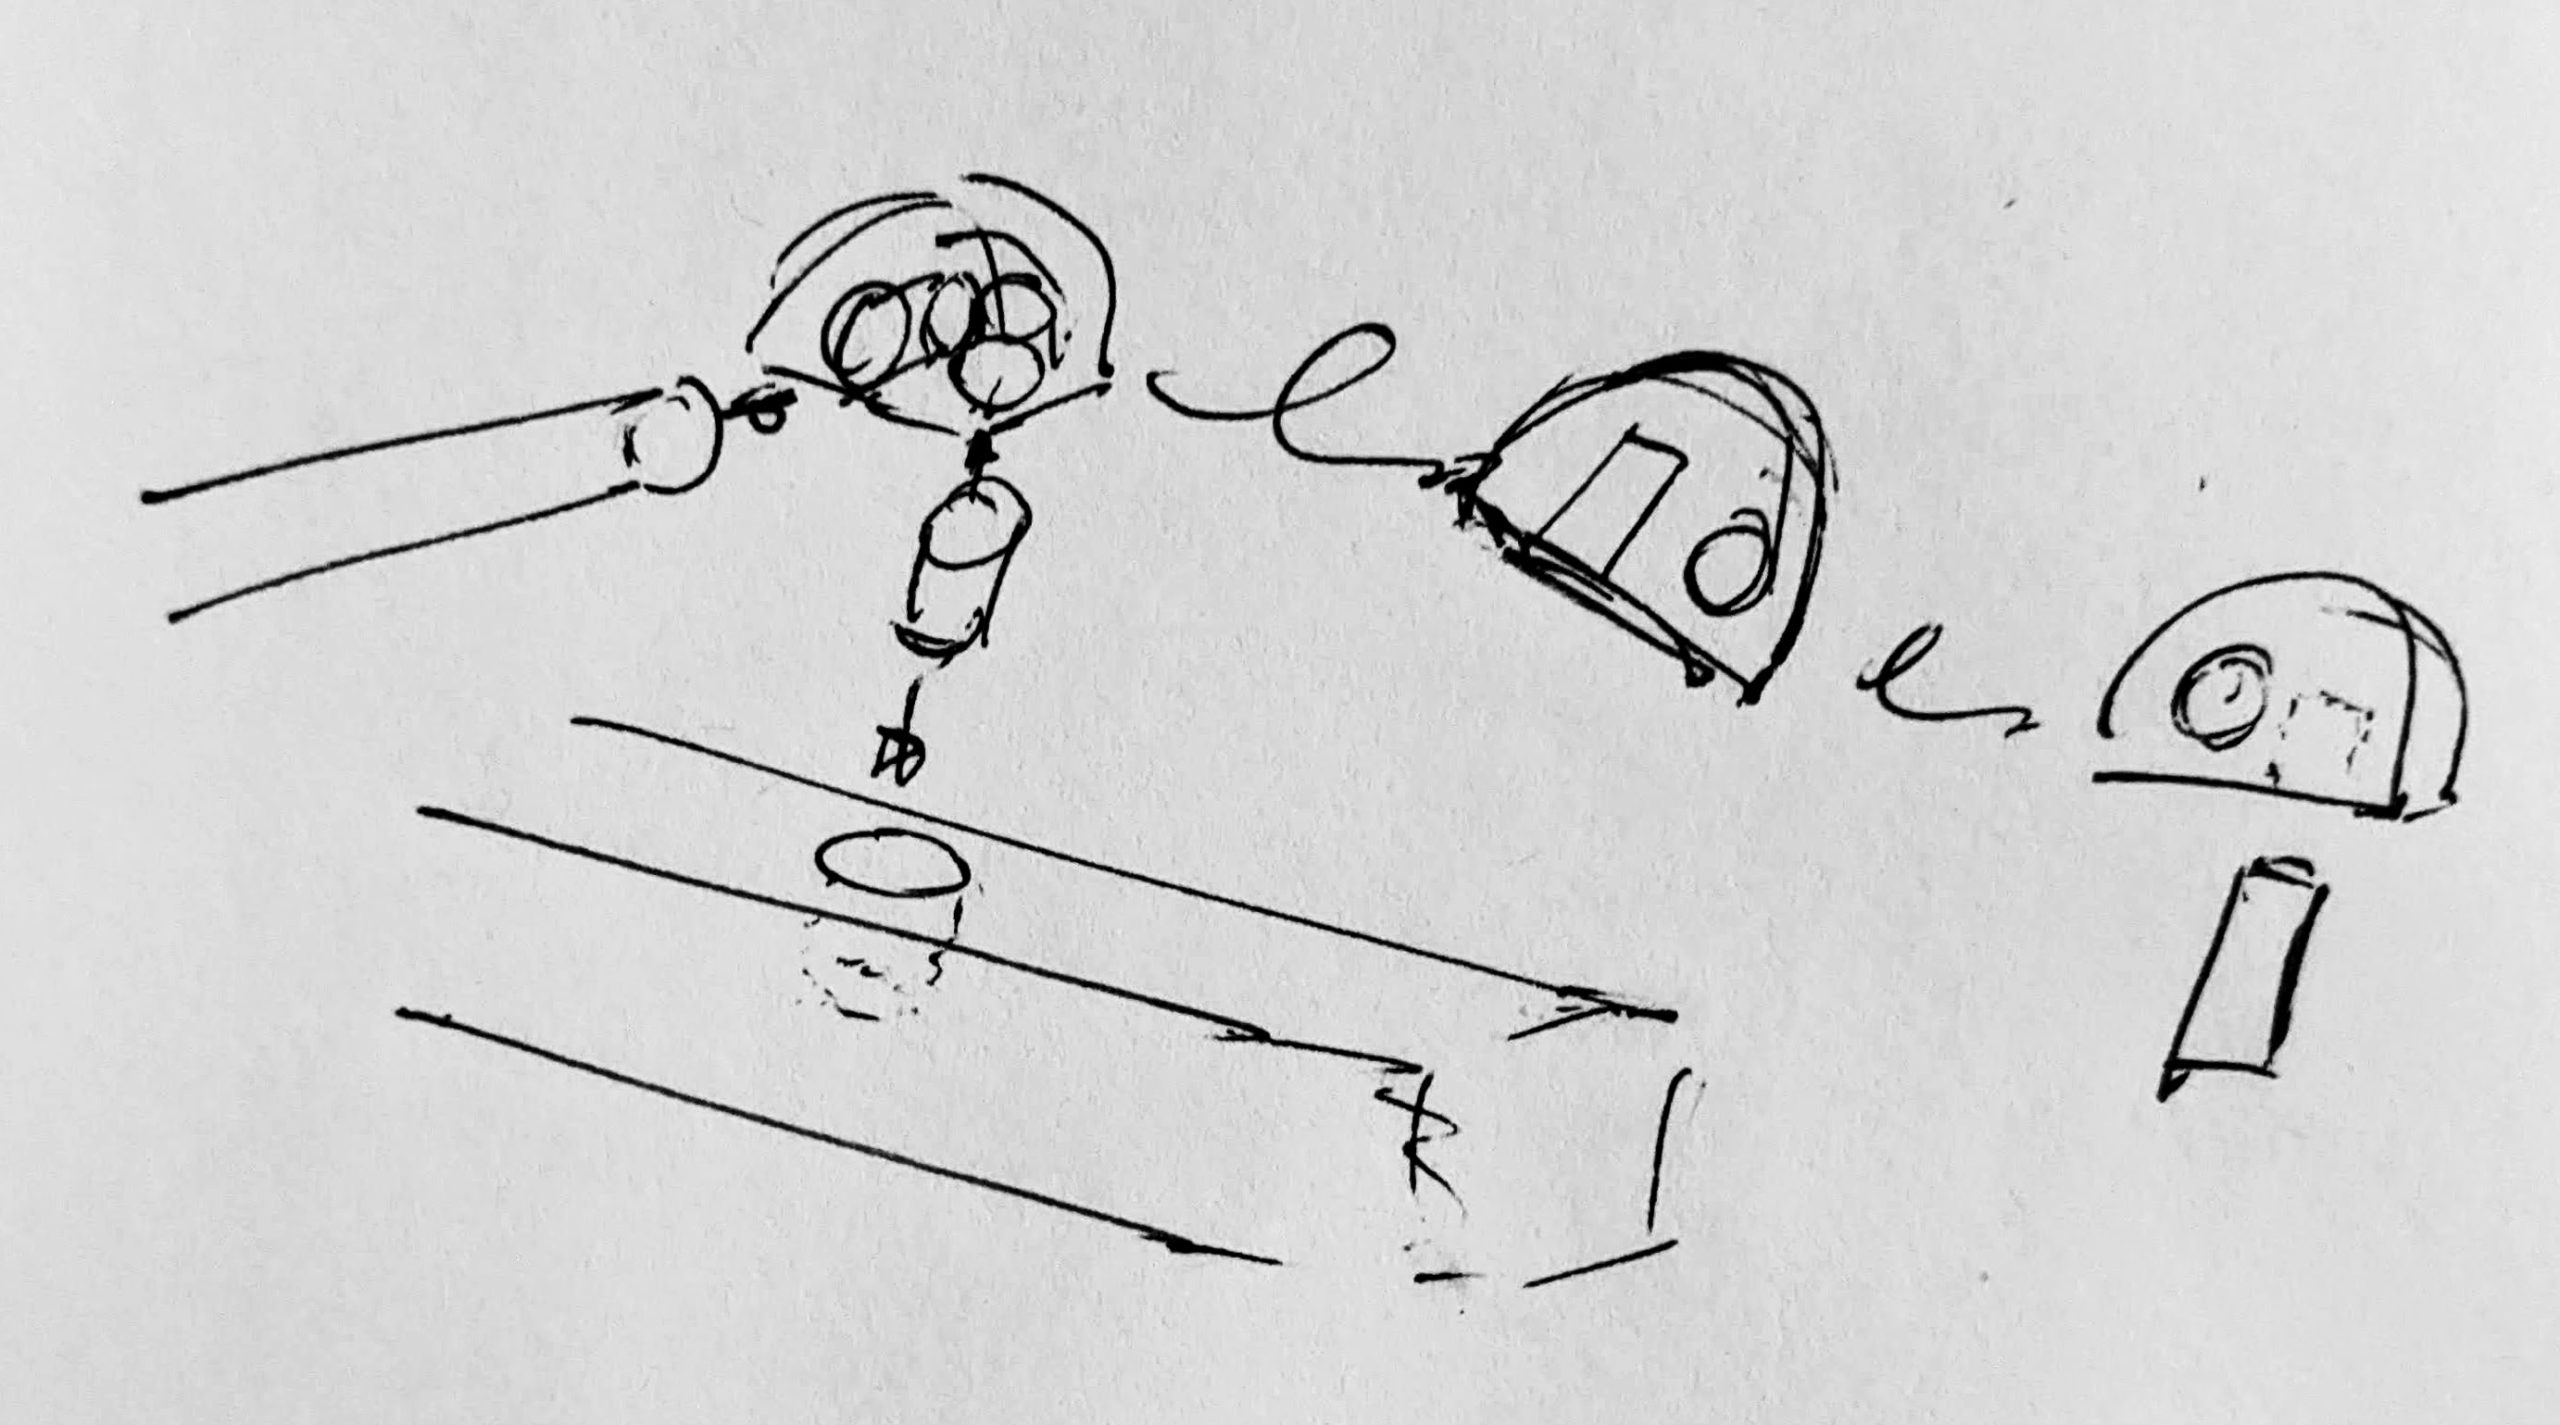
- Now, I could have called it a day with the bridge brackets I designed, printed, sanded, and painted. But, it didn’t have exactly the aesthetic I wanted. I didn’t want to see a screw on the top of the ukulele body. I don’t know why, I don’t have a great reason for this, I just didn’t want that. Instead, I worked on implementing the idea I had sketched out in a prior blog post.
What’s really on the back of the Declaration of Independence - With several interesting benefits, the major downside to this design change is … I would be taking a drill to my ukulele after I’ve “finished” sanding, oiling, and waxing it.
- Today I took a deep breath and went for it. I used my hacksaw to cut two small pieces of the plastic balloon rod that I’d been using to hold printed parts as I spray painted them. I did some test drilling on scraps of wood and tested hot glue with the plastic rod. Hot glue doesn’t stick to everything, so I wanted to run this test before I tried. I… probably should have done this before taking a drill to the wood again.
- Once I measured the two plastic posts I discovered they were very slightly misaligned. It’s only 1-2 mm or so, but by having the brackets like this, I can just measure, design, and print a slightly longer bracket on one side. Which is exactly what I did. This is another defect / variation no one other than myself (or you, loyal reader) would ever notice.
- There were some intermediary steps here. I designed and printed several different iterations that didn’t work.
- If you need to print something that will fit a 5.0mm diameter part (such as these plastic rods sections), you can’t have a 5.0mm hole. You need at least some clearance to be able to fit the part. I like to use 0.35 – 0.5 mm for parts that are supposed to move against one another regularly and 0.175 – 0.2 mm for parts that are supposed to friction fit and stay together. I completely forgot to add this variable to my first set of prints.
- My second set of prints didn’t work because I had left support structures enabled and there were little bits of plastic inside the holes which I could not remove.
- My third set printed well – but I lost one of them and had to reprint it.
- These two parts have now been painted black and are outside drying in the 95 degree heat. :)
- Now, I could have called it a day with the bridge brackets I designed, printed, sanded, and painted. But, it didn’t have exactly the aesthetic I wanted. I didn’t want to see a screw on the top of the ukulele body. I don’t know why, I don’t have a great reason for this, I just didn’t want that. Instead, I worked on implementing the idea I had sketched out in a prior blog post.
- Fret Markers. I was toying with the idea of 3D printing silver PLA on diffraction grating for a sweet rainbow-y look to the fret markers. For a variety of reasons, I won’t be doing this. However, why not share some of my experiences? 1
- I have quite a lot iridescent cellophane because I want to make these papercraft LED crystals by Erin St. Blaine. Would it be possible to 3D print directly onto cellophane? A sample size of 1 tells me “no, this doesn’t work.” The molten PLA only barely stuck to the cellophane and came off the surface part way through printing. The underside of the model wasn’t even slightly shiny from being printed on a smooth surface. It deformed the cellophane and turned into plastic spaghetti.
- Now, it’s possible the coating / surface of both sides of the cellophane were not identical. If so, perhaps I’d have better luck? Both sides felt the same and since I didn’t mark the side I printed on in the first place, I would have to try this all over twice more just to figure out if it worked.
- I also considered printing on diffraction grating – or something with a similar texture. There are several fantastic guides for this, from pouring chocolate holograms to 3D printing rainbow reflective plastic. Both of these methods suggest dual axis diffraction grating. With Amazon being out of the highest “lines per inch” of 13,000 or so, I looked to possibly source these sheets directly from the manufacturer’s website website. Thanks to Caleb Kraft, I looked into specialized 3D printing bed surfaces. It seems like these surfaces are large stickers for metal printing beds, but might even be the same or similar to craft cutter vinyl, heat transfer vinyl, or even contact paper. Given I want to make some really small fret markers and all of these potential surfaces were either way larger or way more expensive than I was thinking, I considered some other ideas. Several years ago I had purchased some coin cell batteries which came with “rainbow” glasses, which I knew to be made from diffraction grating. I pulled them out of the drawer and tore them up, you know, for science.
- Going through drawers finding project scraps for experiments is the kind of thing I can do indoors at night, but in the light of day I reconsidered this process. If you’re going to try this process for yourself, keep in mind only the smooth side is “rainbow.” I wasn’t able to immediately tear the diffraction grating out of the glasses cleanly, so I set this part until this morning.
- I think I would really like to try printing on diffraction grating / holographic surfaces. I saw a post about someone who had used “cheap holographic stickers” from ebay. I would have tried this, except I couldn’t find anything similar on eBay or Amazon. I did find some companies selling large rolls of holographic vinyl. I would be remiss if I didn’t mention the 4Quarters3D shop mentioned by Caleb Kraft.
- And, after all this research and pontificating, I’m not using any of the above ideas. Drilling holes in the finished wood was a little nerve wracking. The holes drilled into the body for the bridge resulted in more splintering than I wanted, despite care with drilling and taping the wood first. The idea of drilling even more holes into the neck does not appeal to me. Even if I were to achieve a rainbow-y 3D printed fret marker, whether by diffraction grating, special custom 3D printing surface, holographic sticker, or holographic vinyl transfer sheet, I would have to drill a hole into the neck, sand the printed fret marker, then glue it in place. Each fret marker would represent a new chance to splinter the fretboard.
- Instead, I tried something else. What about gluing a piece of the thin cellophane directly to the fretboard? Surprisingly, the white glue didn’t work nearly as well as the glue stick. After the white glue dried, the cellophane flaked right off leaving a shiny patch where the white glue looked smooth.
- This could have been the result of placing more glue stick adhesive than white PVA glue, variations in wood finishing under the two pieces of cellophane, or perhaps the two sides of the cellophane have different properties and I accidentally flipped one of them.
- I really like the iridescent effect of the cellophane on the wood. At certain angles, the cellophane appears to disappear – and at other angles looks quite prominent.
- Tuners.
- I just got the GraphTech Ratio Tuners! They’re gorgeous, lightweight, black, anti-backlash, and… were intended to fit holes slightly smaller than the ones I’d drilled for the shiny metal tuners I had on hand. After watching their installation videos, I inserted a thin strip of cardstock into each of the tuner holes, which shimmed the friction fit part into place. An awl marked the spots for the screws, my thinnest drill bit wrapped in a rubber band and insert into the DIY 3D printed drill, and then secured in place with the included screws.
- Hardware.
- The hardware from BoltDepot.com arrived today! I had ordered both black oxide and chrome hardware. I lost no time at all sprinting to the mailbox, pulling out the stainless steel screws / nuts, and dropping in the black oxide coated stainless steel hardware. Since the wood is 3″ wide and machine screws were 1.5″ wide, I also ordered black oxide coated washers which gave it just enough space so screws can fit without a problem.
- It’s something of an extravagance, but I also purchased a pair of chrome plated machine screws (they only came up to 1″ long), washers, and nuts. After playing with these a little, I preferred the black oxide.
- If you wanted to go with black oxide hardware without having to buy any extra parts, you could get away with one 1.25″ machine screw, one 1.5″ machine screw, two nuts, and skip the washers. These would cost you a whopping $0.66 plus shipping. The catch here is the shipping is $4.95, so you almost might as well splurge and try a few combinations. The screws I purchased also require an imperial hex set, so keep that in mind. You can find these screws in black oxide with a Phillips head, but then they only go up to 1″ long.
- The overall cheapest route is the stainless steel hardware in a 5-pack of 1.25″ machine screws and nuts for $1.28 from Home Depot.
- Tim’s Ukulele
- Tim had hit me up for my pattern, which I happily shared, and then shared his own variation back with me. I had created my pattern as a 18″ or so PDF which could be printed onto multiple sheets using registration marks. My buddy Andrew suggested using this software by WoodGears.CA and it’s use of diagonals would help. Tim had split up the pattern I created. If you use his, keep in mind you’ll need to double check the printed rulers against actual rulers to ensure proper sizing, since printing to the edge of the paper can sometimes interfere with that.
- I’m slightly jealous of Tim’s progress. He went from “May I see your template?” to tweeting “Did you know that you can just build a musical instrument and no one can stop you?” in five days. I’ve been working on mine for just over two months and am only now is the finish line in sight. :) This latest ukulele is Tim’s second attempt, with his first shared on his Instagram page.
- A few notes on Tim’s build:
- Tim posts a lot of cool stuff made from leather. He made a neat “back plate” / soundbox for his ukulele from stiff leather to hopefully help amplify the sound.
- In his first build the turn around was a little wider than the wood he used, causing it to stick out and not lay flat.
- Like my own build, Tim cut the ukulele with a coping saw and the tuning pegs went in “wonky.” He used a softer wood, which caused the strings to bite into the holes, which made the ukulele go out of tune.
What’s left? Not much!!
- Allow the bridge brackets time to dry.
- Put the bridge in the brackets, brackets on the board.
- Add strings to it (which I’ve never done before!)
- This video suggests adding a little lubricant over the frets to prevent them from abrading the strings as they are tightened and paying attention to the rotation of the tuners as the strings are added. I’ll watch the entire video again before I try.
- Learning Curves and Ukuleles
- Building a Travel Ukulele: Getting Started
- Building a Travel Ukulele: Cutting Stuff
- Building a Travel Ukulele: Cutting, Filing, Shaping
- Building a Travel Ukulele: Filing, sanding, filing, sanding, filing…
- Building a Travel Ukulele: Sanding.
- Building a Travel Ukulele: Test Fitting
- Building a Travel Ukulele: Preparation, Marking and Cutting Frets
- Building a Travel Ukulele: Shaping Frets, Sanding
- Building a Travel Ukulele: Building a Drill
- Building a Travel Ukulele: No Turning Back
- Building a Travel Ukulele: Sanding, sanding, and finishing
- Building a Travel Ukulele: Finishing, sanding, painting, etc
- Building a Travel Ukulele: So Much Experimentation, Bridges, Printing, and Sanding
- Building a Travel Ukulele: Plancratineering
- Building a Travel Ukulele: Swapping Hardware, Fret Experiments
- Building a Travel Ukulele: Bridge, Stringing It Up, and a Sound Test!
- Building a Travel Ukulele: Improvements
- Building a Travel Ukulele: Back to Basics
- DIY Soprano Scale Travel Ukulele
- Repairing My DIY Travel Uke
- Which is what I’m calling mistakes… [↩]
If you want to drill holes without splintering, clamp sacrificial strips of wood to both sides and then drill through them. The splintering / tear out will happen in the sacrificial wood.
The other method is to drill a small pilot hole through the wood then enlarge it from both sides with the bigger drill.
The smaller the drill the quicker you need to spin it. The quicker you spin it, the smaller the bite out of the wood and the smaller the tear out.
Brad point bits are better than metal bits for drilling wood as they cut from the outside, rather than the middle. https://www.finepowertools.com/drills/brad-point-drill-bits/
Damnit Andrew! Another brilliant and helpful comment! Thank you!!!