
Normally I only work on the ukulele at night or on the weekends. However, of all of the steps, I’ve been really looking forward to adding the wood finish, since that’s when all of the hard work will really start to become visible. This morning I:
- Sanded. Gluing the frets down went reasonably well, but about three of the frets flipped upside down into the super glue, were placed back, and had super glue gunk on the top. I did not want that to cause unnecessary friction or abrasion on the ukulele, strings, so hit the entire ukulele with 150 grit, 400 grit, and then 1500 grit sandpaper, even over the frets, to smooth it out. There’s a before and after picture below, all you really see is that the super glue in between the lower frets looks slightly less obvious. I tried wet sanding with the 400 and 1500 grit sandpaper, but this sandpaper is charcoal grey and left kind of an ugly residue I had to keep wiping off with a paper towel.
- Buffing. I don’t know what else to call this step, except that I’d seen a YouTube video by a woodworker who said he takes a paper shopping bag and rubs down his projects with it after sanding, since it will remove extremely fine burs from the wood. We have a ton of paper shopping bags and I didn’t have a lot to lose by trying this. Worst case scenario I end up with some polished paper bag scraps and best case the wood plank is very slightly smoother.
Time Spent: Just under 2 hours. Since I take photographs before/during/after these steps, I’ve been able to estimate the approximate time spent.
I don’t have a lot of pictures of the next step, so you’ll just have to take my word for it.
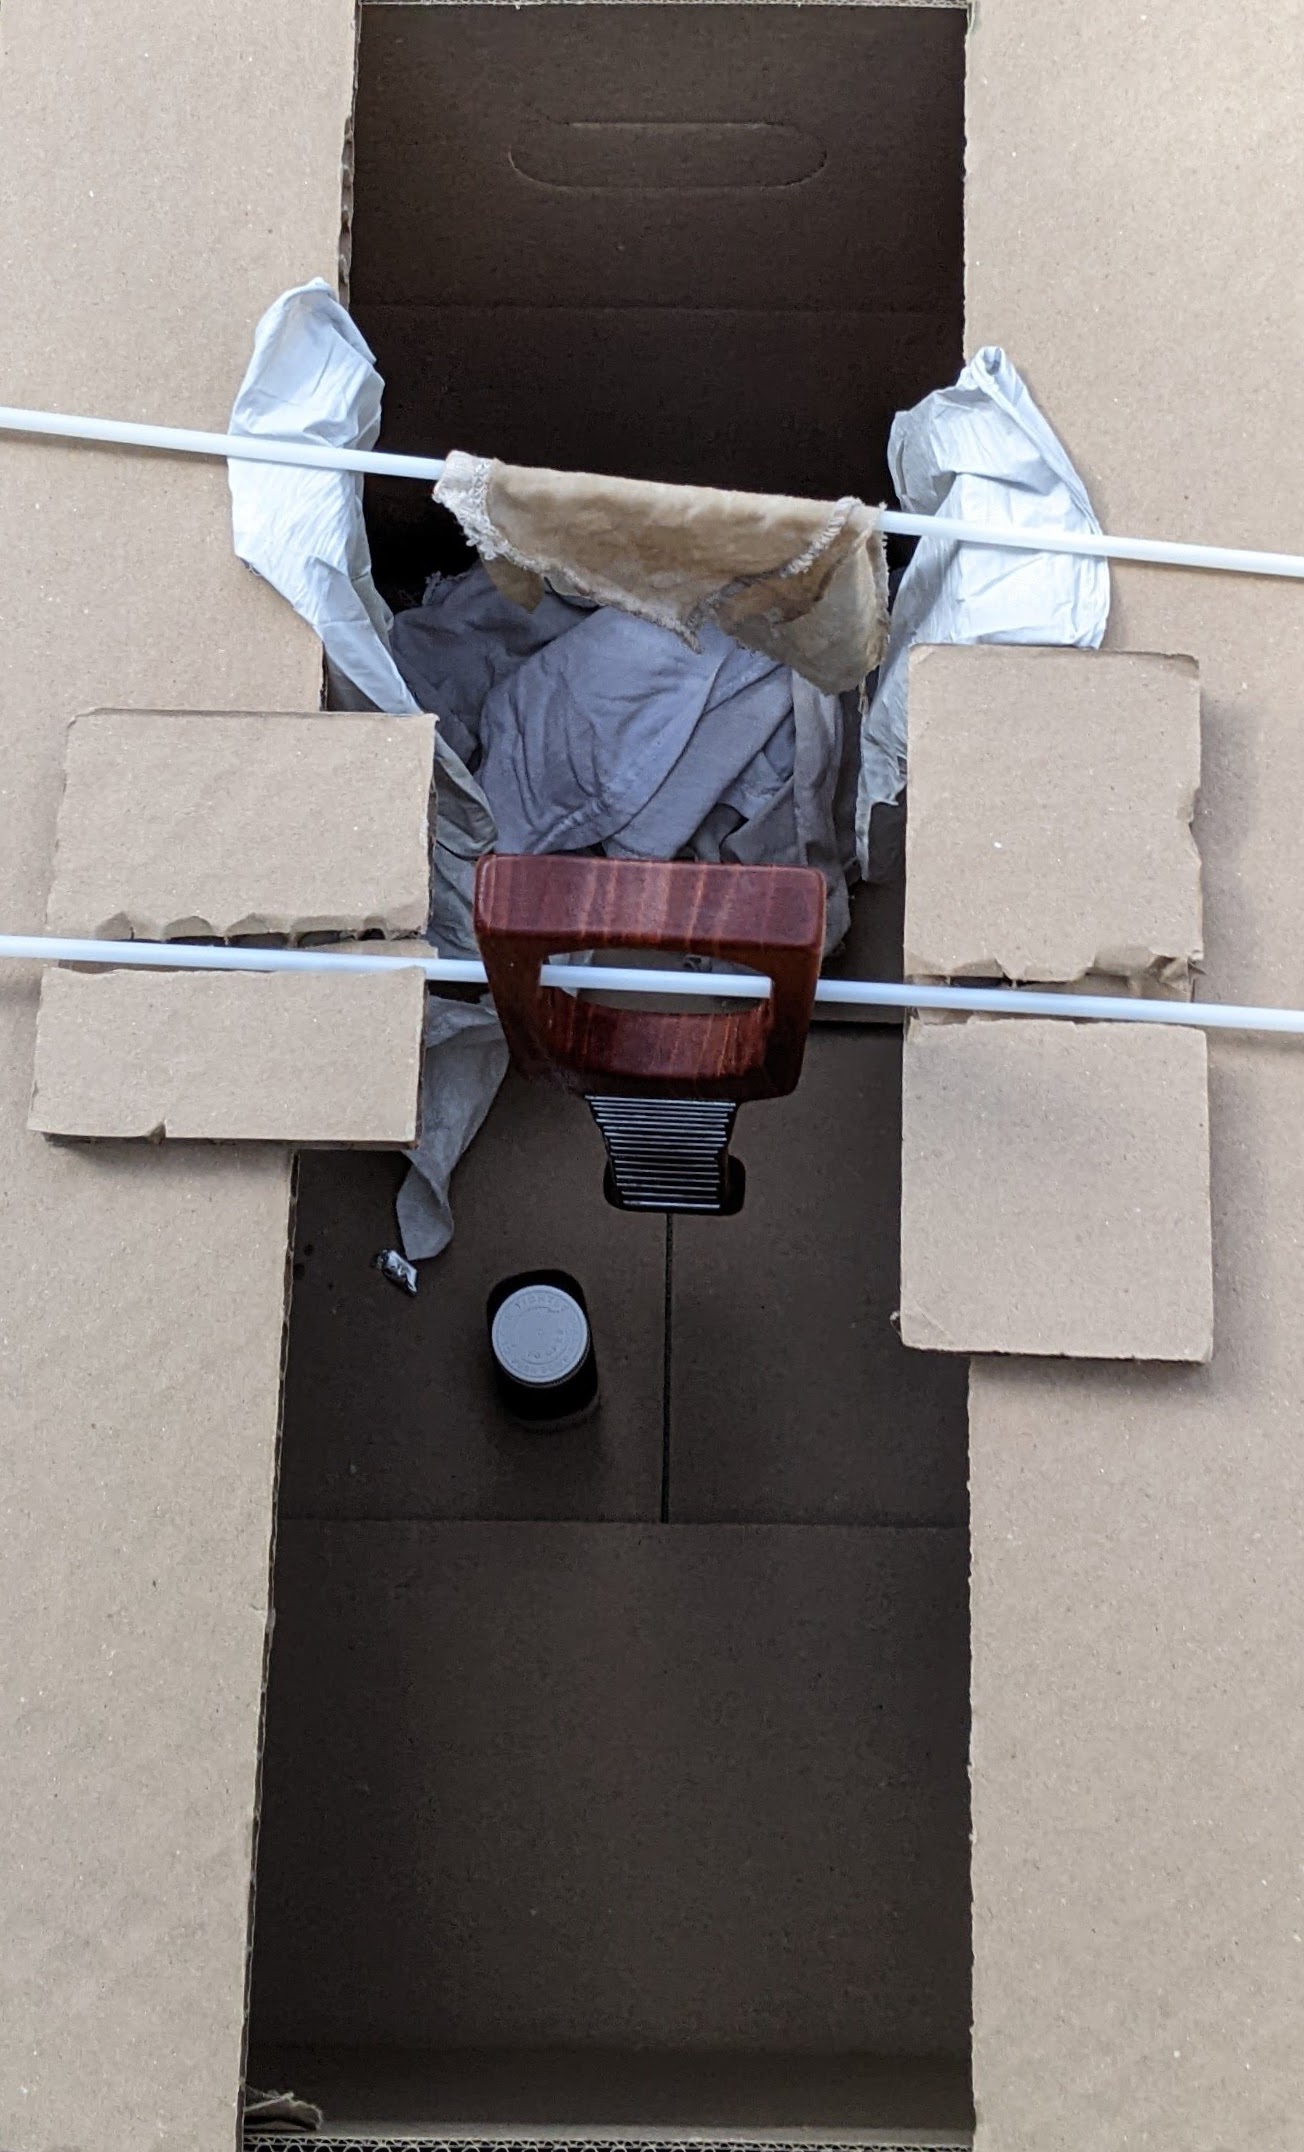
- Cardboard Enclosure. I used an old cardboard box, large corrugated cardboard scraps, and hot glue to create a rigid box with a narrow opening at the top where I could hang the ukulele by a thin plastic rod running through the tuning peg holes. I learned this trick from watching Soph’s video. :)
- Finishing.
- The reason I don’t have any photos of this process is I was wearing rubber gloves and using a scrap of clean laundered cloth to liberally apply the wood finish. My fingers and the wood were tacky with the finish and I didn’t want to take off the gloves for photos.
- The mahogany greedily soaked up the finish quickly and I kept adding more. This was exactly as satisfying as I had hoped it would be. The wood finish made the lighter parts of the wood grain take on a golden shine, deepened the color of other areas, improved the look of the areas between the frets, and by the time it soaked into the wood around and under the super glue smears, those smudges were almost imperceptible. The wood took on a rich, deep tone.
Up next
- While the ukulele is drying, I’ll spray paint the turn around (I’ve got silver and black paint)
- Sand the wood again, wipe down with a clean dry cloth, add more finish, dry again
- Add tuners, bridge, turn around, strings…
- Learning Curves and Ukuleles
- Building a Travel Ukulele: Getting Started
- Building a Travel Ukulele: Cutting Stuff
- Building a Travel Ukulele: Cutting, Filing, Shaping
- Building a Travel Ukulele: Filing, sanding, filing, sanding, filing…
- Building a Travel Ukulele: Sanding.
- Building a Travel Ukulele: Test Fitting
- Building a Travel Ukulele: Preparation, Marking and Cutting Frets
- Building a Travel Ukulele: Shaping Frets, Sanding
- Building a Travel Ukulele: Building a Drill
- Building a Travel Ukulele: No Turning Back
- Building a Travel Ukulele: Sanding, sanding, and finishing
- Building a Travel Ukulele: Finishing, sanding, painting, etc
- Building a Travel Ukulele: So Much Experimentation, Bridges, Printing, and Sanding
- Building a Travel Ukulele: Plancratineering
- Building a Travel Ukulele: Swapping Hardware, Fret Experiments
- Building a Travel Ukulele: Bridge, Stringing It Up, and a Sound Test!
- Building a Travel Ukulele: Improvements
- Building a Travel Ukulele: Back to Basics
- DIY Soprano Scale Travel Ukulele
- Repairing My DIY Travel Uke