Amazing Rubber Band Guns

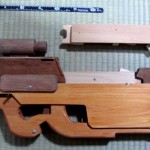
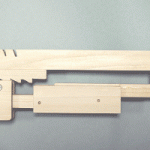
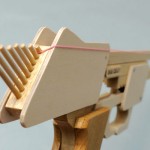
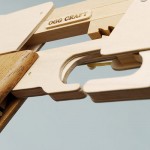
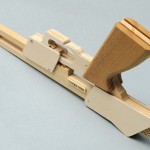
I was just floored by this recent post to the Make blog.  This is the most amazing rubber band gun I’ve ever seen in my life. 1  It genuinely looks like a P90 from Stargate SG-1, including the way in which ammunition is loaded. 2  Even if weren’t for how realistic it looks, the mechanism is still fantastic.  It apparently has a single shot/semi-automatic and fully automatic mode.  Here’s what I can’t believe – that the creator of this magnificent toy thought it necessary to obscure their face in the video.  I would be proud to call this my own.

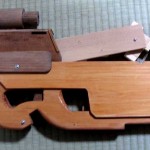
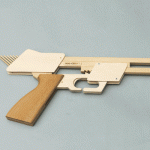
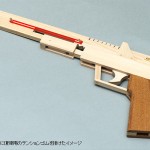
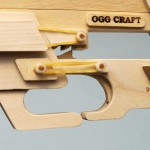
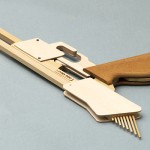
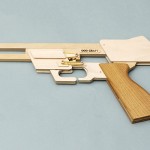
Since I’m on the topic, this next rubber band gun is also pretty cool.

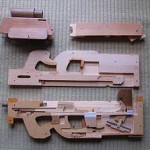
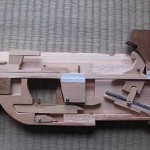
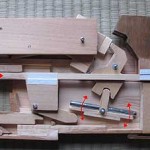
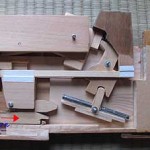
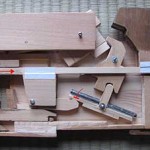
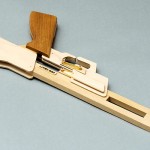
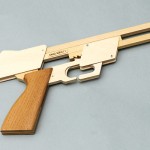
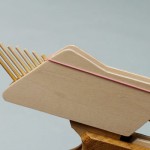
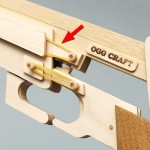
The websites for the first gun is in Japanese, but the Google translation is pretty decent.  The cut-away pictures show most of how the device works.  Just as a head’s up, the way WordPress handles gallery photos puts all of these pictures into a single gallery even though I uploaded them at different times.  The second gun appears to hold 8 shots and will “auto-return” the gun to its starting position.  Although there are a few pictures of the piece from various angles, I don’t really understand how the auto-return mechanism works.  If you’ve got an idea, I would appreciate your insight.

  1. Link to the video, if you’re tuning in via the RSS feed []
  2. It holds 50 rubber bands! []

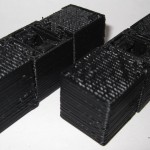
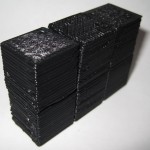
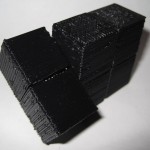
3x2x1 Rubik’s Cube assembly pictures

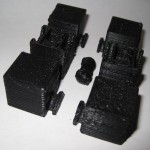
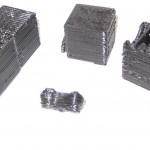
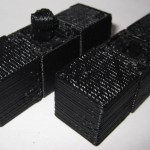
The design should be pretty intuitive.  However, I went ahead and took some pictures of the assembly anyhow.

As I mentioned in an earlier post, I think this one came out really really well.  :)

3x2x1 Rubik’s Cube – done!

I’m so happy with the way this has turned out.

I’ve made a bunch of changes since the last revision of this printable 3x2x1 Rubik’s Cube puzzle:

  • I’ve totally redesigned the center barbell connector.  I simplified the design, removed the five support struts for each end and replaced it with a single support strut and a flat hexagon in the center of the piece.  The purpose of the hexagon is to give the barbell more contact area with the raft.  One of the earlier drafts didn’t have as many supports or this flat hexagon, and it tore off the build platform partway through the build.
  • I increased the diameter of the tube between the barbells.  This enabled it to print easier, made it a little more sturdy, and decreased the wobbliness of the barbell when everything is assembled.
  • I also shortened the entire barbell by 1mm, so that the entire puzzle is held together more closely.
  • I made the flat semi-circular tabs slightly thinner so they rotate a little more freely.
  • I significantly redesigned, thickened and simplified the two brackets that the barbell snaps into.  It’s been able to easily withstand numerous couplings/decouplings as well as numerous rotations.  With a few rotations, all parts now rotate easily.
  • All of the parts fit together SO much better than my first draft held together with a nut and bolt.
  • There is a slight bit of sideways flex that can occur with the use of the barbell.  It is really minor and it actually seems to help the puzzle be more forgiving as you manipulate it.  I see this more as a benefit than a design flaw.

The was one design choice on which I waffled.  I considered making the center cubes non-identical, with one having half a barbell stick out and with the other having the internal connector you see now.  This would have removed much of the sideways flex – since the barbell would be stationary.  I did not go with this design choice because whether the puzzle used one barbell and two connectors or male/female center cubes, there would always be some flex caused by the use of a connector rather than a static pin.  And, to be honest, I much preferred the symmetry of having everything assembled out of just three unique parts.

I know I’ve mentioned this before, but I really like the idea of a MakerBot printable toy that can be printed in one go and then assembled without tools or any additional hardware.  I also think this would make a great MakerBot print demonstration.

I’ll post some pictures of the parts a little bit later.

3x2x1 totally printable puzzle cube proof of concept success!

I’ve printed up pieces uploaded this morning to Thingiverse, tried them together, broke two pieces, modified them, printed, and fit some together.  I’ve just modified the STL for what I hope is the last time.  However, I have the barbell fit snugly into the center cube.  It rotates relatively freely and does not want to pop out.  (Of course, I’m sure it could/would if I applied enough force).  This leaves the outside cubes.  I modified the semicircular tabs a little and will reprint them later.

The only problem is that it takes about 40 minutes for my machine to print up two cube parts and a barbell, since they’re so solid.

The important thing is that I’ve just been able to print up and assemble the crucial mechanisms for this puzzle.  I think the next iteration may be what I needed.

MakerBot Toy Repair

Magnetic Sketcher

I had previously fixed a toy fire truck by modeling a broken swivel and printing a new one.

Today I discovered a handle had broken off a magnetic drawing toy.  The yellow handle is hollow and separate from the red plastic body.  It is held in place by plastic tabs that slot into body and protrude into the handle.  The plastic tabs that held the handle in place were themselves hollow – and cracked right where the handle met the body.

I measured the broken part, modeled it in Sketchup, duplicated it, exported to an STL, put through the brand new RepG, printed, opened the toy, inserted the printed parts, put it back together, and DONE.  Since the printed tabs are on the inside, it is functionally perfect and cosmetically indistinguishable with an off-the-shelf model.

Without a MakerBot, it would have been either cosmetically unsightly or prohibitively expensive to repair.  Win.

And I’ll form the head!

I remember buying saving up to buy a Voltron toy as a kid.  It was a very small model with plastic lion limbs that did not transform or detach.  It was basically a toy robot with lion slippers and mittens.

Still, I thought it was the greatest freaking thing ever.  Unfortunately, I have no idea where the heck it could be.  Anyhow, I can’t wait to try modeling and printing a replacement.  I really like Tony Buser’s idea of modifying the Leonardo Robot as a starting point.

Print 5: Replacement toy fire engine part

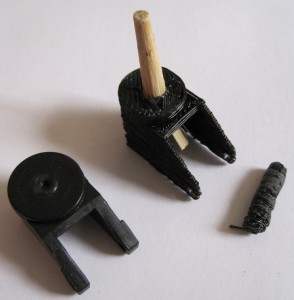
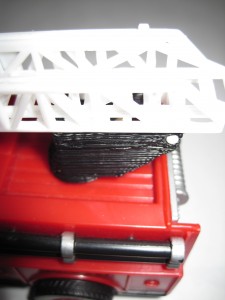
Here’s another part I printed.  The original piece was from a toy fire truck.  It served as a rotating platform, hinge, and guide for the fire ladder.  The toy broke when the part was pushed laterally, shearing the axle off.  Overall, I’d say it was a poorly designed piece.  The entire toy would have been much sturdier if the axle stuck out from the body of the truck in the form of a low round stub the rotating platform fit around.  However, I’m rarely consulted in the engineering of toy fire trucks.  :)

As with the window latch, I had taken the measurements and modeled the piece in Google Sketchup several months before ever purchasing my MakerBot.  I had to make several small changes to the design of the part to reduce overhangs.

Replacement toy fire truck part, for comparison

Replacement toy fire truck part, for comparison

Replacement toy fire truck part

Replacement toy fire truck part

This wasn’t the cleanest piece I’ve printed, but it’s fine for a part that is destined to be broken all over again.  If I were printing it again I’d widen the two walls which serve as the hinge to the ladder.  The piece I printed had the same kind of unevenness in the tall thin axle that I had on the handle of the Z-axis crank. The part became so blobby that I tried to sand it down to be more even – and accidentally snapped the axle off.  Hence, the piece of round chop stick glued into the part.  I’m still fiddling with the Skeinforge settings to deal with this issue.

The process was really pretty easy:  Measure broken piece -> model in Sketchup -> export to STL file using a plugin -> Skeinforge -> ReplicatorG -> FIRE THE MAKERBOT!