It’s always a whirlwind heading into Maker Faire. This year is no exception. This past weekend we got things mostly ready for the Rocklin Maker Faire. All of our robots were functional, which was really great. A quick update to document progress and also act like a to-do list of sorts:
- MakerKnit’s companion robot
- My wife has knit her octopus
- I’ve installed the Adafruit QtPy, NeoPixels, and touch sensors connected via BrownDogGadgets conductive thread through the legs
- It’s been programmed to “blink” the two LED eyes randomly plus a small number of light shows for the body
- Designed/3D printed several eyes, settling on a nice design that should make the eye animations look good
- Kim’dael LightningSlayer’s Pendant
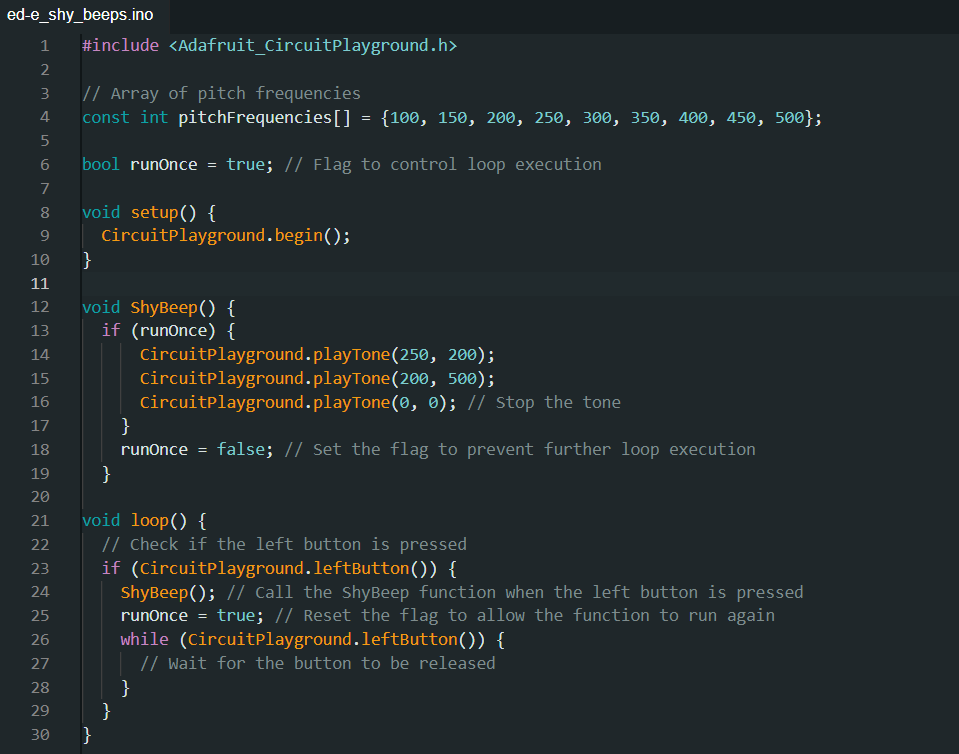
- The youngest’s project has morphed from an LED arm to a CircuitPlayground in a pendant that just plays some notes when she presses buttons.
- A long extension for the battery pack, using thicker gauge wire wound through the back of stock CircuitPlayground enclosure, is now the “necklace” portion for this project.
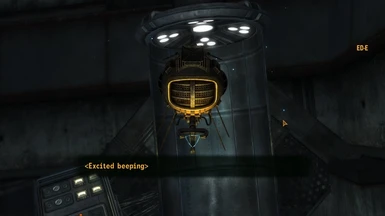
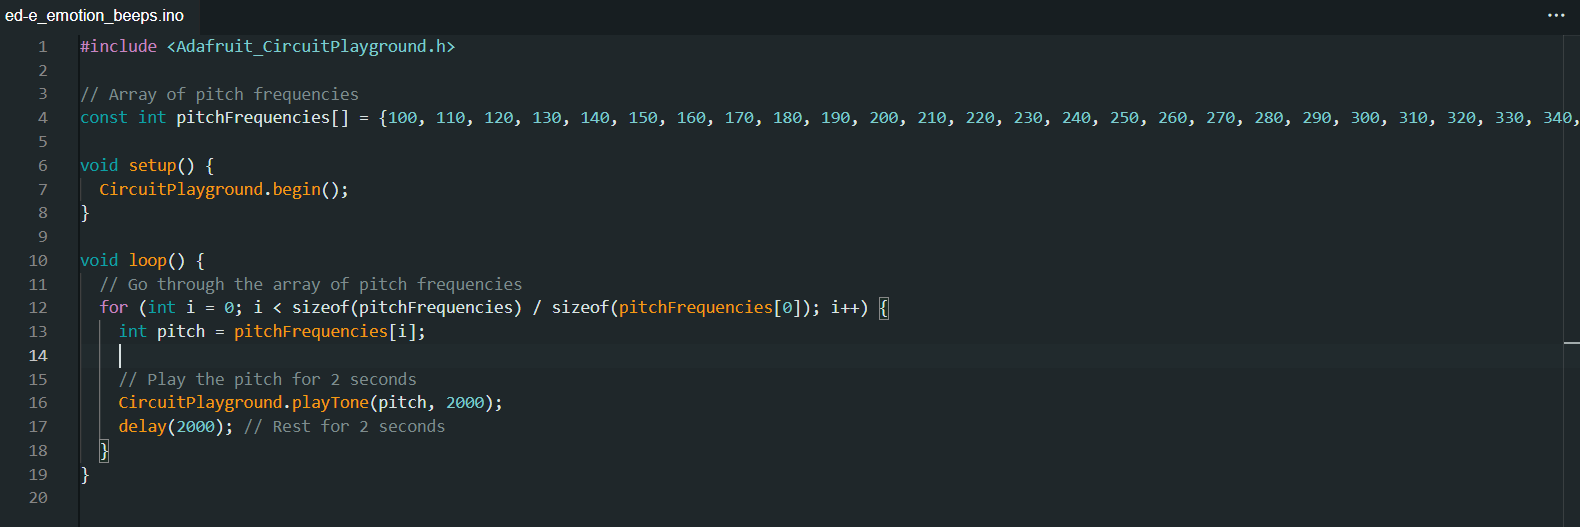
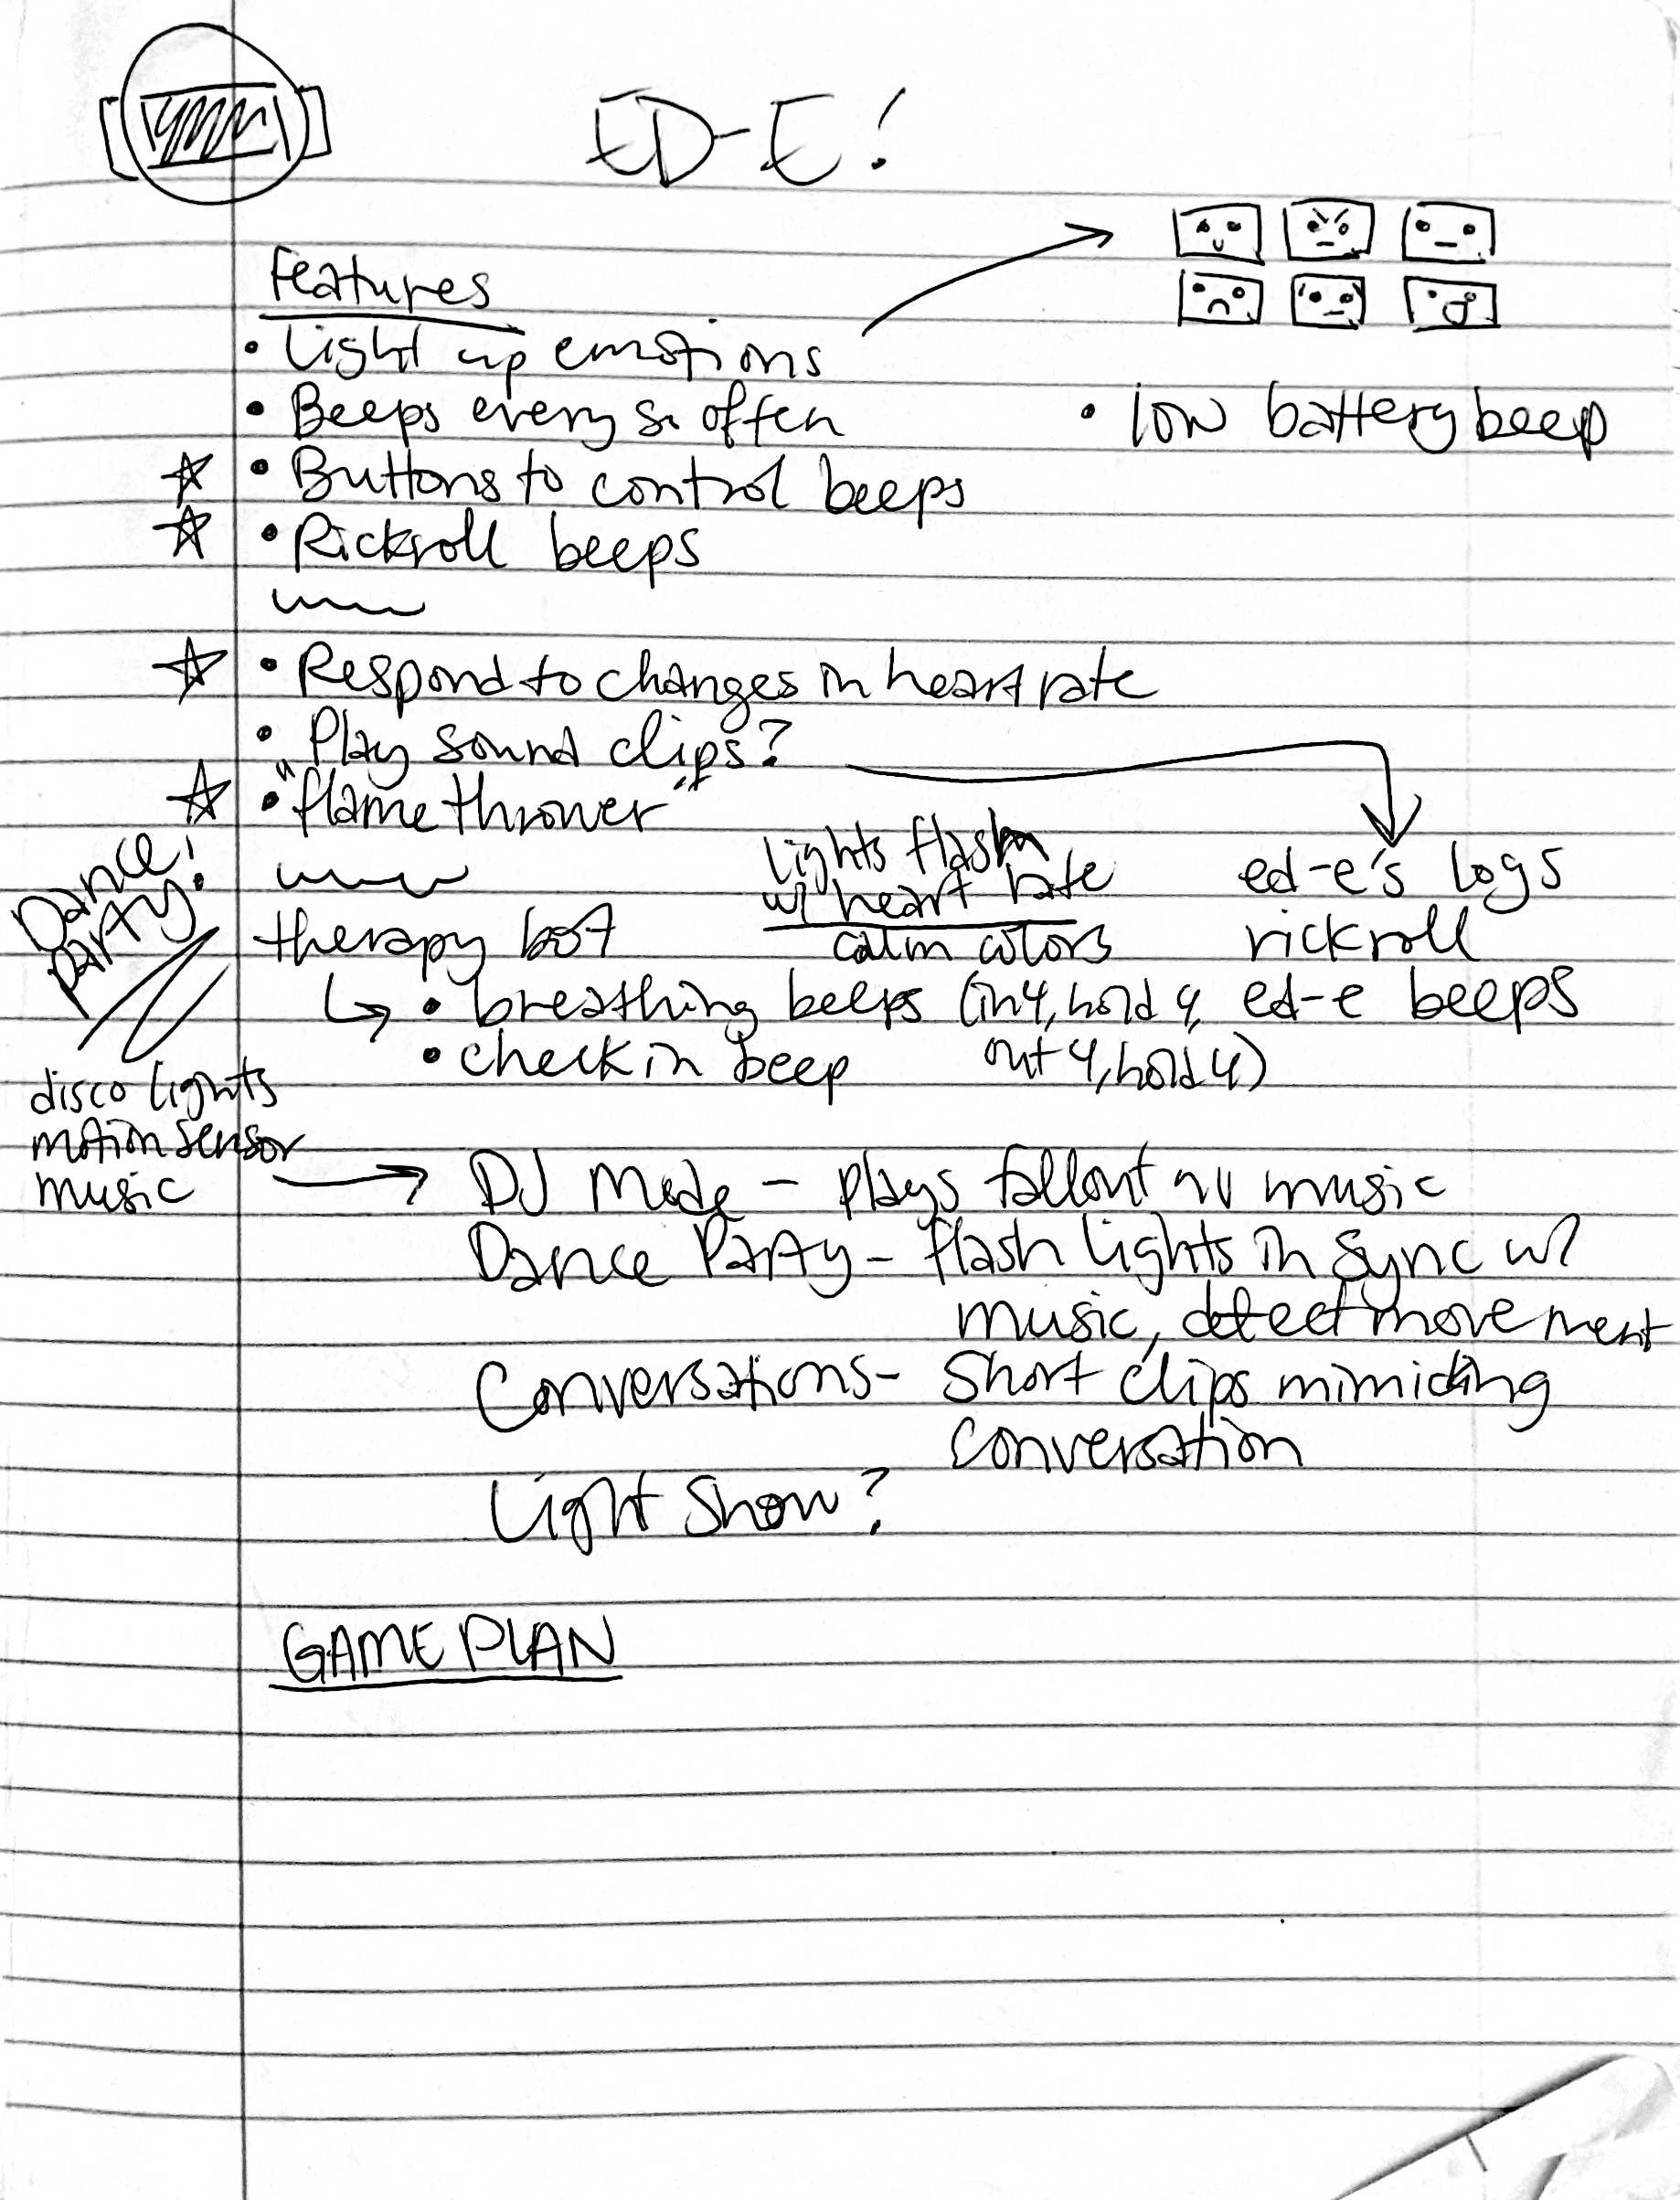
- Dexter Starfighter’s ED-E
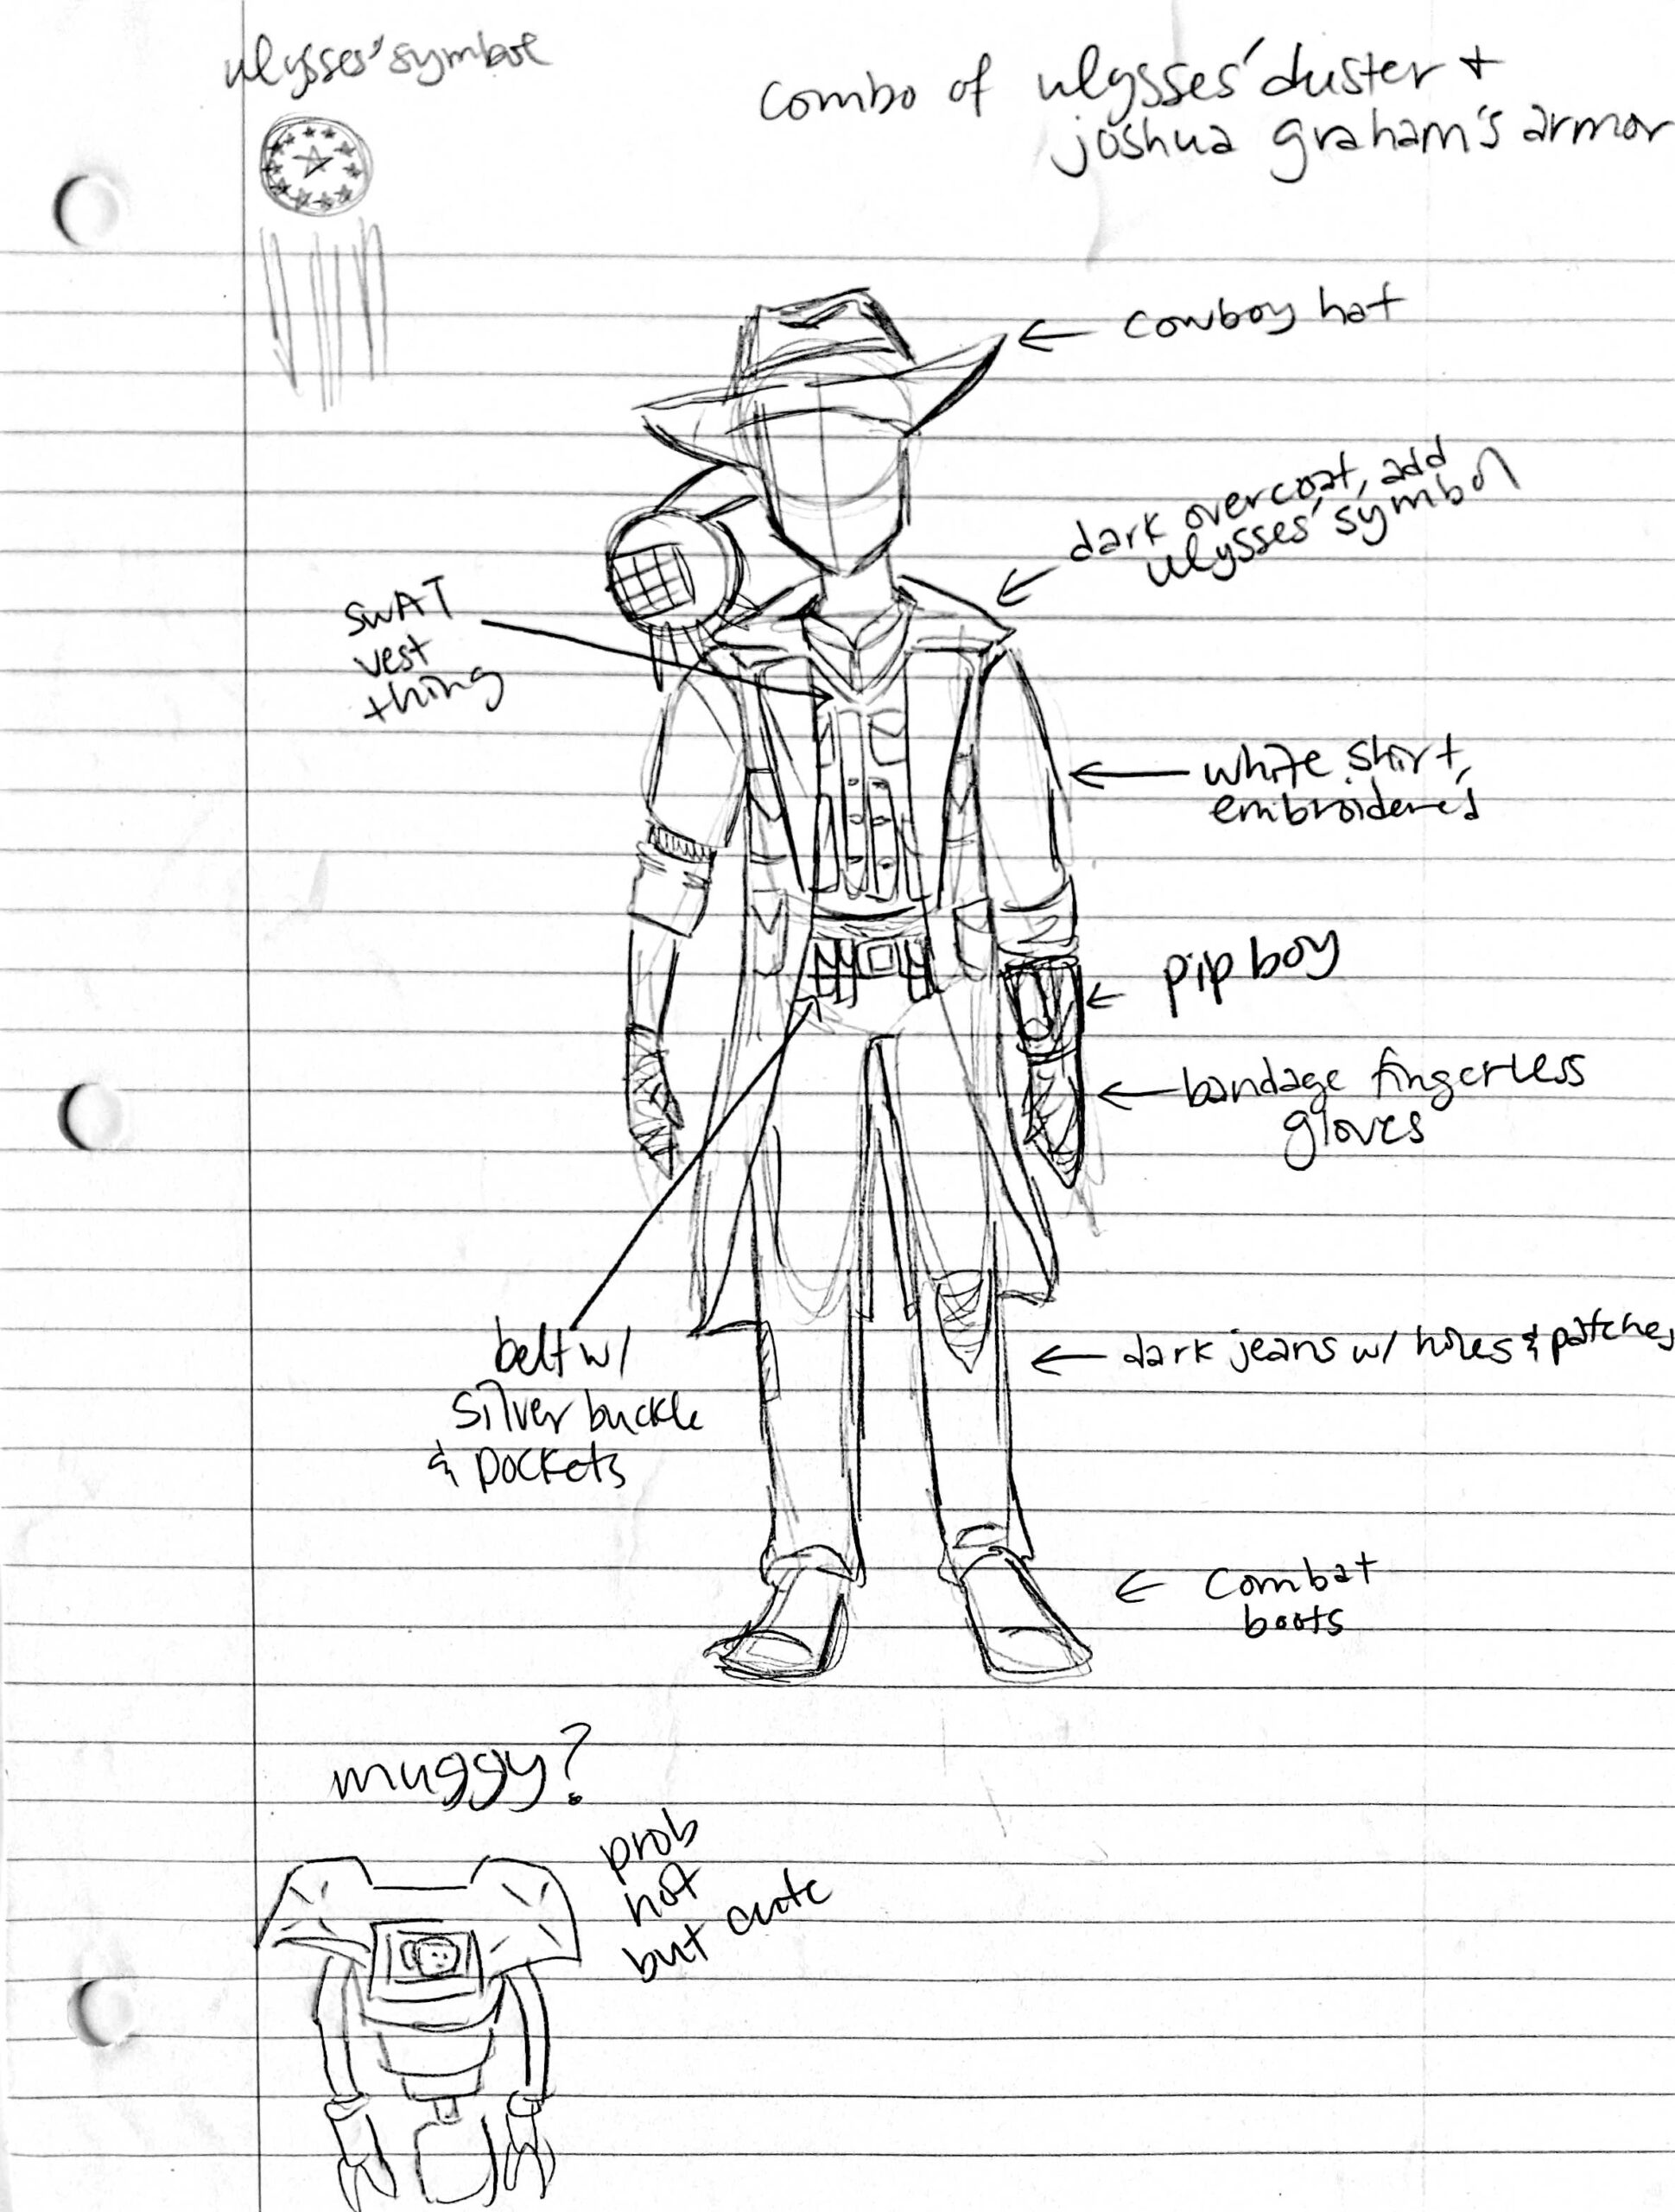
- Has a brand new case, a new NeoPixel ring, mount, LED goggles, and a sweet new set of EVA foam armor.
- MakerBlock
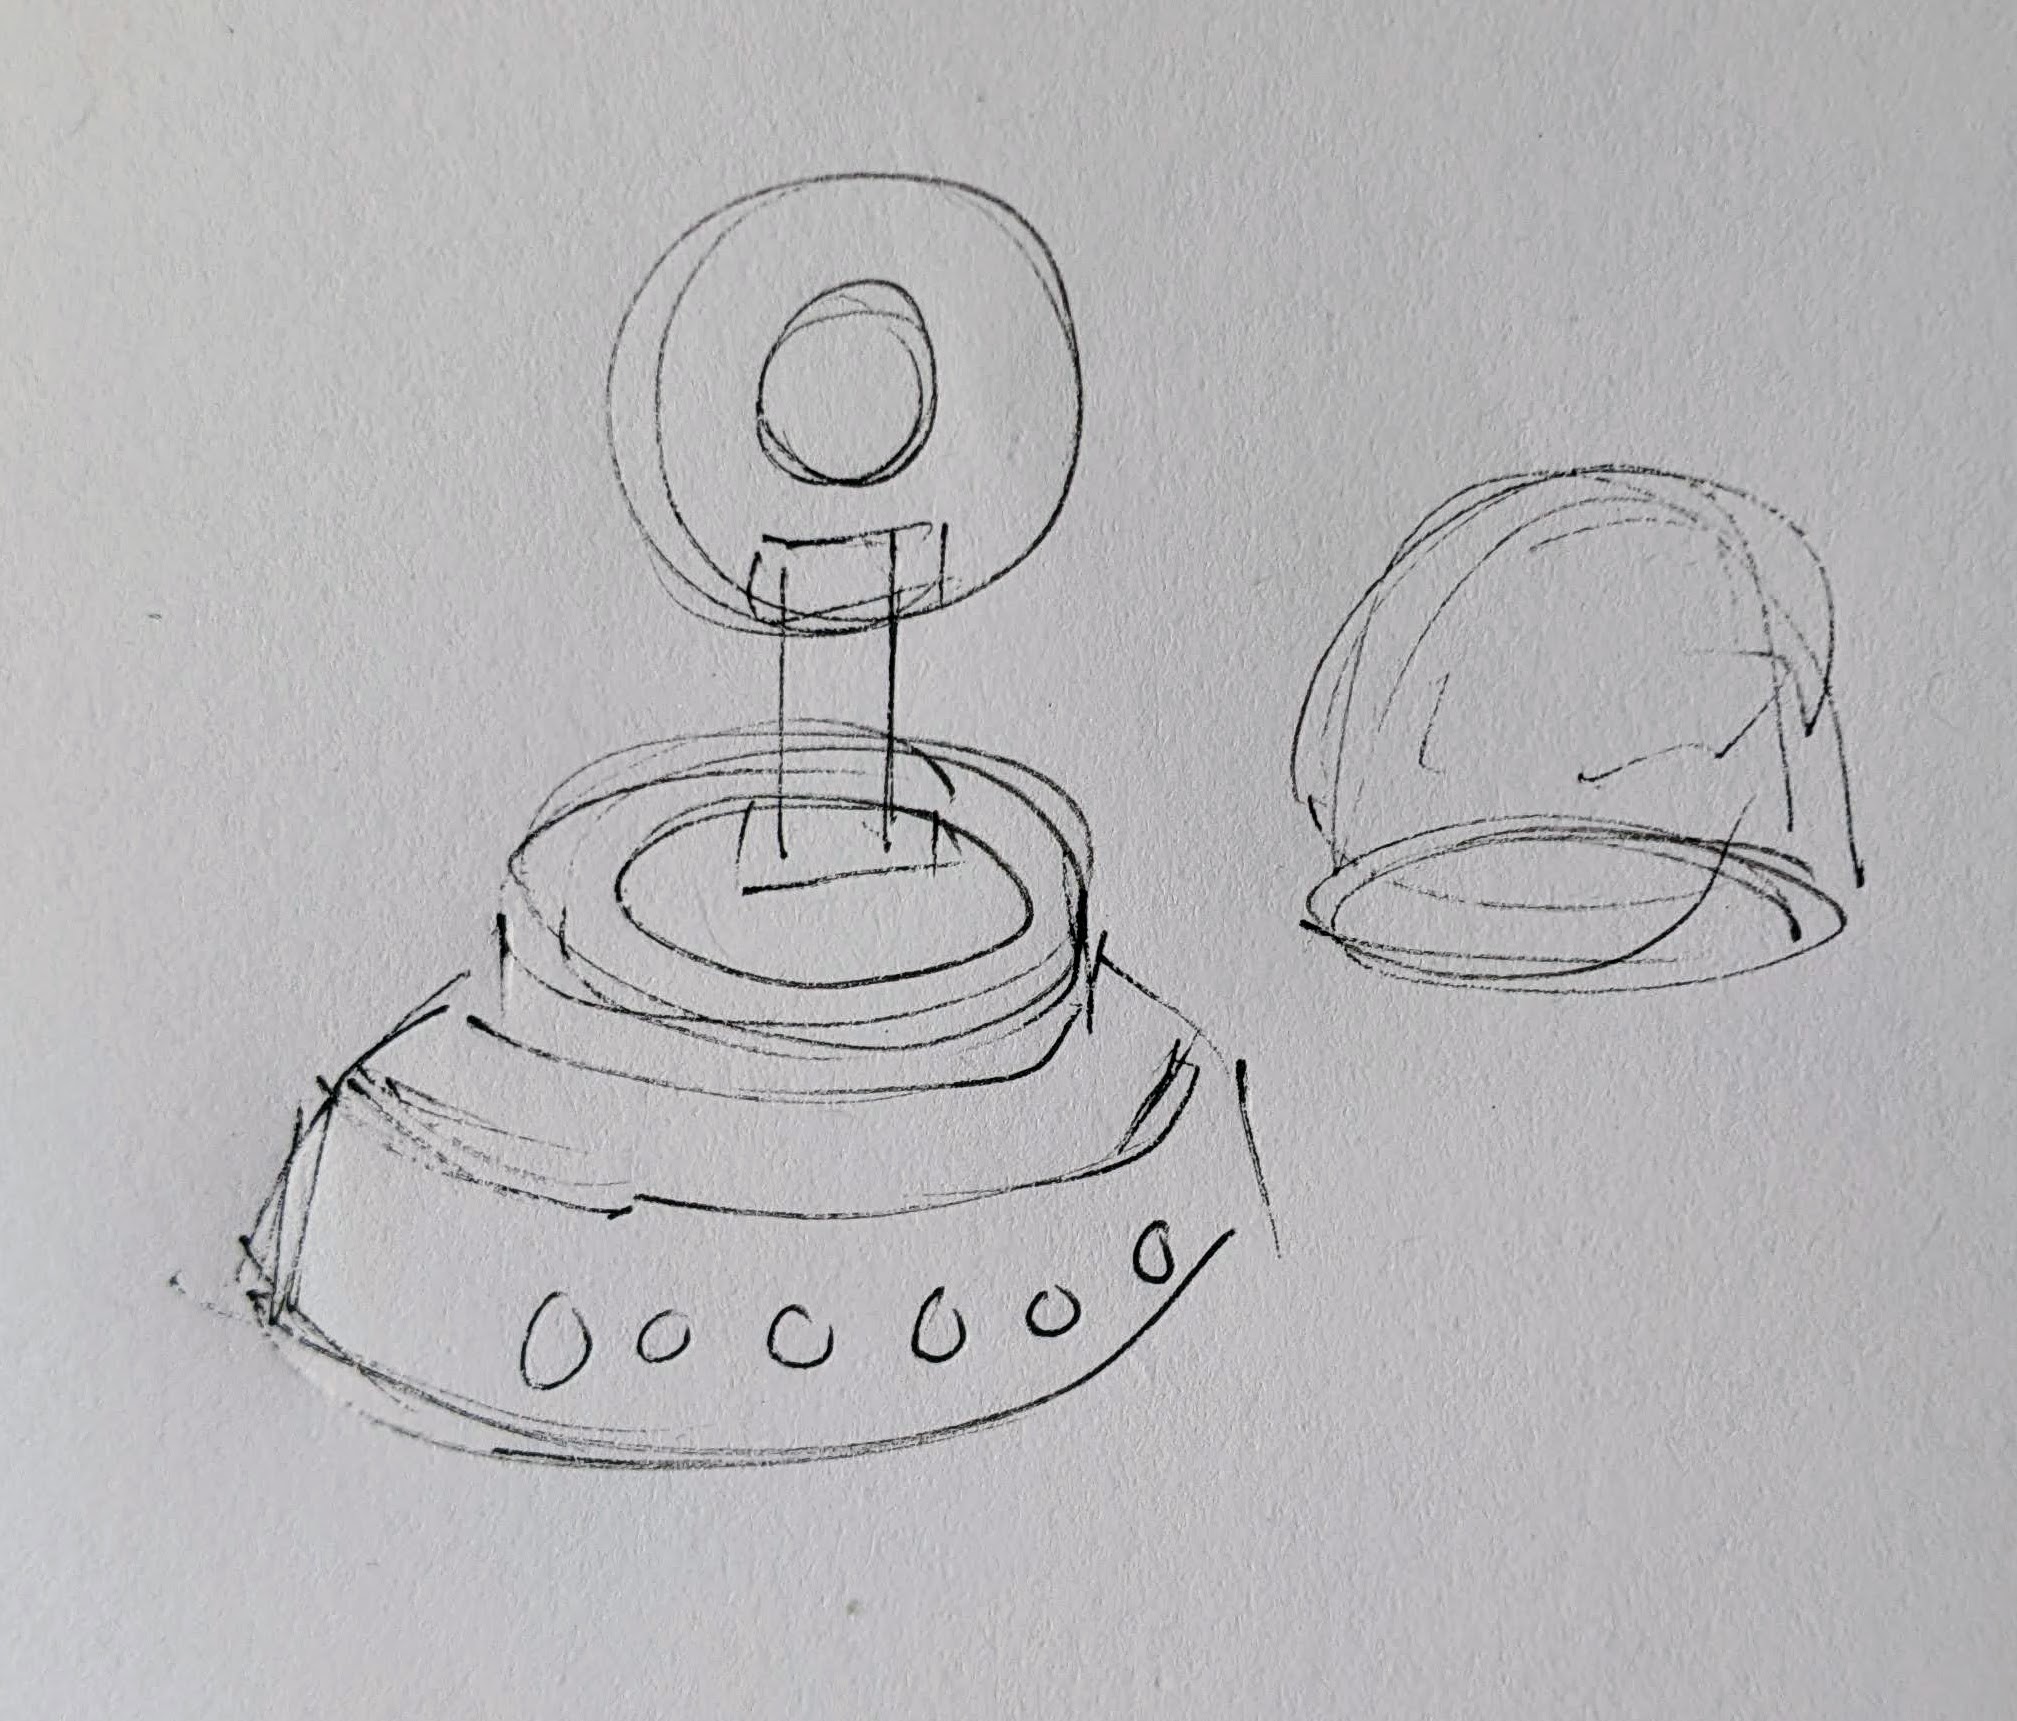
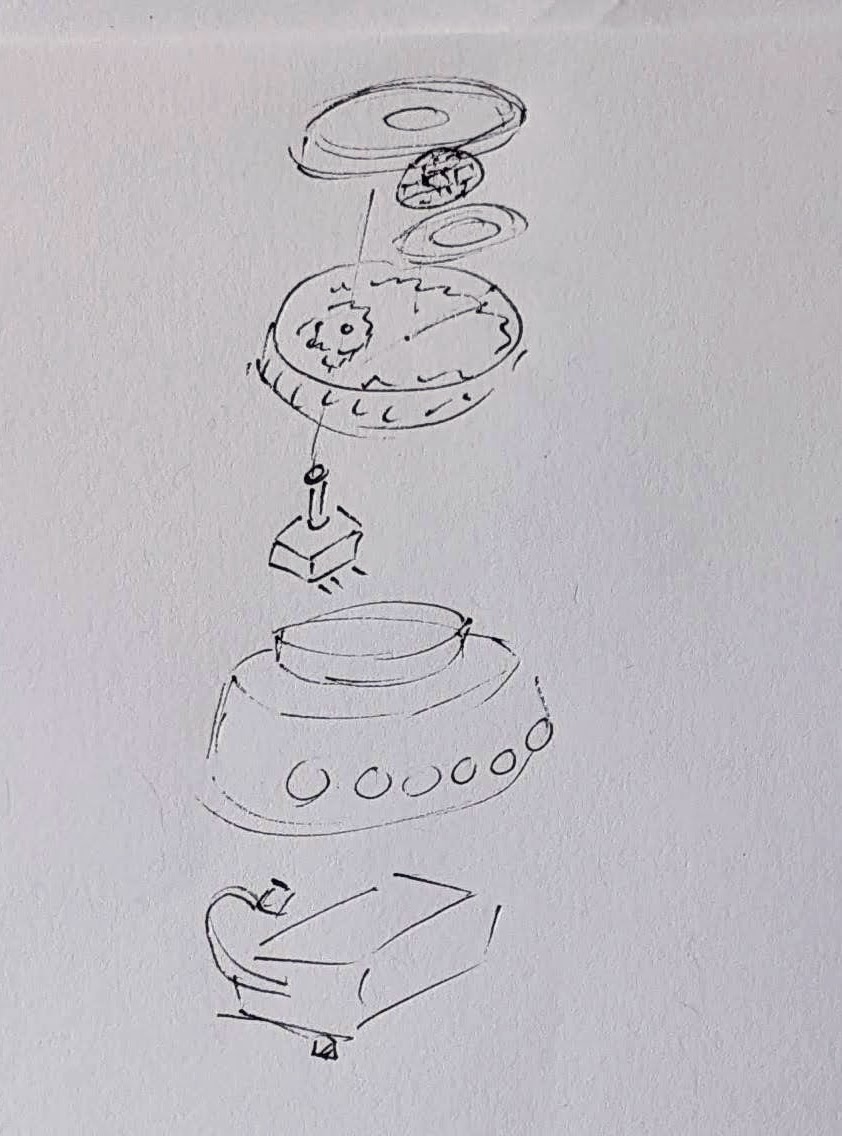
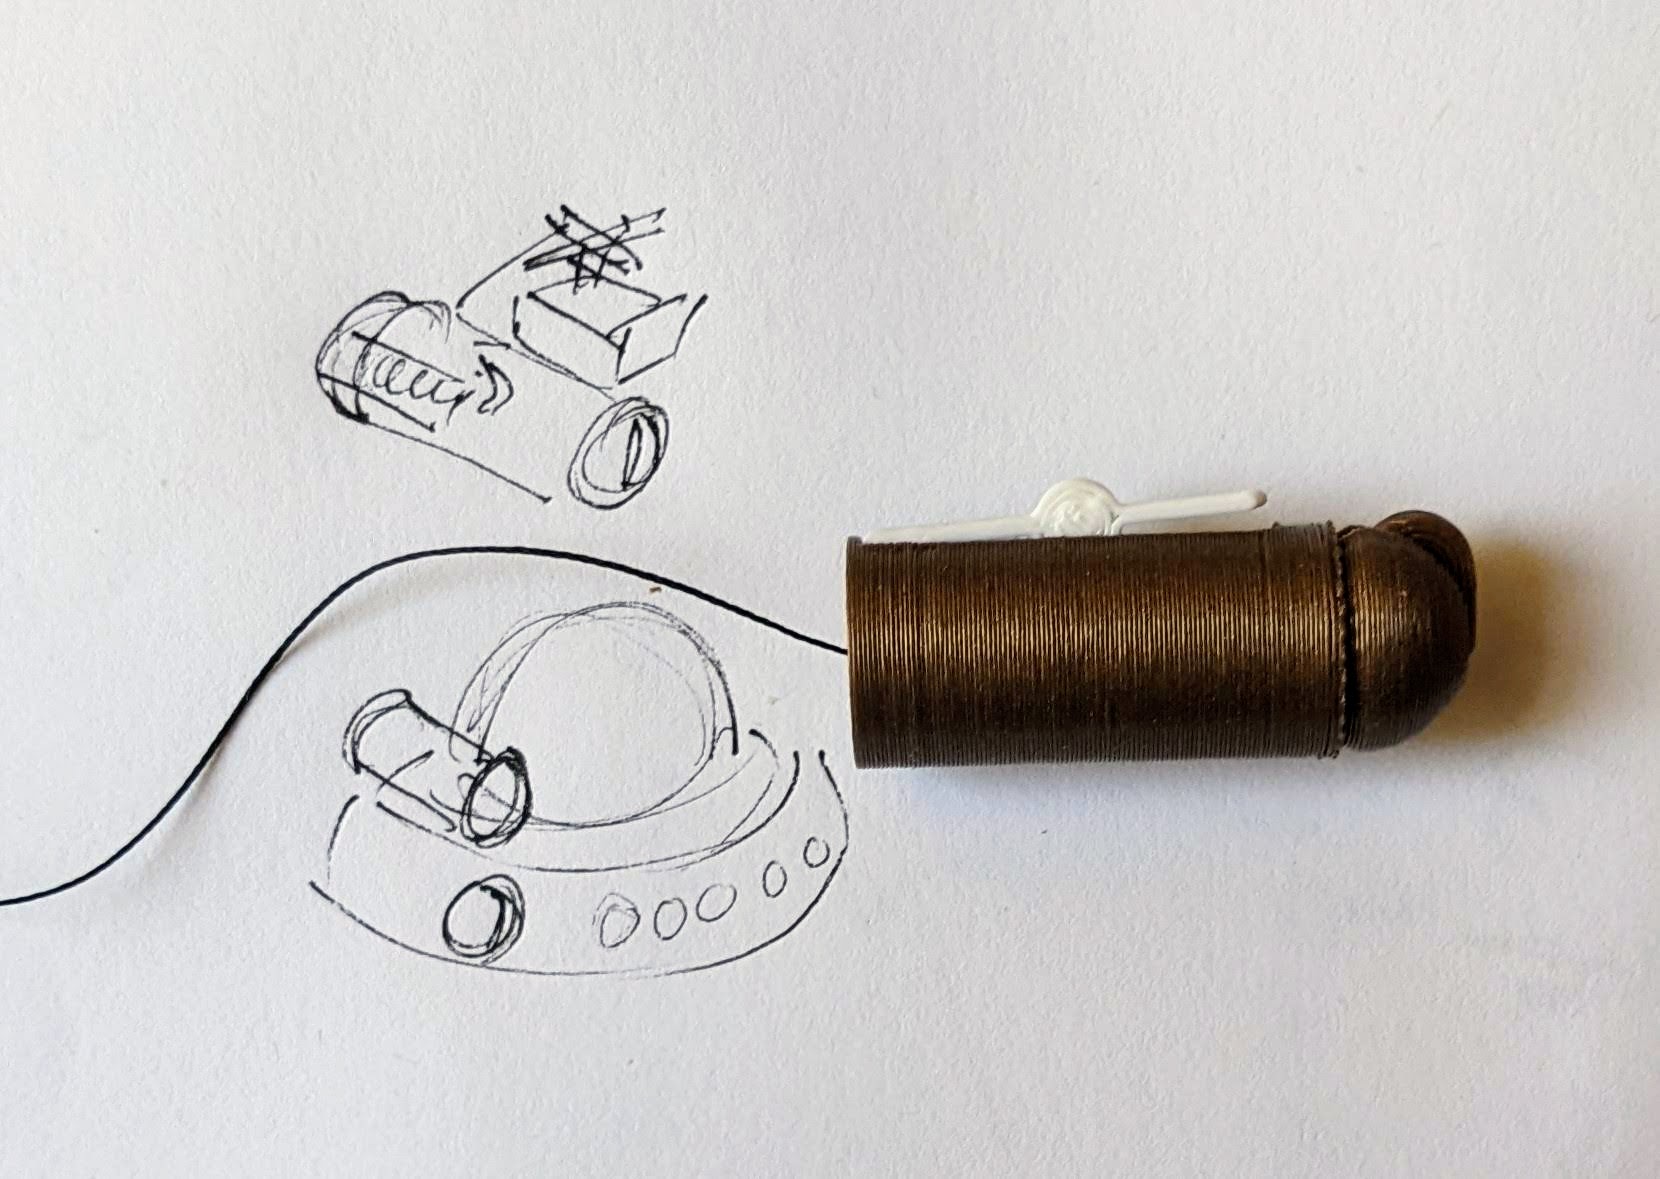
- My robot wasn’t quite ready for Maker Faire last year, but “ready enough” to share. Last year the little bot was just sitting in a jar I carried around and not really visible to anyone.
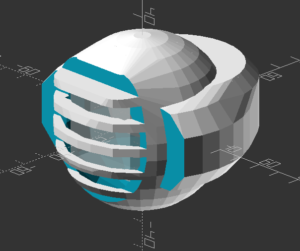
- This year I’ve added feet (entirely cosmetic), changed the battery pack around so it is removeable, swapped out dome diffusers, and am working on new animations/behaviors.
- I realized that my old LED goggles were… janky. This was because I had soldered some buttons to one side and then wired them into the Trinket directly, without any resistors. While it /worked/, it caused some problems whenever I pressed a button. I pulled the Trinket out and swapped in my new favorite board, the QtPy.
- I really prefer programming / updating via CircuitPython over Arduino since there’s no pre-compile time and fussy Arduino connections.
- Besides the programming/uploading, I love the built in RGB, up to 6 capacitive touch sensor, and easy serial communication
- As an added plus, I soldered on the 2MB flash chip so the project as a ton of space. 1
- And at almost the same price as a Triket ($0.50 more than the original, $0.50 less than the M0 Trinkets), it’s just easier to swap them into any project I would have previously put a Trinket into
- Soldering
- I’ve really upgraded my soldering experience and it’s made a world of difference. We moved about a year ago and there’s a space in the house where I can keep a soldering station out and ready to use. Just having it available is such an upgrade. I’ve had several handheld / pen style soldering irons over the years and they’re usually pretty terrible. In fairness, this is also because I’m kinda terrible at soldering. I had a basic garbage soldering iron from the local hardware store, upgrade one that had a little temperature control from Adafruit, and then upon the recommendation of a friend upgraded a few weeks ago to an X-TRONIC soldering station.
- I gave my old soldering iron to my neighbor so he could work on a project for his wife. As I got to finishing up work on the above projects I realized I couldn’t find my pen soldering iron from Adafruit – and that I didn’t want to find it anyhow. It was fine. It worked. But, my soldering iron holder was cheap and flimsy and easy to tip over and the helping hands I had from Adafruit were “okay” for very small projects, but the joints came loose easily and the helping hands kept falling off. Rather than spend $20 on another soldering iron I would hate, I dropped $70 on the X-TRONIC station which has built in helping hands and soldering iron holder. Setting aside that it heats up very quickly, has good temperature control, melts solder quickly, and has great helping hands… it has a way to hold the soldering iron in a way that isn’t constantly anxiety inducing. 2
- Having the soldering station handy has meant I don’t really mind whipping out a quick battery pack extension cable for our projects. I just need to strip some wires, fire it up, drop some solder, and turn it off again.
- I may have ruined the first soldering iron tip kinda quickly. Again, I have no idea what I’m doing. I would add solder, dip the tip in flux, wipe on sponge, and then do it all again. This is a terrible process since all it does it add extra contaminants and gunk to the tip, reducing the ability of it to transfer heat effectively. Instead, after watching a video, I learned I should run it at the lowest temperature appropriate for the solder/joint, just dab the tip in the brass wool to clean it up a little, then maybe wipe on the slightly damp sponge, and absolutely coat the tip in solder before putting it down.
Things left to do!
- Things to finish
- I’d really like to finish up the Fallout themed shirt/vest to go with my project
- A way to attach my wife’s octopus to a purse strap
- A better way to wear my robot on my shoulder – may use a similar foam paldron
- A big chunky seat belt looking thing for the strap wearing my robot
- I’ve got designs for a new bag to wear/carry around Maker Faire, but haven’t sewn them up yet – maybe this week!?!!?
- Make sure we have
- Enough batteries, battery packs, etc for our projects
- USB chargers for our LiPo batteries in goggles
- Finish my goggles (install battery, update code, possibly change out diffusers
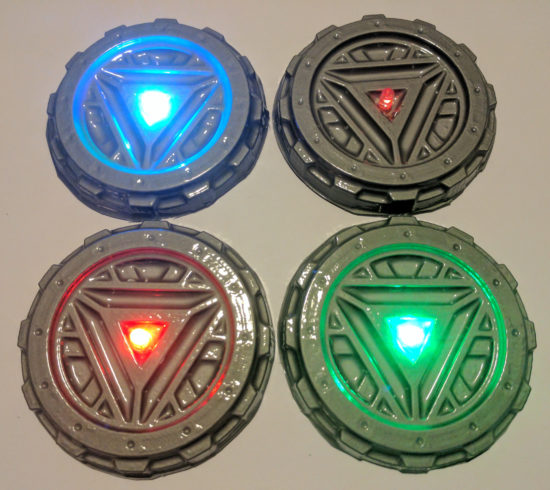
- Bring a few Maker Coins to give out (I bought 100 of the 5,000 minted, probably never to be minted again…)
- Ways to show people links to learn more about our projects – probably via QR codes – though I might also use an RFID tag :)
Okay, back to work on… work… so I can get back to making!
- Note to self: It requires a different version of CircuitPython, Haxpress, to make use of the chip storage [↩]
- I used to tape the cord of my soldering iron to the table and then place it on the flimsy stand [↩]

