
The design should be pretty intuitive. However, I went ahead and took some pictures of the assembly anyhow.
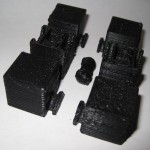
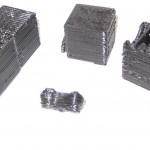
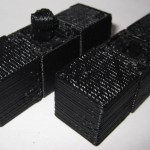
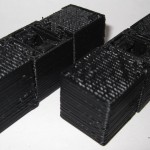
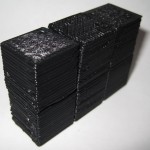
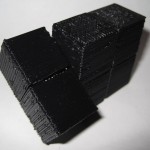
As I mentioned in an earlier post, I think this one came out really really well. :)
The design should be pretty intuitive. However, I went ahead and took some pictures of the assembly anyhow.
As I mentioned in an earlier post, I think this one came out really really well. :)
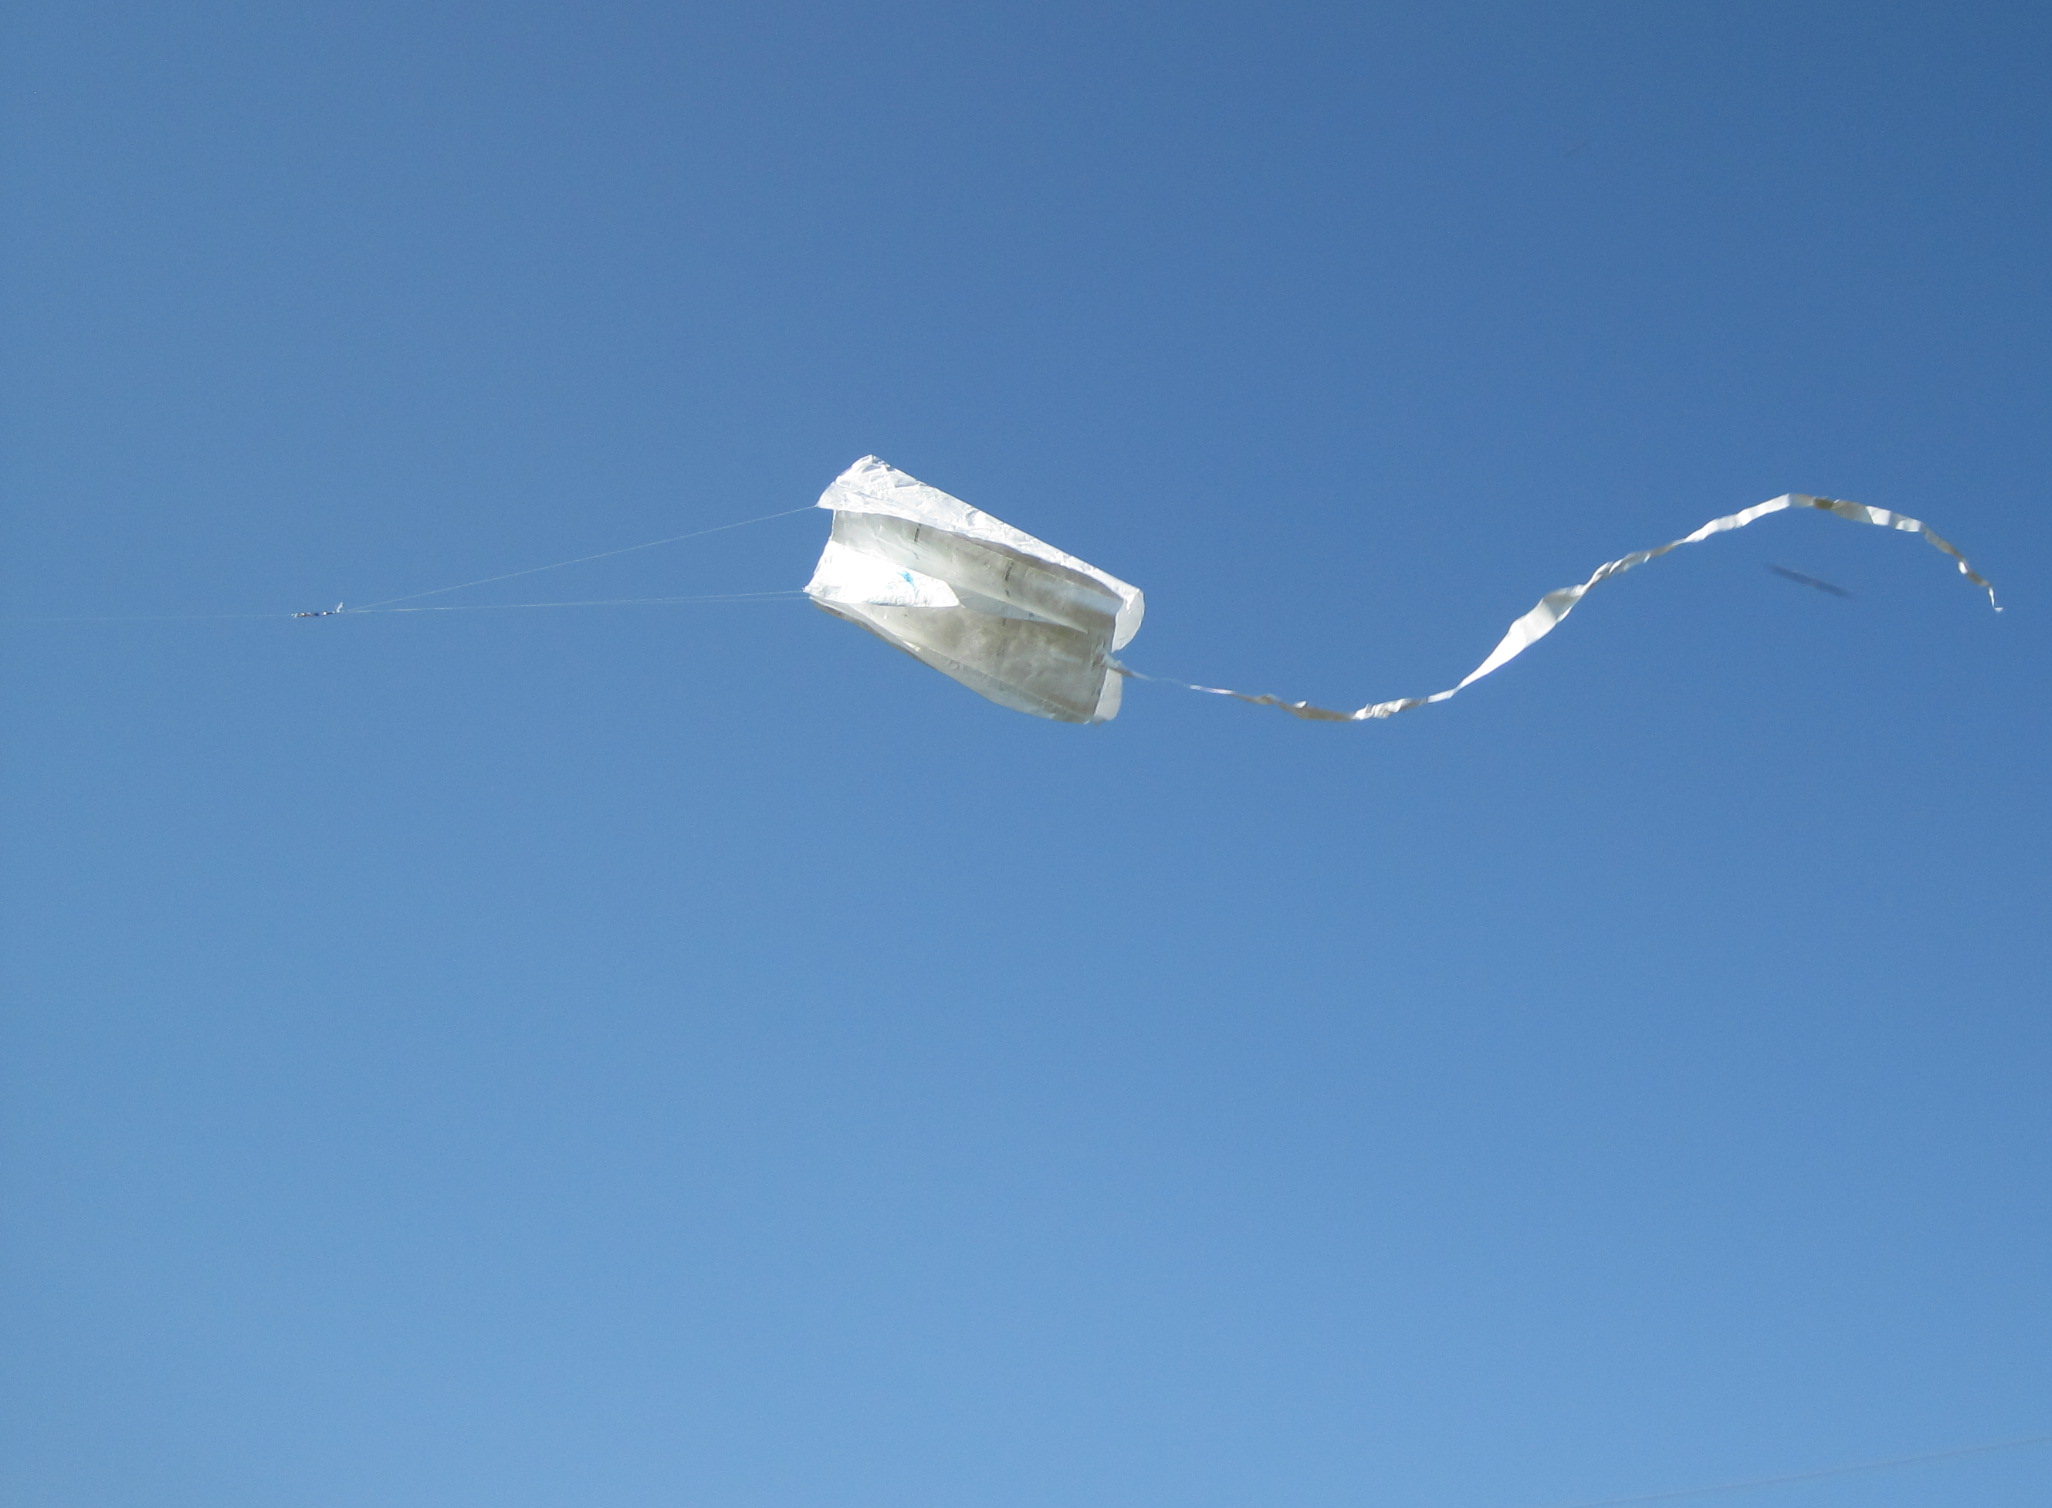
The picture to the right is of a kite that I built several weeks ago and only got around to actually flying this weekend. It’s basically made out of office supplies. :)
Originally I just wanted to make the Tyvek sled kite from the Howtoons shown in Craft Magazine, Volume 8. 1 But then I wanted to see how much of the kite I could assemble just using things from the office. The answer is, basically all of it.
The Howtoons calls for:
Instead I used:
Since the envelopes are significantly smaller than the sheet of Tyvek rolls, I had to either make my kite smaller or stitch them together into a larger sheet. I did both. I scaled the plans down to about 2/3rds the size from the diagrams and then used packing tape to put them all together. To get the most surface area out of each envelope, I burst all of the envelopes at the seams and then taped them up. Once I had a 36″ tall sheet, I started cutting it into the pieces I needed, re-taped it back together as indicated by the diagram, and then set it aside for weeks while I didn’t fly it. :)
On the day of the launch I made the tail out of strips of leftover envelopes taped together with the gluey bits from some of the envelope flap sealants and more packing tape. I punched a hole in the three ribs using a pen, ran the line through each of the three ribs, reinforced it with more packing tape… and launched.
The only non-office supply things used in the construction were:
It flew pretty well.
I’m so happy with the way this has turned out.
I’ve made a bunch of changes since the last revision of this printable 3x2x1 Rubik’s Cube puzzle:
The was one design choice on which I waffled. I considered making the center cubes non-identical, with one having half a barbell stick out and with the other having the internal connector you see now. This would have removed much of the sideways flex – since the barbell would be stationary. I did not go with this design choice because whether the puzzle used one barbell and two connectors or male/female center cubes, there would always be some flex caused by the use of a connector rather than a static pin. And, to be honest, I much preferred the symmetry of having everything assembled out of just three unique parts.
I know I’ve mentioned this before, but I really like the idea of a MakerBot printable toy that can be printed in one go and then assembled without tools or any additional hardware. I also think this would make a great MakerBot print demonstration.
I’ll post some pictures of the parts a little bit later.
I’ve printed up pieces uploaded this morning to Thingiverse, tried them together, broke two pieces, modified them, printed, and fit some together. I’ve just modified the STL for what I hope is the last time. However, I have the barbell fit snugly into the center cube. It rotates relatively freely and does not want to pop out. (Of course, I’m sure it could/would if I applied enough force). This leaves the outside cubes. I modified the semicircular tabs a little and will reprint them later.
The only problem is that it takes about 40 minutes for my machine to print up two cube parts and a barbell, since they’re so solid.
The important thing is that I’ve just been able to print up and assemble the crucial mechanisms for this puzzle. I think the next iteration may be what I needed.
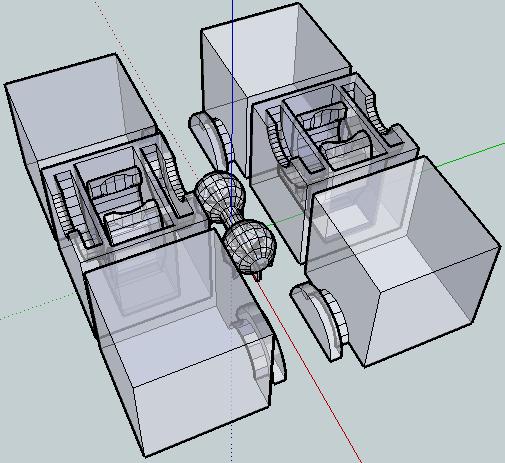
This is easily my most intricate digital design for the MakerBot yet. It’s a 3x2x1 variation on the Rubik’s cube puzzle I had posted earlier.
This version incorporates the prior improvements as well as designing a connector system inspired by R3bbeca‘s beco block connectors.
This has enabled a totally printable toy. This just makes me happy. 1 The idea that I can crank out a set of these parts, clean them up a little, and just snap the toy together is just amazing.
TomZ‘s original 1x2x3 “friendlier” Rubik’s cube designs were also totally printable – but required a printed pin that was later glued in place. I like the ideal of all printed parts – but strongly prefer a design that can later be disassembled easily. And, as I mentioned above – the ability to hand assemble the toy is important to me.
I wasn’t able to recreate R3bbeca’s female connector designs2 so I made a simplified version that should suffice.
The simplified connection mechanism is essentially two plastic fingers that will (hopefully) pinch the barbell into place. This was made by designing the outline of the gripping “fingers,” creating a horizontal cylindrical hole slightly larger than the intended end of the barbell, then creating a vertical cylindrical hole in the center for the barbell to be inserted through, then a bit of cleanup.
The biggest potential problem is that this design will require a carefully tuned ‘bot. The center cube pieces have a lot of stuff packed in there – semi-circular slots for the semi-circular tabs, connectors for the barbell, and thin walls separating things. With those thin walls and interior overhangs, this may be a difficult design to print.
I think Bender is up to the task, but we’ll see in a few hours. :) I can’t wait to print this!
For me, having a MakerBot is like waking up to Christmas every morning.
Oh, and before I forget, if you want one of these – leave a comment or send me an e-mail through the Contact page. Make me an offer.
I really like the Pilot G-2 gel pens. They’re basically all I use at work. Although we buy refills, I still end up with a surplus of the pens.1 The pens, although technically disposable, use a small metal spring as part of the mechanism. While swapping in a refill the other day, I thought it was such a shame that this little spring is destined for a landfill. 2
Thus, I propose a contest! I think of this as a repurposing and/or recycling contest. What’s the most awesome MakerBot printable thing you can design that re-uses any of the parts from this pen? 34
How to enter?
What are the rules?
What are the prizes?
The prize will be a print of your choice of either anything I’ve designed and posted to Thingiverse (except the Unblended Mendel – I didn’t really design that) or your winning design!
MakerBot is looking for a web code warrior.
This is one of those things where I can think of a thousand reasons to NOT do something and only one reason to do it. In the “NOT” column would be the long commute (CA to NY), I’m not a professional programmer1 , and the job requirements are a little beyond my abilities.
That said, the reason in favor is… it would be awesome.
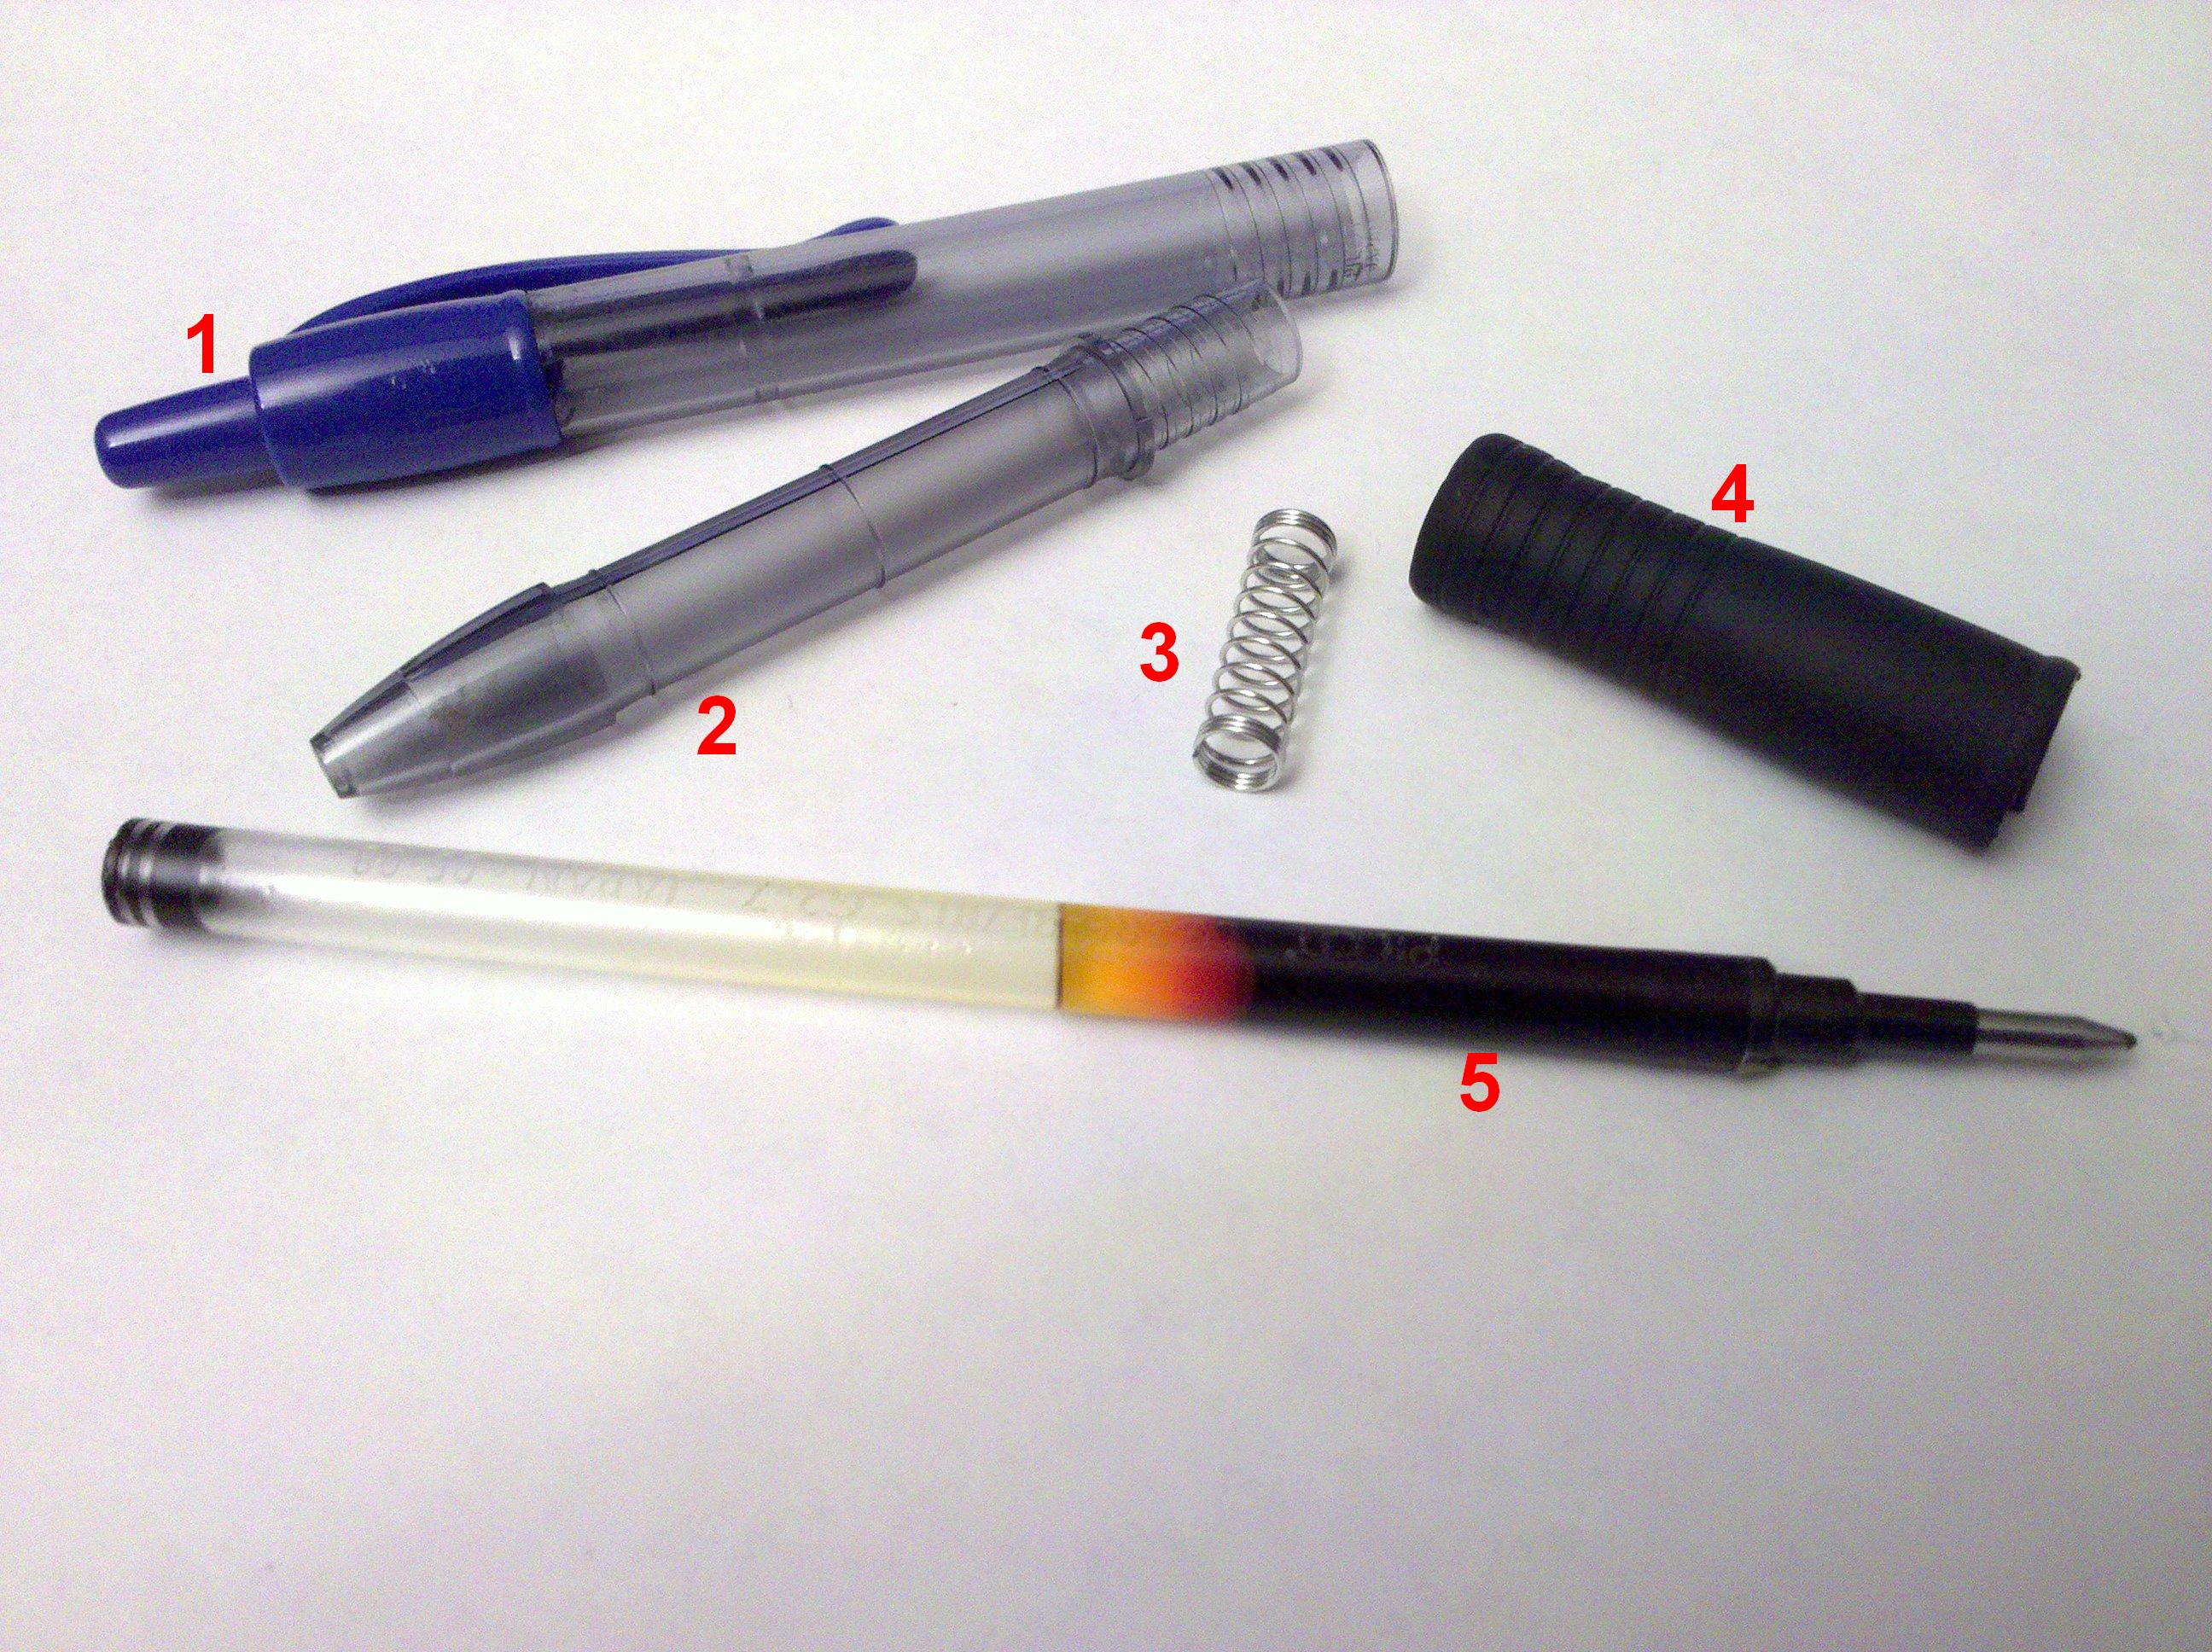
Pictured are:
Why am I telling you these things? Stay tuned…
I’ve been fiddling with the designs for the 3x2x1 Rubik’s Cube incorporating some of the changes I had considered:
Pete Hinzy left a comment asking:
I am also attempting to start up a small business with the focus on providing low cost, custom parts. I have one customer now but have struggled trying to “reach the masses”. Any thoughts?
Hi Pete!
Well, you asked for it!