I’ve got paint, sandpaper, and masks. Oh, and of course duct tape.
Month: December 2009
Priorities
Really what I need to do is tinker less with WordPress and get cracking on this robot…
What was I thinking???
Toasted WordPress
I’ve been tinkering with this website trying to move it to a different domain – MakerBlock.com rather than MakerBlocks.com. (I like both names, but have a slight preference for MakerBlock). In any case, since I’m rather used to working with WordPress I figured I’d just dive into the MySQL tables and start changing stuff.
This doesn’t work quite as well as you would think it would. :) For anyone who is looking to move a WordPress website from one domain (or subdomain) to another, I highly recommend using Domain Name Changer.
Lesson learned. I’m just a little bit smarter today! Woo hoo!
Mission critical decisions
Such as: Should I paint? What color(s)?
I’m thinking I should paint. I figure it will help the robot body stand up to a little extra wear and tear while looking cool.
Not white or black. That’s SOooo October 2009. I’m liking gray/gunmetal/silver. I’ve only seen pictures of one silver MakerBot and I rather liked it. (Thank you to RDon Ebben/Robostang 548 for posting pics of his MakerBot 347.) The picture is a little dark, so I don’t think I can see it to its full effect.
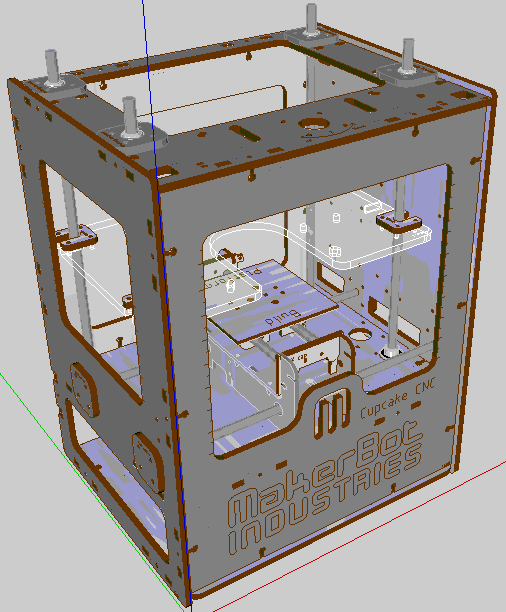
Just the other day a user named unrepentantgeek posted a Google Sketchup version of a MakerBot, to make it easy to test out paint/color schemes. URG – you’re the best! Thanks to you, I got to test out this color scheme:
Roughly a 50% gray on the outside, silver on the inside. (I figure I can’t rightfully name the machine Bender unless it has a shiny metal assplate, right?)
Printed Pulleys Assembled!
I’ve just take the first step to building my MakerBot! Admittedly, two of the bearings were already in the printed pulleys, but that’s just not the point. I’ve taken a material step towards building it! Huzzah!
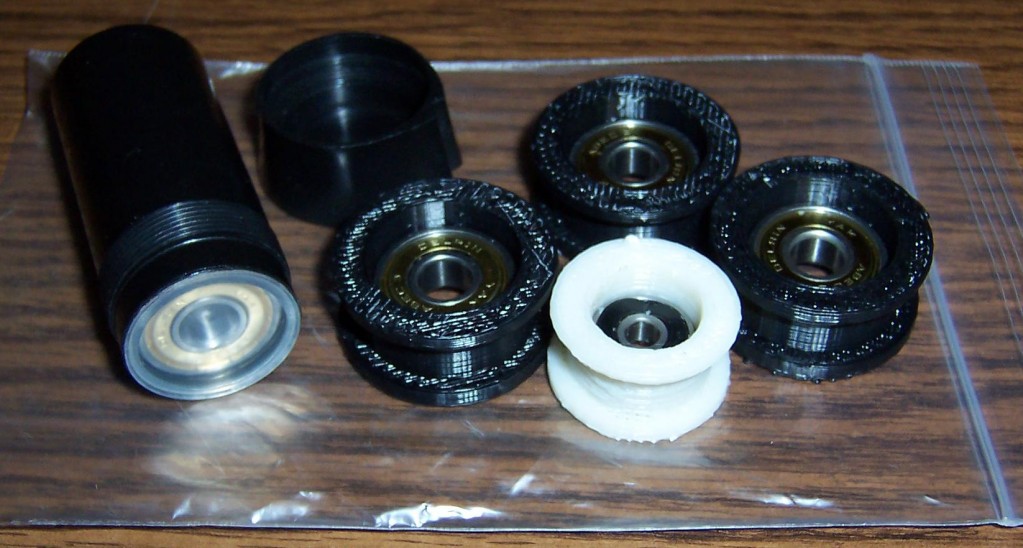
Oh, and I don’t think I was supposed to have a pack of 8 extra bearings.
No, no, I’m supposed to have these 8 bearings. I suppose it would help if I read the directions. (I’m just so used to grabbing things and tossing them together and expecting them to work. I guess it’s a little more complicated than that when you’re building a robot, eh?)
Second Law, Schmecond Law
Unfortunately, in the haste to get the MakerBots out the door for the holidays the guys at MakerBot left out opto-endstop kits on some shipments. These guys have been super responsive even before I bought a kit from them, so I’m not that concerned. Frankly, it’s a little bit of a relief that I can skip the soldering stuff for now and move on to some of the pulley making steps.
In any case, as I understand it, these are not vital to the proper functioning of the MakerBot and that they’re really just a failsafe if the ‘bot forgets the second law of robotics.
ETA
I’ve been blathering about my MakerBot kit to anyone and everyone who will listen for weeks and months now. All that is left to do is build it. 1 A friend asked me how long it would take me to build it.
Thinking aloud, I reasoned that if two skilled people could build one MakerBot in a weekend, I might have a shot at building one in about two to three weeks.2
I hope that’s not too optimistic. :)
I guess that’s what Christmas miracles are for, eh? 3
- Oh, that’s all? [↩]
- Though a YouTube video suggest two people can build one in a single night. [↩]
- Actually, I would love to finish it in time for Christmas so I can print out some snowflakes for the tree, but I just don’t see it in the cards. [↩]
Soldering?
I have NO idea what I’m doing!
If you’ve got a Batch IX MakerBot all the surface mount boards should have arrived pre-soldered. This means the first actual material step to building the robot is to solder the opto-endstops. These are little circuit boards that contain optical switches that will prevent the machine from moving the build platform (and print head?) too far in a particular direction. You can find the kits for the opto-endstops in the MakerBot store. According to the page for these kits:
An optical switch usually used to detect when your robot has reached the minimum or maximum position of travel.
An optical endstop AKA opto endstop is a switch made out of light. When something interrupts the light-beam, then it signals the motherboard. Useful for detecting if your robot is attempting to self-destruct. ;)
Also, there are no moving parts to wear out, so they will last pretty much forever.
So, when all is said and done, hopefully I will have taken this:

To this:

To Do List
Here’s my rough “to do” list for my CupCake CNC once it’s fully operational:
- Foldable Z-axis crank
- Heated build platform
- A Death Star
- Chess set
- Custom construction toy parts
- Random plastic bits to repair various broken things
CupCake CNC Deluxe Kit Unboxed!
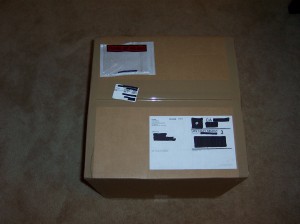
It’s finally here! This is the box from MakerBot Industries. It’s twenty-five pounds of robot parts, plastic filament, padding, and cardboard all carefully packaged and delivered to my doorstep.
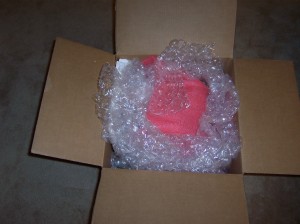
Box opened! Everything was packed very carefully with lots of padding, bubble wrap, and most parts grouped in their own boxes.
Here you can see on the bottom of the picture the plastic filament (1 pound of white and 5 pounds of black). In the center you can see a white box containing the Plastruder Mark IV parts. To the right of the Plastruder is the power supply.
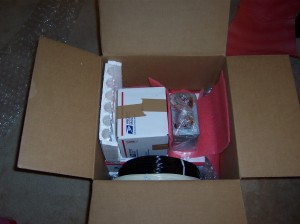
Here’s a look inside the Plastruder Mark IV box. More padding! Hurray! (*Camera wrist band not included)
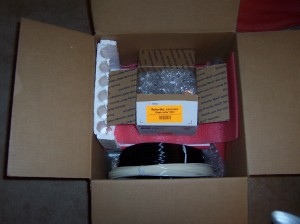
All the little fiddly-bits inside the Plastruder Mark IV box. (*Toes and socks not included)
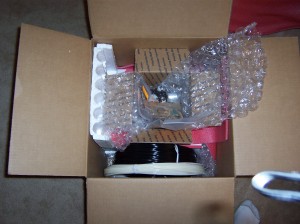
A thank you letter from the guys at MakerBot Industries, and a super-cool flyer-card for Thingiverse and MakerBot.
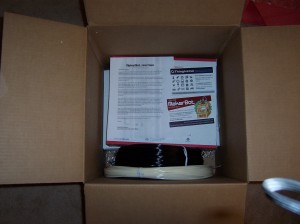
Hardware box of stuff and more fiddly-bits!
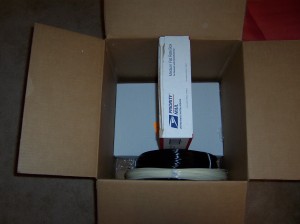
Amazing magical stuff inside! Like bits of wire, motors, and other stuff!
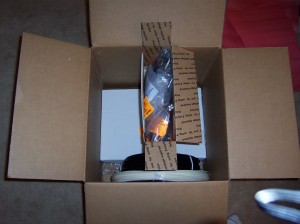
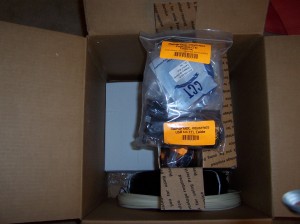
Fully assembled stepper motor drivers! Three of them!
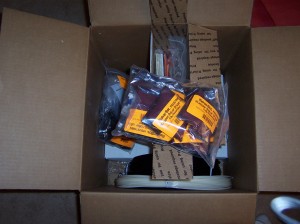
Build surfaces – a LOT of them. I can’t even imagine how much I would have to print to use up this many surfaces. You can see one etched acrylic build surface. There are also a LOT of foam core build surfaces.
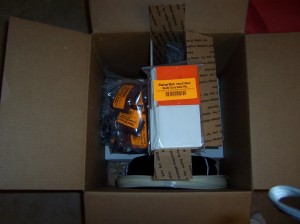
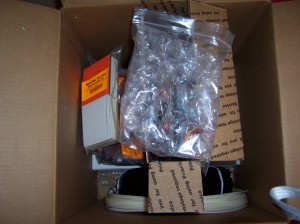
Drive system kit including belts.
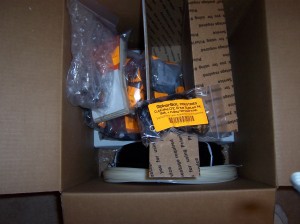
The hardware burrito. Nuts, bolts, washers, and even more fiddly bits!
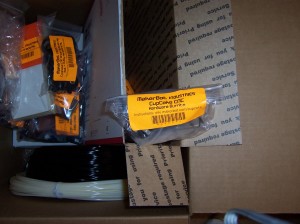
USBTinyISP stuff. And wrenches. I have no idea what a USBTinyISP is or how to use it, but look forward to finding out!
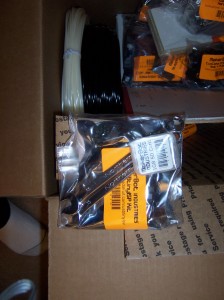
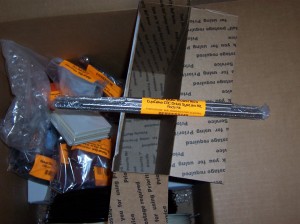
Printed pulleys and stuff. The first batches of CupCake CNC’s included laser cut wooden parts that could be layered and glued together. Having ordered this CupCake CNC from batch #9, I benefit from printed pulleys. Being able to print your own upgrades is one of the truly incredible things about a 3D printer.
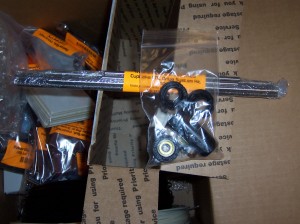
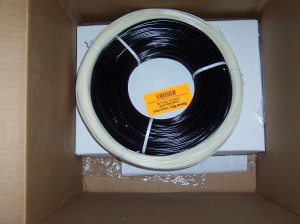
Plastic filament – 1 pound of white ABS and 5 pounds of black ABS, suitable for printing evil toys.
Laser cut parts kit. Between a laser and a 3D printer, you could probably fabricate damn near anything.
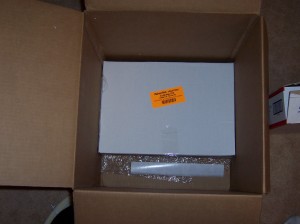
Inside the laser cut parts kit. Behold!
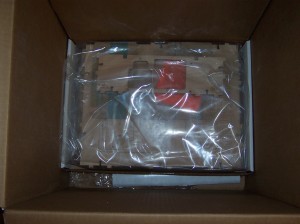
Meet MakerBot Industries CupCake CNC # 465, Batch IX! (Well, all the bits of one anyhow).
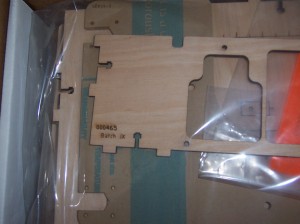
Lots more laser cut stuff.
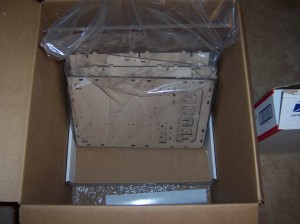
Whew! Time (and patience) permitting I’d like to document the contents of each pack/kit.

