Tag Archives: caption
The only problem with that system is…
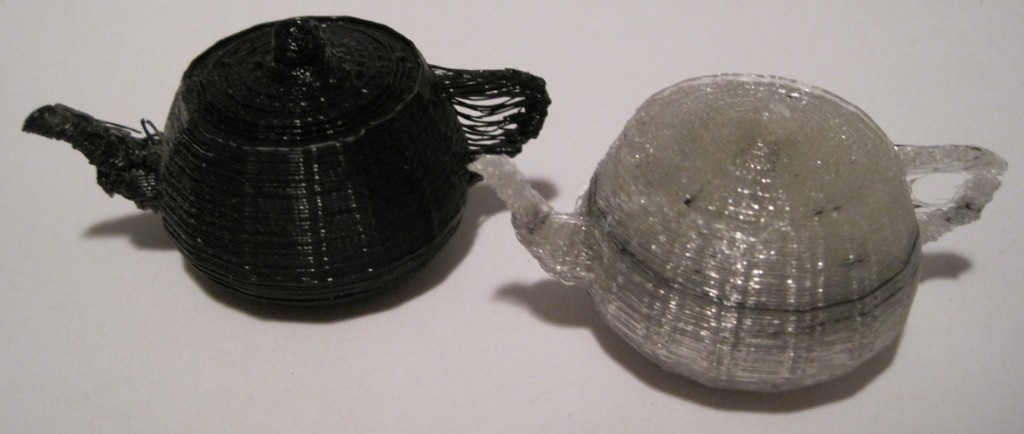
PLA success?!
I figured, what the hell – I built it and I can (probably) repair it, right?
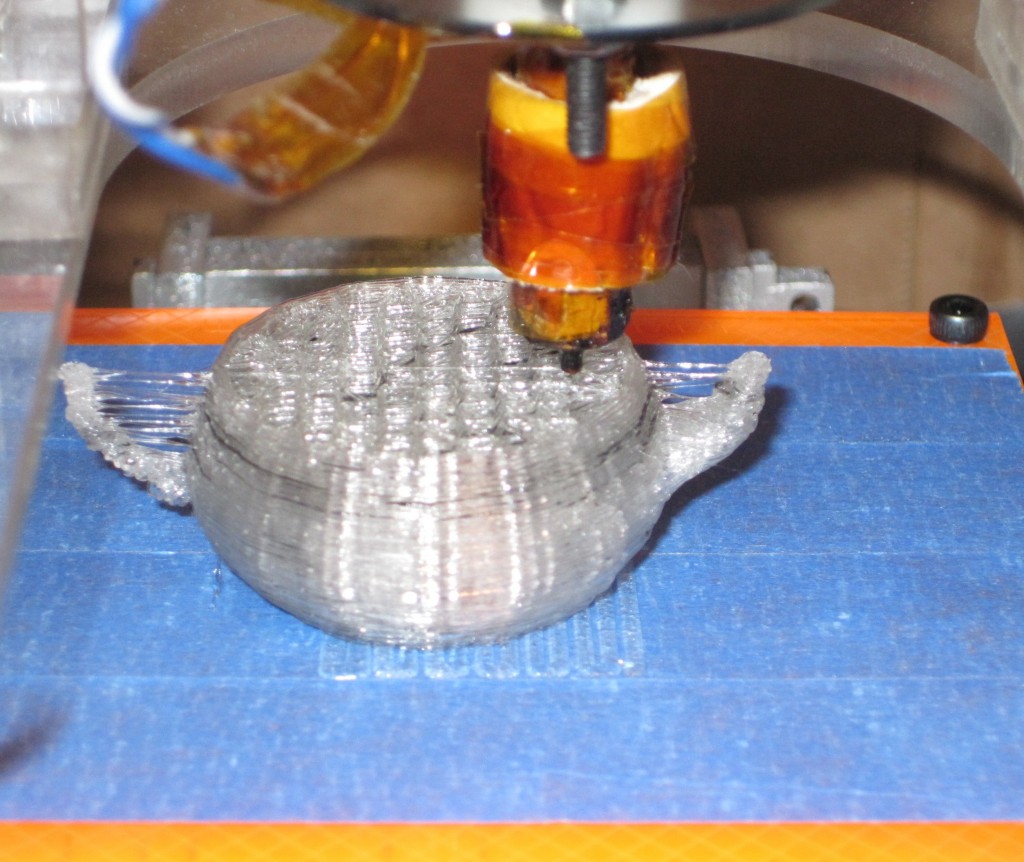
So, I backed out the black ABS I have been printing in, jammed in some freaking sweet PLA, ramped up the heat on the extruder to the exact settings I use for ABS, and then FIRE THE MAKERBOT!
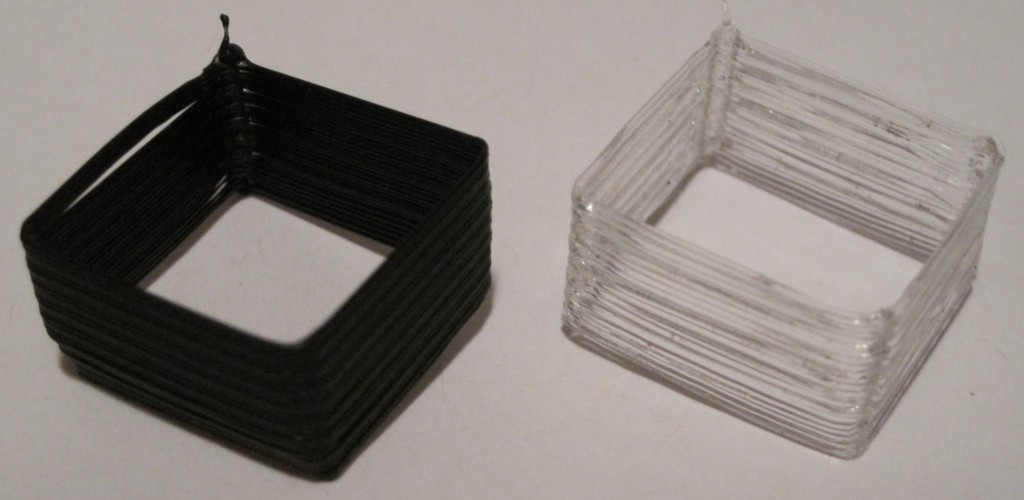
For comparison’s sake I used the same exact settings, same exact Gcode file from the last single walled test piece.
What did it look like, pray tell?
I thought you’d never ask.
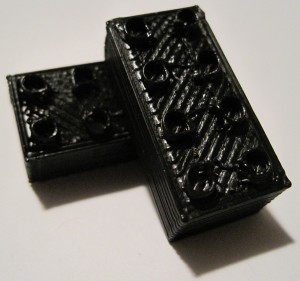
New print: Legos!!!
THIS is what I’ve been dying to print.
How did I achieve such a feat? Printing from the SD chip. For those of you who aren’t sure how to do this, it’s a lot easier than you think. I was wondering if there was some complicated kind of upload/buffering command. I just wasn’t seeing instructions or a how-to anywhere. Well, that’s because its pretty freaking easy. I printed to a file, popped an SD chip into my laptop, copied the file to the chip, popped the chip into the ‘bot, and then chose to print from SD card option in ReplicatorG.
My first attempt to upload code to the chip was through the USB cable. While this is certainly feasible, it’s painfully slow. It took about two minutes to upload 200k through the USB cable versus less than two seconds worth of writing to the chip.
Admittedly, this wasn’t what I had tried first. I discovered that by moving the extuder board to the same side as the motherboard, I had blocked the SD chip port. Bummer. To solve this problem I unbolted the motherboard, rotated it 90 degrees counter-clockwise, put two more holes into the side of my MakerBot, and bolted it back on. 1
Now that I’ve printed up my first lego, I’m going to want to print:
- More legos, natch
- Wacky brand new legos
- Construx
- Replacement construx
- Wacky brand new construx
- I did this using the drill bit plus rubber band method described earlier. [↩]
New print: TARDIS
InnovationByLayers – you rule. Thank you for modeling and posting this. I’ve really wanted to print out a TARDIS and a Dalek. I downloaded the file, ran it through Skeinforge, and started printing away.
1 hour and 8 minutes later:
I am very happy with this print. You can see some very minor vertical variation in the model, which is quite exaggerated by the photographic angle, but it’s probably about 0.33mm or so. The variation is barely noticeable. I suspect I could get better resolution if all four of my Z axis threaded rods were straighter, but I also think my time/effort is probably better spent dialing into the correct Skeinforge settings.
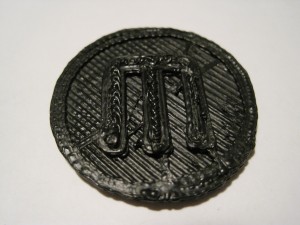
New print: MakerBot Coin
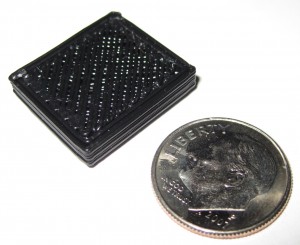
New print: Replacement scrabble tile
Replacement scrabble tile FAQ:
- Question: What use is a RepRap replacement tile if an unscrupulous player could just feel for this piece.
- Answer: Print 99 more.
- Question: But the tile doesn’t have a letter!
- Answer: That’s not a question. But, if it were… just sand down one side and write/paint the letter.
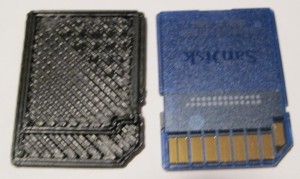
New print: SD Card Blank!
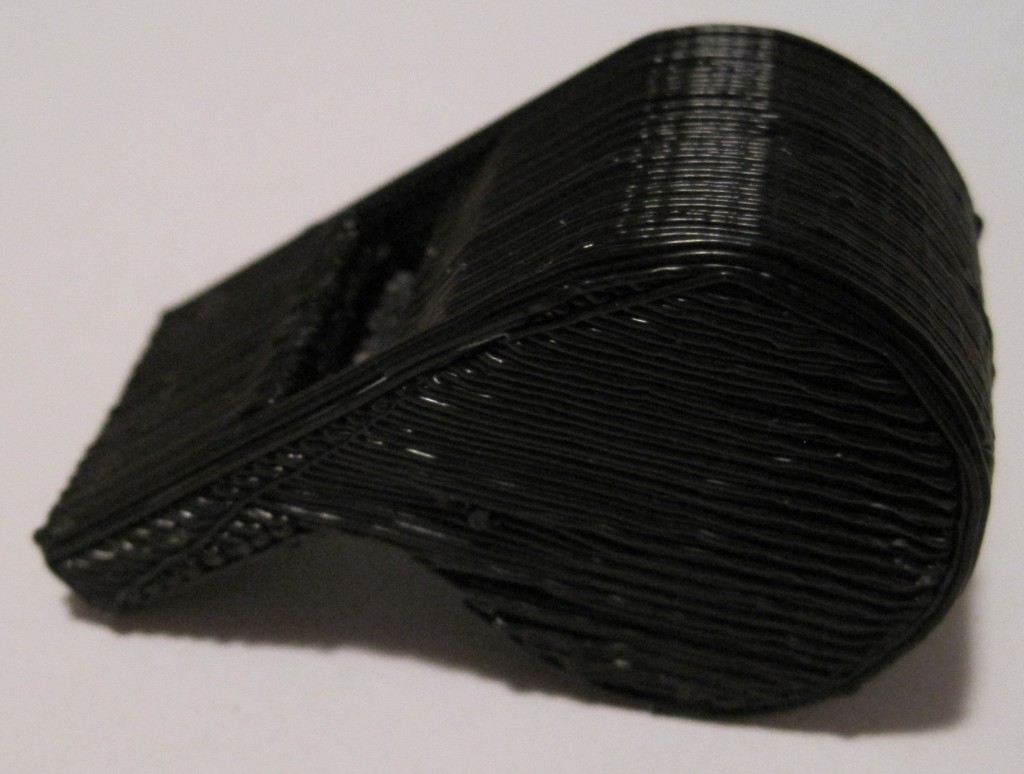
“Clean” whistle
MakerBot Is The New Duct Tape
This summer I discovered that one of the window latches in my home was broken. Since the windows are so old, I didn’t even bother checking for replacement parts at the hardware store. My repair consisted of wrapping duct tape over the broken part and fitting back inside the latch mechanism.
It worked, but was a less than ideal fix. The part had snapped in two places, making the entire part slightly unstable even when reinforced with duct tape. Additionally, the extra thickness of the duct tape prevented the latch from sliding smoothly and eventually started to bunch up the duct tape.
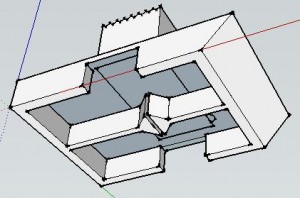
Several months ago, figuring that it was only a matter of time before I bought a MakerBot CupCake CNC, I modeled the part in Google Sketchup.
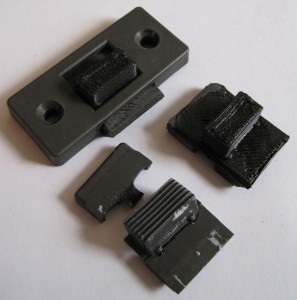
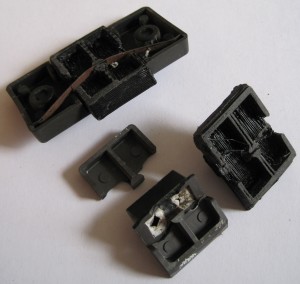
After getting my MakerBot operational yesterday, this was my second print. It was also my fourth print – another window was missing a latch entirely. A little light sanding and a slight use of a hacksaw blade to separate the small divide underneath the part, and it was ready for installation. Both latches installed without fuss and work far better than the duct tape version.
Unlike the duct tape fix, this repair permanently replaces the broken part with a functionally identical part that is also far more cosmetically appealing. Best of all, I now live in a house that is partially built by a robot I made. :)

