Vacuum Former – Things to Form

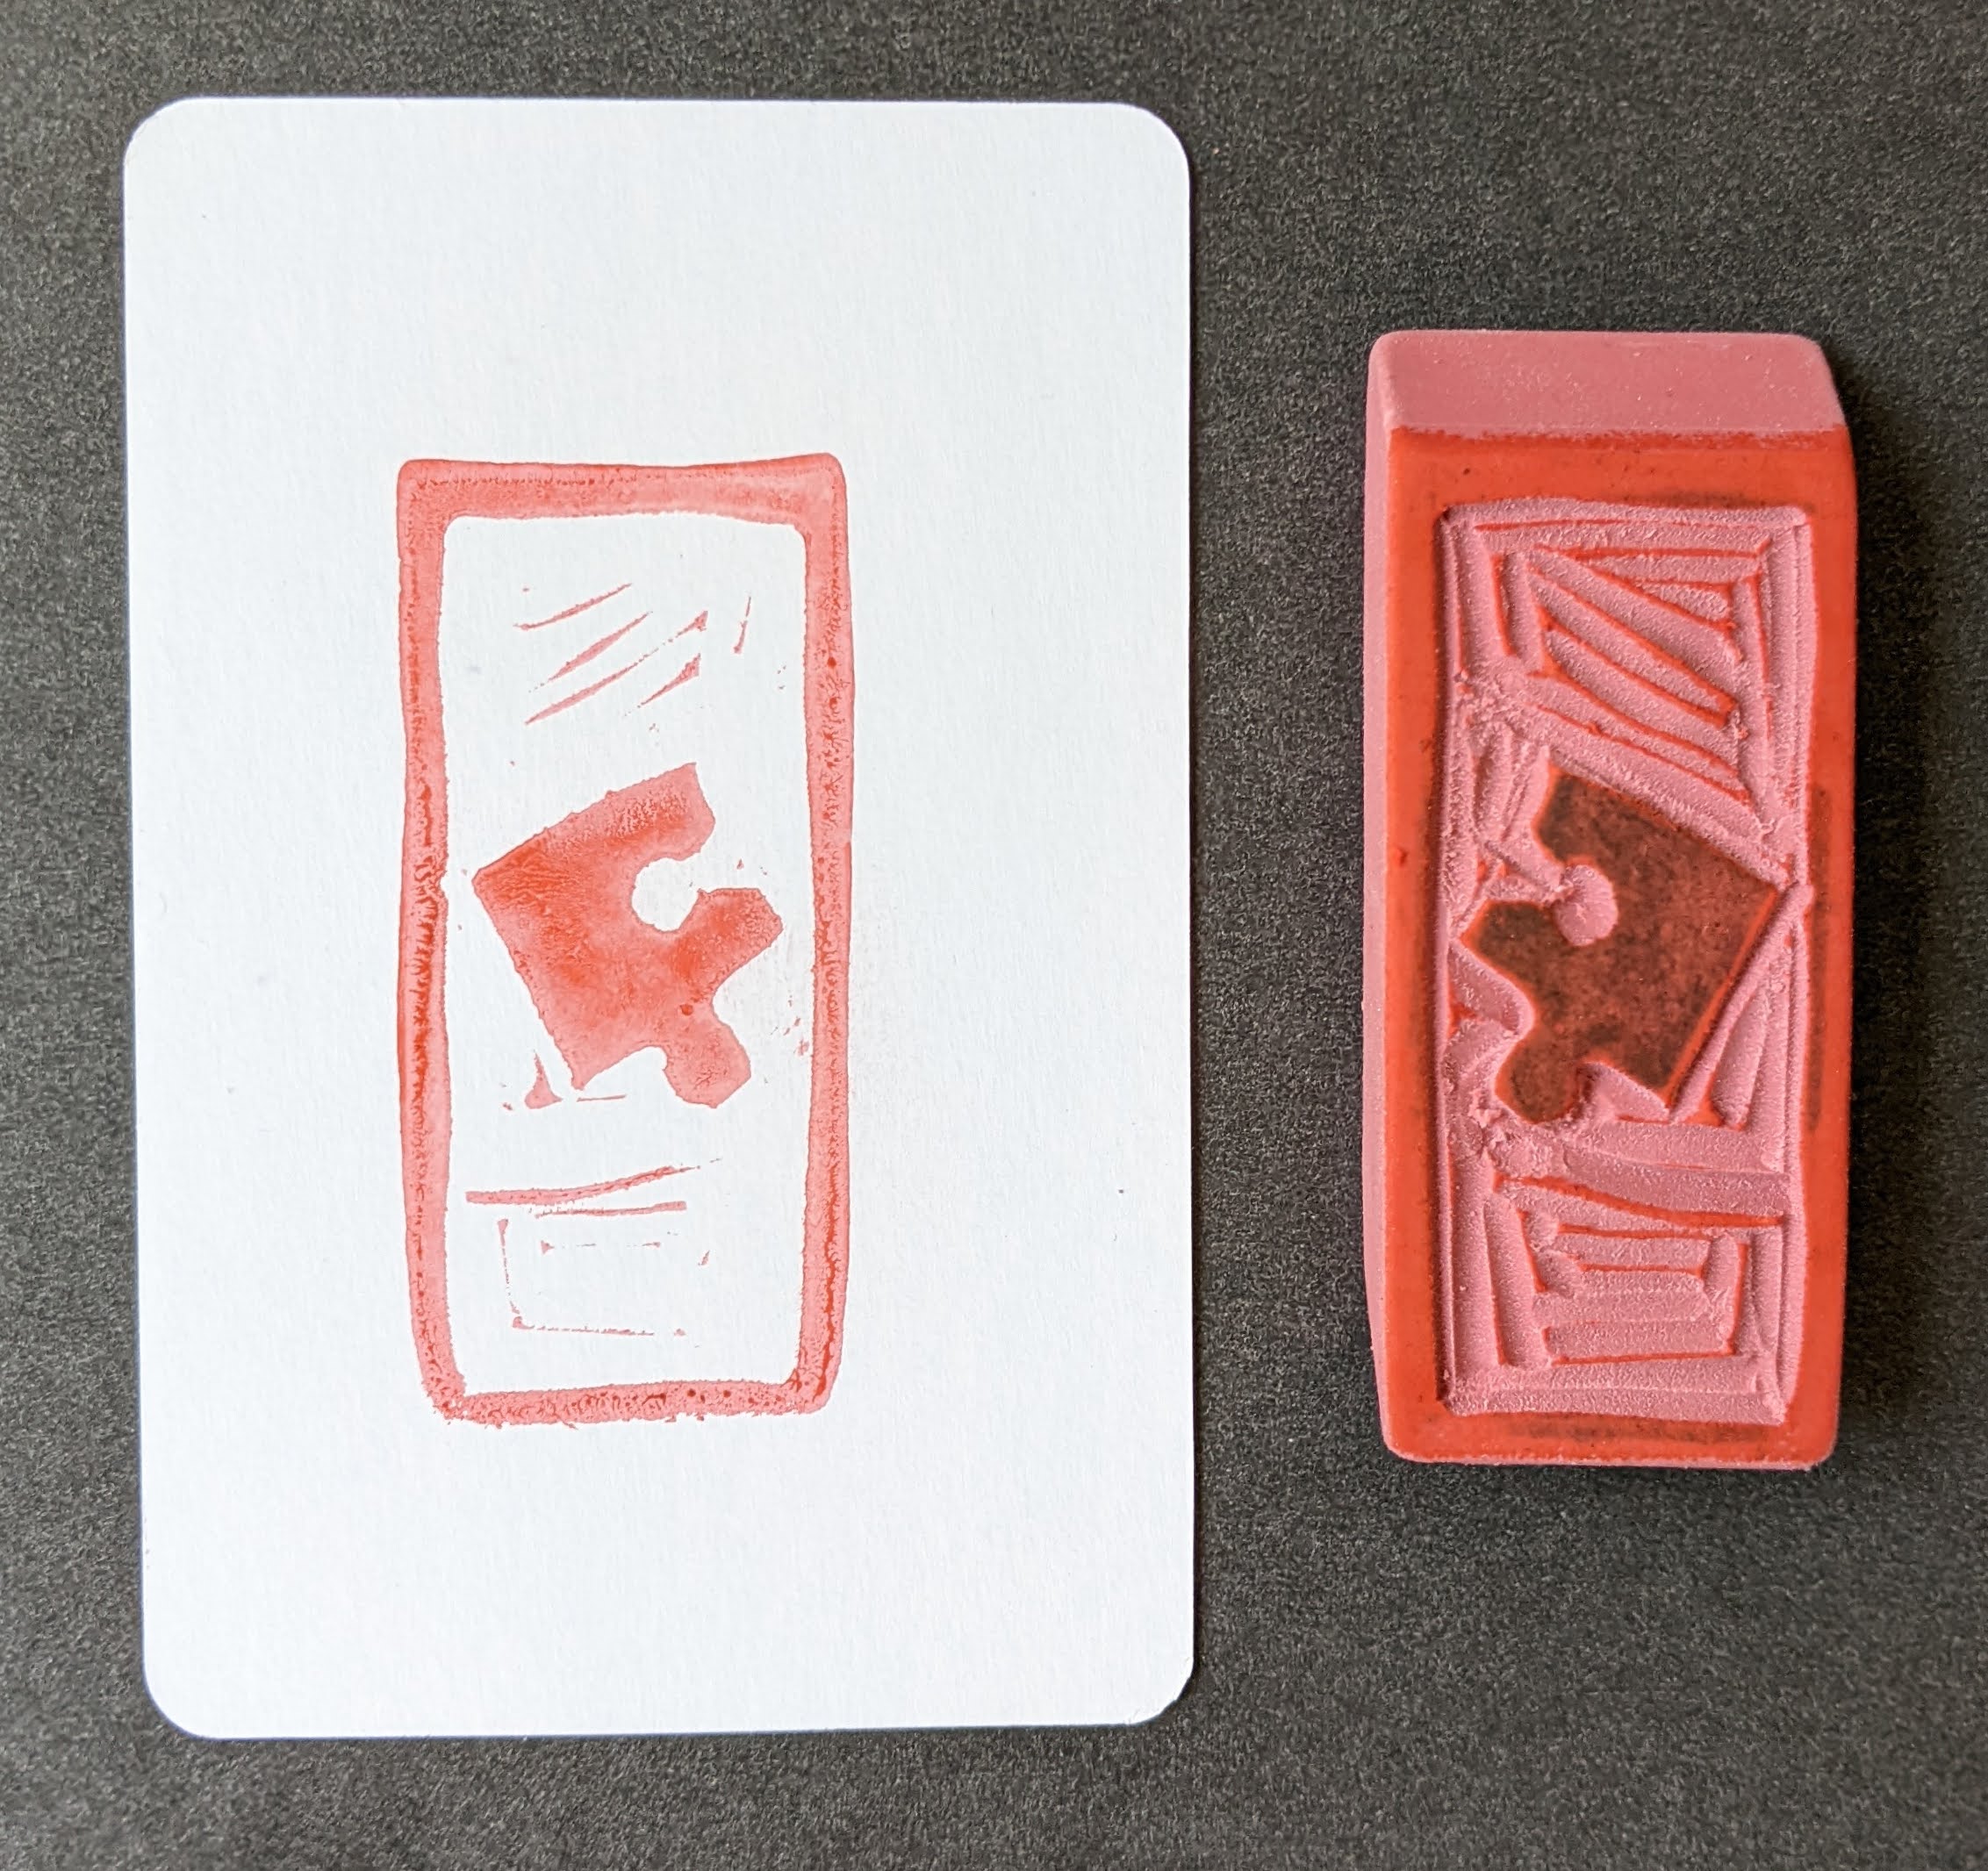
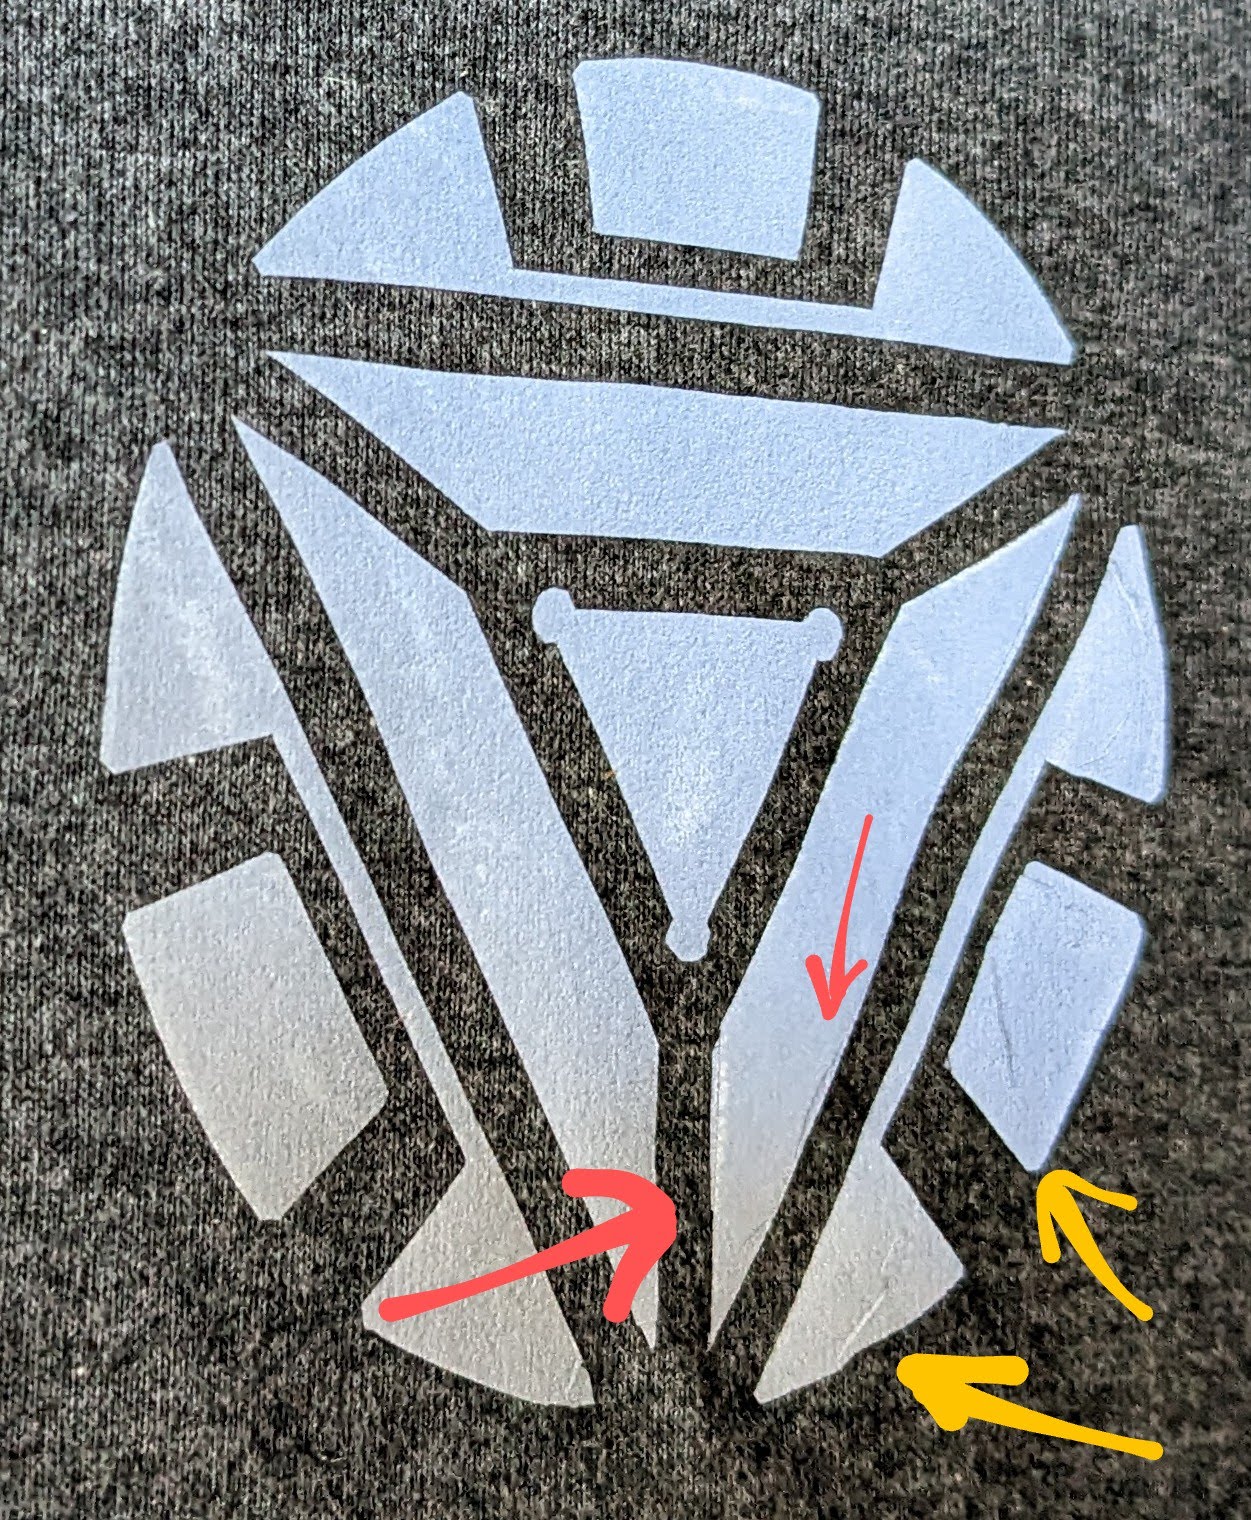
DIY Vacuum Formed Arc Reactors

DIY Vacuum Formed Arc Reactors

Here’s a list of things I’m thinking about vacuum forming:

  • Arc Reactor parts
  • Star Trek communications badge
  • Cell phone case or cell phone stand
  • Hair clip accessories
  • Replacement emblem
  • Goggles
  • Paint or small part tray
  • Molds from play dough, sculpey, or model magic
  • Molds for soap, candy, ice, lollipops, or popsicles
  • Light switch cover, electrical outlet cover
  • Christmas ornaments
  • Lego toy car shells
  • Rocket nose cone and fins
  • “Shrink wrap” parts to make them smoother and/or watertight
Bucket Vacuum Former
  1. How to Make a Vacuum Former
  2. How to Use a Vacuum Former
  3. Vacuum Former – Things to Form
  4. Vacuum Former – Ideas to Improve Vacuum Former
  5. Maker Faire 2017 How to Make a Vacuum Former Presentation Slides
  6. Vacuum Forming an Arc Reactor
  7. Maker Faire Application: Vacuum Forming Workshop

How to Use a Vacuum Former

This is the second post in a short series about vacuum formers.  You can start with the first post about how to make your own inexpensive and easy to use vacuum former or skip to the bottom of this post with a list of all of the posts in this series.

  1. Theory

    This slideshow requires JavaScript.

    1. I discussed the theory behind a vacuum former in the prior post.  This post is really about how to actually use a vacuum former in conjunction with a heat source.
  2. Parts

    This slideshow requires JavaScript.

    1. “Buck”
      1. The things you’re going to create molds of with your vacuum former are called the “bucks.”
    2. Wire coat hanger
      1. The coat hanger will be bent out of shape and won’t be usable for hanging clothes after this.  A coat hanger from your local dry cleaner would do just fine.
      2. The good news is that this is the only thing, besides the consumable plastic plates, that you can’t put back into its ordinary service as soon as you’re done vacuum forming.
    3. 4 or more binder clips
      1. Pretty much any size binder clips would work, as long as they can get around the thick gauge wire of the coat hanger.  I only had four on hand, (which is probably the minimum necessary) but the more the better.  As you heat the plastic, it will contract and deform.  The more clips you have, the more circular you can keep the plastic as you lay it on top of the object.
    4. Oven mitt
      1. I used a cotton oven mitt that has a silicone rubber grip.  This is probably overkill, but better safe than sorry.
      2. Everything you’ll be touching with the oven mitt will be cool to the touch within about a minute of taking it out of the toaster oven.  I’m pretty sure a thin towel which has been folded over several times would work just fine.
    5. Toaster oven
      1. Preferably one that can do small round pizzas.  If you’re out shopping for one, try and find one that will fit the 10″ diameter plastic plates.  You can find a cheap toaster oven for about $30 on Amazon and about $15-20 on Craigslist.  If you’re short of funds, I’m pretty sure garage sales or Goodwill would have a bargain.
      2. Out of an abundance of caution, I was using my toaster oven outside on the off-chance that heating the plastic was giving off some undesirable fumes.  I’m also utilizing a used toaster oven donated by my brother.  I’m pretty sure the process of heating a few pieces of plastic in the toaster oven don’t make it unsafe for cooking food, but again, I’m erring on the side of caution here.
      3. There’s nothing special about the toaster oven; it’s nothing more than a convenient and cheap heat source.  If you were a more daring sort you could probably use your standard kitchen oven.  I suppose in a pinch you could also use a cheap heat gun, but I haven’t tried this yet.
    6. Pliers (Optional)
      1. I got these out to help shape the coat hanger.  In the end, I didn’t use it very much and it probably wasn’t necessary.
  3. Consumables
    Round plastic plates, 10 - 1/4"

    Round plastic plates, 10 – 1/4″

    1. Round plastic plates (~10″ diameter, without dividers?)
    2. These are just the bulk plastic plates we had left over from Party City.  Next time I’m there, I’ll check and see just what kind of plastic they’re made of.  Their website suggests they carry plastic plates with diameters from 9″ to 10.25″ to 10.5″.  The plates I had were 10.25″ and they worked out really well.  You can probably find a pack of 50 plates for less than $10.  You might be able to do even better by hitting up a dollar store.
  4. Make the Plate Holder

    This slideshow requires JavaScript.

    1. Using your hands or a pair of pliers, bend the coat hanger as pictured.  The goal is to get it to fit around the underside of the rim of the plate.
  5. Clip the Plate to the Plate Holder

    This slideshow requires JavaScript.

    1. Using four or more small binder clips, clip the coat hanger to the paper plate.  Put two clips on either side of where the coat hanger handle meets the plate.  Put the other two clips approximately 180 degrees from the first two clips.  If you have more than four binder clips, they would be helpful since the plastic will pull away from the frame as it heats up.  (I only had four on hand)
  6. Turn on the Toaster Oven
    1. Remove all the racks, except for the bottom drip tray, from the inside of the toaster oven.
    2. When it’s empty, turn it all the way up.
  7. Ready the Vacuum Former
    1. Set up your vacuum former as close to your heat source as is practicable.  You want to be able to transfer the molten plastic plate to the vacuum former as quickly as possible so that it doesn’t cool down in transit.
  8. Prepare Buck and Turn on Vacuum Former
    Vacuum former at the ready

    Vacuum former at the ready

    1. Organize the bucks (the things you want to mold) on top of the vacuum former, then turn on the vacuum.
    2. You may notice the vacuum pushes or pulls some of the objects out of the way.  Just rearrange them as necessary.  I try to place things so that they’re surrounded by the holes in the top of the vacuum former.
    3. Basically, you want the vacuum pulling on the hot plastic plate, but not sucking air freely from around it.  If the holes in the top of the vacuum former are spaced out way outside the perimeter of the plate, you’ll want to cover those holes up with some tape.  Regular masking tape worked just fine for me.
  9. Heat and Vacuum!

    This slideshow requires JavaScript.

    1. Put on your oven mitt, open the toaster oven, and hold the plate in the oven near the top heating element.
    2. The plates I used went through several physical changes before they were ready.  First they softened a little, then they actually flattened all the way out, then then pulled away from the wire frame, then, finally, the plastic got very droopy.  This whole process took less than a minute with the oven at full power.
    3. Once the plastic is nice and droopy, pull the frame out and place it on top of the vacuum former.
    4. The vacuum should pull the hot plastic around your objects.  After a few seconds the plastic should no longer be flexible and warm.  Once it’s cool, turn off the vacuum.

That’s it!

Bucket Vacuum Former
  1. How to Make a Vacuum Former
  2. How to Use a Vacuum Former
  3. Vacuum Former – Things to Form
  4. Vacuum Former – Ideas to Improve Vacuum Former
  5. Maker Faire 2017 How to Make a Vacuum Former Presentation Slides
  6. Vacuum Forming an Arc Reactor
  7. Maker Faire Application: Vacuum Forming Workshop

How to Make a Vacuum Former

First, a huge thank you to Airship Noir and their Maker Faire Kansas City 2016 project, “Make Your Own Vacuum Formed Steampunk Goggles.”  They were kind enough to post pictures and instructions about how they made an incredibly cheap, but effective, vacuum former.

Inspired by their project, I wanted to pay-it-forward and help others build their own vacuum former.  Here’s how I built mine:

  1. Theory
    1. A “vacuum former” is a device which allows you to create thin plastic molds of objects by heating a sheet of rigid plastic until it is very malleable, placing it over an object, and applying a suction to pull the flexible plastic around the object.
    2. The plastic shell can be used for a variety of purposes such as actual tools, creating reusable molds, or just a simple form fitting shell for another project.
    3. This set of instructions will teach you how to create a suction device for use with a heat source of your choice.
  2. Parts

    This slideshow requires JavaScript.

    1. Home Depot “Bucket Head” ($23)
      1. I had no idea this thing existed until I saw Airship Noir’s post.  It’s basically a vacuum that clamps onto a bucket, turning it into a cheap low-power shop vac.  I believe “Bucket Head” is the Home Depot branding for this, but that you can find alternates under the title of “Power Head.”
    2. 5 Gallon Bucket ($5)
      1. I bought a Home Depot brand bucket for this exact task.  Although I have other 5 gallon buckets, it was worth the $5 to me to make sure I had something that would easily attach and detach from the vacuum top.
    3. 1/2″ wooden dowel, 4′ in length ($2)
      1. My own design uses 3D printed parts, a length of a 1/2″ wooden dowel, and a little hot glue.  However, you can substitute whatever you have on hand.  The Airship Noir vacuum former used wood shims, some nuts and bolts, and PVC pipe.
  3. Tools
    1. Chisel
    2. Drill and 1/8″ drill bit
    3. Hot glue gun / hot glue
    4. Ruler
    5. Pen / pencil
    6. Hacksaw
    7. Sharpie
    8. Masking tape
  4. 3D Print Parts

    This slideshow requires JavaScript.

    1. You can download all the 3D printable parts from Thingiverse.
    2. Print one vacuum cork.  This will just be placed into the vacuum where the hose would normally go.  This will cause the vacuum to suck air through the bottom of the bucket.
    3. Print two dowel caps.  These will go on either end of a short length of wooden dowel, to keep the “float” inside the vacuum from falling into the vacuum.
    4. Print three bucket attachments and three “toes.”  These will be used, with wooden dowels to elevate the bucket off the ground.
    5. Print the PDF of a 1″ grid on paper.  This is actually a 1/2″ grid, with bold lines forming the 1″ grid.  I searched for more information about optimal hole size and placement, but didn’t find anything dispositive.  I think as long as you get close, you’ll be fine.
  5. Cut Wooden Dowels
    1. Use the hacksaw to cut three pieces of wooden dowel to approximately 8″ each.  These will become the feet for the bucket.
    2. Cut a fourth piece of wooden dowel to approximately 6″.  This will be used to keep the vacuum float from falling into the vacuum, when the bucket is turned upside down.
  6. Prepare the Bucket

    This slideshow requires JavaScript.

    1. Turn the bucket upside down and, carefully, use a chisel to remove as much of the raised areas at the bottom of the bucket.  Working slowly and carefully, it took me about 30 minutes to move the rim at the bottom of the bucket and all the little raised areas.
  7. Add Feet to the Bucket

    This slideshow requires JavaScript.

    1. When the “Bucket Head” attachment is on the bucket, the top will be rounded.  However, we’re going to need to turn the entire thing upside down to use the bottom of the bucket as the surface of our vacuum former.  This means we’ll need to raise the vacuum top of the bucket off the ground so that it can stand flat – and so we can access the power switch.
    2. I designed the three bucket attachment parts so that they will slide snugly into the rim under the bucket.  The rim has approximately 24 little fins under the rim.  Place each of the three feet equally around the bucket – approximately 8 fins apart.  Mark the outline of the part on the bucket with a Sharpie, remove the part, add hot glue, and slide the part back into place.
    3. Add a little hot glue to the end of each of the three 8″ wooden dowels, then some hot glue to the inside of the “toes,” then slide the gluey end of the dowel into the feet.  You should end up with three short “drumsticks.”
    4. Don’t glue these into the attachments at the bucket sides.  The attachment and bucket feet parts were designed to be as minimally obtrusive to the function of the bucket as possible.  If placed properly, they shouldn’t interfere with the handle or bucket usage.  The newly formed feet can be placed into the holes in the bucket attachments when you’re ready to start vacuum forming – and placed back inside the bucket for easy storage.
  8. Drill Holes

    This slideshow requires JavaScript.

    1. Print the PDF of 1″ ruled grid paper from the Thingiverse page, courtesy of Kent State.  Center the paper on the bucket, then tape it down.
    2. Drill 1/8″ holes 1″ apart along the grid.
    3. A word about these holes.  The more holes you drill, the more holes you might have to cover up when making parts later.  However, the more holes you drill now, the bigger the parts you can make later.  It’s a little bit of a trade off.
    4. Once the holes are drilled, use the chisel to remove the burrs off the bottom of the bucket.  You don’t need to remove the burrs from the inside of the bucket, but I did to keep the inside of the bucket as clean and useful as possible.
  9. Raise the Float

    This slideshow requires JavaScript.

    1. Underneath the vacuum top there is a plastic cage surrounded by the filter, held in place by a big rubber band.  Remove the rubber band and filter and you’ll see a little plastic cup that is designed to act as a “float” inside the cage.  If you turn the vacuum upside down, the float will fall against the vacuum – and would prevent it from working.
    2. Holding the vacuum upright, insert the 6″ length of wooden dowel through the plastic cage and above the float, pushing it against the bottom of the cage.  Use the plastic dowel caps to hold the ends of the dowel in place so it won’t slip out or rattle.
  10. Completed bucket vacuum former!

    Completed bucket vacuum former!

    Put it All Together

    1. Place the Bucket Head on the bucket.  You may need to rotate the Bucket Head slightly to make sure you can insert the feet into the plastic parts glued to the sides of the bucket.
    2. Insert the feet into the holes in the bucket attachment parts.
    3. Invert the bucket and you’re done!

I’ll do another post soon about how to actually use the device.  If you’ve read the Airship Noir post, you know the basic steps are to place things on the bottom of the bucket, heat a plastic plate with a toaster oven, and lower the heated plate over the things you want to mold while the vacuum is one.

Bucket Vacuum Former
  1. How to Make a Vacuum Former
  2. How to Use a Vacuum Former
  3. Vacuum Former – Things to Form
  4. Vacuum Former – Ideas to Improve Vacuum Former
  5. Maker Faire 2017 How to Make a Vacuum Former Presentation Slides
  6. Vacuum Forming an Arc Reactor
  7. Maker Faire Application: Vacuum Forming Workshop

SMUD Tiny House Competition 2016

The Sacramento Municipal Utility District sponsored a Tiny House Competition, modeled on the U.S. Department of Energy Solar Decathalon, started in October of 2014 and presented to the public on October 15, 2016.  The goal was for each team to design and build a zero net energy house on wheels for 100 – 400 square feet, with up to $25,000, using green building techniques and sustainable living.

I’ve been interested in tiny houses since first seeing some of the Tumbleweed homes at Maker Faire many years ago.  In the last few years it seems like the idea of tiny homes has really exploded – with multiple television shows devoted to the design, construction, and purchase of very small homes.

The event this weekend was held in a parking lot at the Cosumnes River College in Elk Grove from 9am through 4pm and included music, prizes, food trucks, and a little bit of windy and rainy weather.  Despite the seeming niche appeal of the competition and inclement weather, the crowds and lines to each the houses were unreal.  People were waiting 45 to 60 minutes to see the inside of these houses!  Since each house is so small and only reasonably accommodate a few people at a time, the lines moved slowly.  While we were able to talk to a few people from the various colleges and teams, we didn’t get a chance to see the inside of any of the houses.

A big part of the competition was “communication” including documentation, brochures, and educational videos.  Unfortunately, most of the tiny homes either didn’t have or had run out of their materials by the time we arrived around noon.  Some of the teams had websites or Facebook pages for their projects, while others had a few posts on their college’s pages.  Hopefully the teams will post more information and pictures in the weeks to come.  (More than one team suggested they’d get right on it – after they caught up on their homework…)  Here’s the links I was able to find:

  1. CSU Fresno
  2. Laney College
  3. College of the Sequoias
  4. UC Berkeley
  5. Cosumnes River College
  6. Santa Clara University
  7. San Jose City College
  8. UC Santa Cruz & Cabrillo College
  9. CSU Sacramento
  10. CSU Chico


Paper Circuits: Project Enclosures, Lamination, Encapsulation

While I’m nominally focusing this series of posts on paper circuitry, I’m actually looking to put together a resource for myself and others for any kind of electronics project.  To that end, there are some ideas below that have nothing to do with affixing a circuit to paper, but that might still be an interesting or fun alternative.

1. Tins

Altoids and other tins are cute, small, and easy to source containers for projects.  However, since they’re metal be sure to take extra care to wrap your electronics (or the inside of the tin) so that parts aren’t accidentally grounded against the tin.  When I put a project in a MintDuino tin I used the paper cardstock from the packaging to insulate the project board.

Anything from paper to plastic should work fine.  Cutting holes in the tin required a little more trial and error – since punching holes and using tin snips caused sharp edges.  I solved these problems by wrapping the sharp edges in electrical tape – further adding insulation.

Altoid Amplifier by sharonrosen

Altoid Amplifier by sharonrosen

2. Repurposed Plastic Enclosure

Tupperware

Plastic is probably a superior choice for an electronics project enclosure.  As with tins, they come in a variety of shapes/sizes/colors, are cheap-to-free, and sturdy.  Unlike tins, they don’t require any special insulation to work.

Besides rescuing containers from the recycle bin, don’t forget to check out your local dollar store.  I picked up a particularly nice looking piece of tupperware with a big red screw top lid from the dollar store for a project and couldn’t be happier with it.  If you do go to the dollar store, keep your eyes out for more than empty containers.  Since everything in the store is a dollar, you can always dump the unused contents of a useful container.

If you do use/reuse a plastic container for a project, I would strongly suggest going very, very, slowly when drilling holes.  Seriously, go as slow as you can manage to run the drill because rigid plastic has a tendency to crack under stress.  Ideally, drill a small hole, then work your way up with larger bits.  If you’ve got the equipment, you may want to consider actually melting holes instead.

3. 3D Printed Enclosure

This is probably my favorite way to encapsulate a project.  If you have access to a 3D printer and enjoy 3D design, you can have a cheap bespoke project container.

4. Off the Shelf Plastic Enclosures

I remember Radio Shack carrying a dizzying array of plastic enclosures when I was a kid.  However, these days, I can’t think of a single reason to get an off-the-shelf project enclosure when there are just so many repurpose and dollar store options.  I’m really only mentioning this option for the sake of completeness.

5. Lamination

I’ve really only tried one “lamination” project/experiment so far with very mixed results.  However, I feel like this is a promising avenue for exploration and experimentation.  These ideas allow for a project being sandwiched under or in between one or more layers of plastic.  This could make a small and thin project more durable, while still leaving the parts visible for inspection and teaching.  I also like the idea of potentially using additional with extra information printed on them which could be laid over the circuits for additional context and annotation.1

1. DIY Adhesive Lamination with Tape or Contact Paper

A much cheaper DIY alternative to off-the-shelf adhesive lamination sheets would be to use clear packing tape or contact/shelf paper.  Both are inexpensive and durable options, but would need to be cut to size.  I actually use the packing tape method to copy and consolidate cards for my minimalistic wallet.

2. Heat Lamination

laminator photo

Laminator

I love the idea of designing a project, affixing it to a sheet of clear plastic like an overhead transparency, and then laminating it with a standard heat laminator.  As the offspring of two elementary school teachers, I had ready access to a laminator as a kid and have some fond memories of (mis)using these machines.  These days desktop sized laminators and the plastic heat lamination films are quite inexpensive and good for lots of different applications besides small electronics projects.  My favorite laminator electronics use, ever, is easily this amazing modular solar panel project from rcpederson.

3. DIY Heat Lamination with Plastic Bags

plastic bag photo

Putting plastic bags back to work

This is an idea I’m really really looking forward to trying.  Several years ago at a Benicia Mini Maker Faire I was introduced to the idea of fusing plastic bags together using a household clothes iron.  The Makers showing this method let people cut scraps out of thin grocery and shopping bags, layer them between sheets of wax paper, and then fuse them together using an iron.  They were using this process to create large colorful sheets of very durable plastic that could be cut and sewn like cloth.

While writing this post it occurred to me that this same method could be applied to paper circuitry, to embed a project within sheets of plastic.  There are some interesting parallels to the process of using an iron to fuse aluminum foil to the toner on a laser printed page, described above.  Additionally, by layering a project between sheets of plastic one might be able to dispense with some soldering since the fused sheets of plastic might be able to hold parts in direct physical contact with one another.

4. My Lamination Fail

The project I tried involved using 8B soft graphite art pencil traces and HVAC aluminum tape contact pads on copier paper, “laminated” in place with inexpensive clear packing tape.  I believe my experiment didn’t quite work out because the packing tape may have pulled up some of the pencil traces, causing a break in the circuits.  If you try to mix pencil graphite and packing tape, just be on the lookout for this possible issue.

There are several self-adhesive lamination plastic sheets available.  Basically, there are two sheets of plastic, each with a sticky coating, which sandwich over your desired material.  These come in various sizes from business card up to full 8-1/2″ x 11″ sheets.

These tend to be much more expensive than the heat lamination options, but require no additional materials.  However, this is a decent option if your project cannot be subjected heat or pressure.

6. Encapsulation

1. Silicone Mold Material

As far as I know silicone rubber mold material comes in either a two-part liquid or two-part putty-like format.  You mix the liquids in proportion, pour around desired object, cut apart and you get your mold.  The putty kind is considerably less messy, but also much more expensive.  You mix two balls of putty together well to activate them and they harden/cure into silicone rubber.  I haven’t tried it, but I think either would work well to encapsulate a small electronics project.

2. Sugru

sugru photo

Sugru packs

Sugru is a moldable silicone rubber which starts off as a sticky putty which then dries2 into a flexible rubber.  It is incredibly useful but very expensive with a relatively short shelf life.3  At roughly $4 per 0.5 gram packet, it is ideal for small fixes around the house, but would be prohibitively expensive for all but the smallest projects.

3. Oogoo aka DIY Sugru

oogoo photo

Oogoo – DIY rubber silicone

Oogoo is a DIY version of Sugru made from 100% Silicone caulking and corn starch.4 Silicone caulking dries from the outside in and takes about 24 hours.  By mixing in corn starch5 the silicone will also dry from the inside out at the same time – in as little as 5 to 10 minutes.  Corn starch is easily found in many kitchens and a tube of silicone is very inexpensive (around $4 for a large tube).

I haven’t tried this process yet, but I’ve purchased the silicone and am looking forward to giving it a go.  A note of caution – drying silicone is smelly due to the acetic acid released as the silicone cures.  It will smell strongly of vinegar while it cures, but should be harmless.

4. Resins

Resin encased electronics

Resin encased electronics

As I mentioned above, some of these ideas have been kicking around in my head for years just waiting for the right inspiration to bring them together.  More than four years ago I saw an interesting article on Hackaday about someone who had designed a circuit and then embedded the entire thing within a block of clear resin.  There’s so much to love about this process.  A resin encased project shouts, “I have made this thing; it is perfect and eternal.”

As I was writing this blog post I began to run into a George R.R. Martin problem – I have so many inspirations, so many ideas, and written so much that I felt I was in danger of never hitting “Publish.”6 Finally I decided to break up the post so that I can share what I have so far.  I hope you find it helpful and gives you some ideas of your own – and share them here.

Default Series Title
  1. Though, now that I think about it, this transparency idea could be used as an overlay for any flat project []
  2. Or cures???  I honestly do not know which is applicable – but I think “cure” is more accurate []
  3. Let’s just say the cost and shelf life is on par with conductive ink pens. []
  4. Do not use Silicone II, any quick-curing silicone, or anything less than 100% – this process won’t work []
  5. and colorants []
  6. By way of context, this post is about 1,600 words and the draft I began to split up is about 4,000 words and still growing []

Paper Circuits: The Adventure Begins

While I’m a big fan of paper and circuits, I’ve never really given paper circuits/circuitry a shot.  Unfortunately, I have no good excuse for this.  (Fair warning:  I’ve been collecting links and ideas on this topic for several weeks now, and even though I intend to break up the post into more manageable chunks, I have a feeling this is going to be a doozy)

1. TapeTricity

Years ago Chris Connors, a STEAM educator/maker and friend, had posted some photos and videos about something called, “TapeTricity” and helped hundreds of kids as young as 3 and 4 years old build their very first circuit at Maker Faire 2013.  TapeTricity is all about making electronics accessible to people by showing them how to make real circuits using cheap and common components while removing the need for specialized tools and materials.  This system of designing circuits made use of several very interesting innovations: aluminum HVAC tape and paperclips along the edges to form electrical contacts.

1. Aluminum HVAC Tape – Benefits and Limitations

Back in 2013 copper tape was reasonably common in artistic settings for use with soldering stain glass.  However, the copper tape wasn’t readily available with conductive adhesive and tended to be more expensive than the aluminum HVAC tape used in Chris’ projects.  While the prices of copper tape with conductive adhesive have fallen over the last few years and conductive inks/paints have become more common, pretty much nothing is going to beat aluminum HVAC tape for price per project.  However, HVAC tape is not without its limitations.  The adhesive is a decent insulator rather than a conductor, the tape only comes in strips about 2 inches wide and must be torn or cut to much thinner strips, and has a tendency to curl at torn edges, and aluminum tape does not take solder well.1 I expect that the non-insulation properties of the underside of the aluminum tape could actually be very useful in conjunction with copper tape – to essentially make for circuit board traces that can cross over one another.

2. Taped Edges – Contact Points

TapeTricity components

As you can see from some of the photos above, the edges of the cards had foil tape wrapped over some edges which were then connected to some of the components.  The result is that the edges of the paper essentially become functional I/O pins.  The nifty thing about this is that it could allow TapeTricity cards to be wired/rewired/networked together.

3. Paperclips – Alternatives to Alligator Clips

Another interesting feature of TapeTricity comes from the use of paperclips.  Paperclips are ubiquitous and cheap23 and, with a little bit of wire, become cheap DIY alligator clips replacements.  While individual alligator clips aren’t that expensive (let’s say around $0.25 each?), the cost of providing a number of them to a room full of students would quickly add up.

These TapeTricity cards allowed kids to color and draw on one side of an index card – then bring their designs to life with electronics on the back and through the card.

4. Lessons from TapeTricity

  • HVAC tape is a great choice for paper electronics with a few limitations.  The adhesive is an insulator which allows HVAC tape to be leveraged in bridges and there aren’t easy ways to solder to it.
  • Edge conductive pads from HVAC tape allow for cards to be powered or networked
  • Paperclips and wire are a great cheap DIY alternative to alligator clips

2. Evil Mad Scientist Labs and Paper Electronics

Evil Mad Scientist Labs is one of my all time favorite open source arts/electronics designers/manufacturers ever.  Not only do they enable other people to realize their plans for world domination, they’re pretty cool people.  I had the good fortune to be able to visit Evil Mad Scientist Labs (now celebrating their 10th birthday!) a few years ago.

1. One Sided Circuit Board – paper, conductive ink, and soldering

Mobius Circuit - 21

While there Windell Oskay and Lenore Edman gave me a tour and showed off their awesome single sided mobiüs circuit board.4

2. Electronic Origami – several methods for electrifying paper

toner - 15

More recently, while researching for this blog post I discovered their simpler, but perhaps more spectacular, origami balloon circuit.  EMSL posted several possible methods for electrifying paper.  Since the post explains each of these methods in detail, I’ll only list them:

  • Using dry mount adhesive to glue aluminum foil to paper
  • Using an iron to fuse aluminum foil to freezer paper
  • Using an iron to fuse aluminum foil to the toner on laser printed paper
  • Lessons on resistors and simple LED/battery combinations inspired by LED throwies

This circuit is beautiful and eerily reminiscent of a certain other cube.  If someone hasn’t made an origami LED paper circuitry companion cube, well, this is just a thing that needs to exist in the universe.

3. Edge-Lit Cards

EdgeLitCard - 31

Another particularly cool post from EMSL is their piece on edge lit holiday cards.  The electronics are essentially the same as a simple throwie or TapeTricity circuit, but the use of scored sheets of plastic allow incredibly interesting display possibilities.

4. Lessons from EMSL

In no particular order, here are some of the lessons I’ve learned from EMSL:

  • The conductive ink in the mobiüs circuit has enough resistance that the LED’s don’t really require actual resistors
  • Electronic paper projects need not be merely two-dimensional and adding a third dimension can be truly transformative
  • Scored or scratched plastic plus paper and carefully designed LED circuits can create amazing display possibilities

3. Paper Circuits / Paper Circuitry / Electronic Notebook

Just before Maker Faire 2016 I saw a tweet from Jeannine Huffman showing off her development of a paper circuitry robot panda which would cost about $5 per student.

I was astounded by what Jeannine was doing.  Where TapeTricity was a great way to introduce kids to electronics, making those same electronics smart by adding a microcontroller could make those same pages smart and interactive.  Moreover, a TapeTricity project could be “leveled” up by just wiring the aluminum contact pads to a microcontroller.

1. Jeannine Huffman’s Notebook

I was fortunate enough to be able to catch up with Jeannine at Maker Faire Bay Area 2016 this year and we compared notebooks.  Here’s some pictures of her work:

This slideshow requires JavaScript.

I regret that I didn’t take more pictures of Jeannine’s notebook, she’s been kind enough to post much of her designs on her website, her Twitter account, her Google Plus page, and in the 21st Century Notebooking Google Plus community.

2. Lessons from Jeannine Huffman

To just jot down some of the problem solving and ideas I noticed in the few moments when we compared notebooks:

  • Mixing off the shelf electronic components and circuit stickers with conductive ink, copper tape, and soldering
  • Incorporating electronic components, sensors, and microcontrollers with DIY sensors, switches, and other solutions
  • Melding a notebook and electronics – by sketching in, around, and through circuits to provide annotations and instructions
  • Finding a way to create a copper tape hinge that could survive repeated opening and closing of the notebook

4. 21st Century Notebooking

The ideas shared in the 21st Century Notebooking Google Plus community are just too numerous for me to do justice.  Since my blog posts are as much about me documenting my own discoveries as it is about sharing with you, gentle reader, perhaps you’ll forgive my jotting down just a few of the ideas found within a 30 second scan of this community:

  1. Paper electronics with mixed media arts crafts
  2. Paper electronics mixed with origami
  3. From +Jie Qi and @Chibitronics:
    1. Conductive fabric to create conductive hinges for use in circuits spanning more than one page in a notebook
    2. Light up paper helicopters
    3. Copper tape paper speakers
    4. UPDATE 10/26/2016: Jie Qi’s “paper-based electronics for creative expression” tutorials have some really great ideas for getting started with paper circuitry.  Frankly, this is to be expected from the lady who created Chibitronics and circuit stickers.  :)  These tutorials are great – and you can see exactly how she refined these ideas to become circuit stickers and the kind of skill building projects seen in Chibitronics books.  These tutorials include:
      1. basic circuits,
      2. paper battery holder,
      3. parallel circuits, soldering,
      4. making switches,
      5. blinking LED’s,
      6. pressure sensors,
      7. basic programming,
      8. fading program,
      9. blinking program,
      10. random program,
      11. sequence program,
      12. and a microphone program!

5. Project Daffodil (Update 10/26/2016)

Project Daffodil is the work of Sian Geraghty, Robert Foster, and Christine Ho as their graduate thesis project for the Masters in Multimedia Program at CSUEB.  Their project combines pop-up books, paper circuitry techniques, and 3D printing to provide an interesting introduction to electronics for kids.  When I saw them at Mini Maker Faire Rocklin on 10/5/2016 they had combined their work with an iPad app which could interact with some of their 3D printed models infused with conductive material.  They’ve been interviewed on the Make Magazine website and published a tutorial on building pop up paper crafts with electronics.

1. Lessons from 21st Century Notebooking, Circuit Stickers, and Project Daffodil

I think what I learned most out of these projects is that there’s a lot of ways to combine paper circuitry with other interesting and creative ideas like origami, paper crafts, greeting cards, pop up books, and 3D printing.

6. What’s Next???

Smart sketchbooks, electronic origami, and the ability to program anything.  With all these incredible designs, pieces of code, and ideas – where can we go next?

Well, I have a few ideas…

Default Series Title
  1. When I googled “how to solder copper wire to aluminum foil” the top result was a YouTube video which suggested applying a thin layer of oil to the foil, using a soldering iron with solder to heat up the foil, with the oil supposedly preventing the aluminum from oxidizing, then the wire could be soldered to the foil. []
  2. Or free when you are at a Kinko’s []
  3. Perhaps the better phrase is “complimentary”? []
  4. I hope you will, once again, forgive me as I present these items in the order of my discovery, rather than chronological order? []

Adventures in Chrome OS

samsung chromebook

Samsung Chromebook

My old Toshiba laptop had been slowly dying for a while.  Historically I would simply just go to CostCo and pick up one of their mid-range Windows machines for $500 which would last me 3 years.1

After looking over my various options, I figured I’d give a Chromebook a shot this time.  If it’s good enough for Chris Anderson, it’s got to be good enough for me.2

After working with a Samsung Chromebook 2  for a few weeks now, I find that it excels at 70-80% of what I need a laptop to do.  Email, blogging, office style software tasks, and ridiculous battery life at a price that almost doesn’t make any damn sense.  It’s the last 20-30% uses that have been more challenging.  So far, uses items include:

  • Heavy email wrangling.  I’ve got probably a dozen email addresses, all of which are routed to a single Thunderbird install.  Dozens of filters keep it all under control.  Since I don’t want to be bothered by emails from all the accounts all the time, but do want access to them when I need it, I leave my machine on all the time and access it remotely when necessary.
  • Serious Office Tasks.  Google Sheets and Google Docs seem adequate, but I haven’t found them up to the task of gnarly office documents that require significant formatting.3 I inherited a set of MicroSoft Office Excel spreadsheets from someone with literally millions of cells.  I wouldn’t look forward to trying to edit that document in what amounts to a browser window.
  • Dropbox Integration.  I can access Dropbox files using a ChromeOS extension, but I can’t place documents into Dropbox – unless I upload them into the website manually.  Admittedly, if I just switched to Google Drive, this problem would disappear entirely.
  • Arduino Projects.  I don’t know of a way to use an Arduino IDE on a Chromebook.
  • FTP Client.  Again, I don’t know of a way to use an FTP client on a Chromebook.
  • OpenSCAD.  There are a number of web based CAD programs, but even the OpenSCAD web clones don’t work quite as well as a local install.
  • MakerWare.  My MakerBot Replicator 1 Dual is still in excellent working order.  I use MakerWare to slice models, drop them onto an SD card, and then run them on the Replicator from the SD card.

For these items I’ll go and use the old laptop or, more frequently, connect to that machine remotely from my Chromebook.  The thing is, I’d like to eliminate my crappy laptop from the equation entirely.  I think there’s two ways to go from here:

  1. As a friend suggested, I could use Crouton to install Linux on the Chromebook.  Doing so would basically take care of each of my last remaining 20-30% use cases.
  2. Ditch the old laptop and replace it with a small PC designed to be “always on” such as a Raspberry Pi or a mini PC without a monitor.  When I needed to use the device, I would simply use remote access to gain control, do what I needed to do, and move on with my life.
Default Series Title


  1. Two years of decent function followed by a crappy year of service []
  2. In fact, it was this particular tweet from Chris that inspired me to give it a shot.  I’ve never had a malware infection – something about that tweet just resonated with me.  It’s almost like someone whispered to me, “Switch to a Chromebook and all worries will drift away…” []
  3. It’s a job thing []

Buy Your Own Modem: Save $120/year and Get Faster Internet

money fire photo

Hello Comcast

If you’ve got Comcast internet you’re probably “renting” their cable modem for something INSANE like $10 a month.1

Stop it.  Just stop that nonsense right now.

You can buy a brand new modem off Amazon for $65 (shipped with prime!), hook up the modem in 5 minutes, and have Comcast authorize the new modem in about 15 minutes.  It will pay for itself in about six months, last years, and as a bonus, you’ll almost certainly have faster internet access than your neighbor who is still using the rented modem.  Here’s what you do:

  1. Buy the “ARRIS SURFboard SB6141 DOCSIS 3.0 Cable Modem – Retail Packaging – White” from Amazon.23  It is possible that some of the models have changed.  You can confirm the latest Comcast compatible models here.
  2. Follow the directions from Xfinity/Comcast to activate your modem
  3. If you get hung up, you may need to call up Xfinity/Comcast at 1 (800) 934-6489.  They had to take one additional step to authorize my modem on their end, but the process was painless.

Switching car insurance or brown bagging your lunch might save you a little money.  But, I have to tell you, it was immensely satisfying to save money, not pay Comcast as much, and speed up my internet connection all in the same morning.

  1. Photo by Images_of_Money []
  2. The white plastic injection molded shell is $65 and the black plastic injection molded shell is $100.  Heck, they can paint mine yellow for an extra $35 []
  3. Yes, that’s an affiliate link []

Nachos and Game Theory

nachos photo

Not yo cheese!

Last night during dinner I was reminded of an article about an optimal game theory strategy for playing Memory.1

Game theory is all well and good, but rarely does it intersect with real life situations.  Being a competitive sort, I’ve always enjoyed reading about game theory, but have had little chance to put that kind of knowledge to use – until now.

Memory, or Concentration, as it is sometimes called is a relatively simple game.  Players put a bunch of cards face down and take turns flipping over two cards, one at a time, trying to make a match.  Make a match and you get to flip over two more cards.  At the end of the game the player with the most pairs wins.

Apparently the optimal strategy was determined some time back in 1993.  This article does a really good job of explaining the theory in depth.  The strategy boils down to this – at any given moment during the game the player with more information and the ability to flip over a card has a slight edge.  Accumulate enough of these such edges, while minimizing your opponent’s opportunities, and you’ll be more likely to win.

In a more concrete sense, the strategy dictates that when you flip over a brand new card that you cannot now match to a card previously flipped over, it makes more sense for you to flip over a card everyone has already seen than to flip over a brand new card.  The reason is that you probably have a low probability of picking a match for your new card out of the whole lot – and a corresponding high probability of showing your opponent two cards they’ve never seen (or a card they’ve never seen and a card they can match with something they have seen).  Thus, you let your opponent uncover new cards and you use that information to make more matches, while simultaneously depriving them of additional information they can use to make more matches.2

How does this relate to nachos???

You see, I’m not the only competitive one in my family.  When it comes to the crispy salty greasy delicious fried bits of cheese that cover a tortilla chip, my lovely daughter is every bit as cutthroat as her father.  Last night I picked a veggie laden chip off the top of the nacho pile – to reveal a crispy nacho dripping with cheese underneath.  My hawk-eyed daughter was apparently monitoring the pile as I obliviously ate, spotted it instantly and grabbed it.  Meanwhile I was stuck holding a veggie nacho.  Like a chump.

Now, I’m not the least bit bitter.  I’m glad she spotted an opportunity and exploited it.  And, whether she realized it or not, she was using information and game theory to improve her dinner experience.  She was actively allowing me to take the most available nachos while she took the most satisfying nachos.

Damn it, I couldn’t be more proud.

  1. Photo by @joefoodie []
  2. Both of these articles are really great and do a much better job of explaining this all than I have.  If you’re interested in game theory at all they’re worth a read. []

MOAR WHISTLES

The other day I was trolling Thingiverse1 looking for the best quick-printing model to show off DIY 3D printing to 3rd graders.

After a bit of searching, I found it: the simple whistle.

There are whistles a-plenty on Thingiverse, but the DarkAlchemist remix of the muddtt Emergency Whistle is easily the smallest by far.  I compared these two against several other options, tossing all of them into my slicing program and doing a visual double-check for good measure.

Emergency whistle, clear PLA as designed by DarkAlchemist

Emergency whistle in clear PLA as designed by DarkAlchemist

There’s no doubt about it – these are SMALL.  They are less than 2.7cc2 and weigh about 1.2 grams a piece.  Best of all, they print very quickly.  Printing just one whistle with 0.2mm thick layers, including printer warm up time, took 7 minutes.  10 whistles at once?  Only 47 minutes.

Naturally, I took the opportunity to print up 20 more whistles.  This is what 30 whistles looks like:

THIRTY emergency whistles, clear PLA as designed by DarkAlchemist

THIRTY emergency whistles in clear PLA

That got me thinking – could they be even smaller?!

Turns out they can.  I redesigned the whistle in OpenSCAD with a hacky thickness adjustment.  In doing so I discovered that the existing designs on Thingiverse used 1mm thick walls.  A one-millimeter wall thickness is pretty good if you have a small part that needs to be sturdy – but a bit of an overkill if you just need a small functional quick-printing thing.  By removing the little loop at the end of the whistle and creating a wide hole in the top of the whistle, I reduced a fair bit of plastic while keeping the ability to be connected to a cord.

I exported a version with 0.5mm thick walls and a copy with 0.4mm thick walls.  Printed at 0.2mm layers the 0.5mm thick walled version was functional – but the 0.4mm thick walled version was not.  The layers didn’t fully overlap, causing small gaps which prevented the whistle from making any noise.  Printing the 0.4mm thick walled version at 0.1mm layers3 turned out both beautiful and functional.  Best of all, they’re 1/3 the weight of the 1mm version!4

Three emergency whistle in black ABS as remixed by MakerBlock

Three emergency whistle in black ABS as remixed by MakerBlock

A friend recently suggested that his plastic filament supplier of choice ships via Amazon Prime for a ridiculously low $22-23 per kilogram.  Ignoring the amortized cost of the robot and electricity, I could make about 2,500 whistles for about 0.88 cents a piece!

Now, just imagine the following scene.  I take my HedonismBot ((As my MakerBot Replicator 1 Dual Extruder is named)) to my daughter’s third grade class.  I show off the robot printing a single whistle and call a random student up to test it.  Thank you, a pat on the head, and the whistle is yours!  Golly, I guess that’s the whole show everyone.  Oh, you want a whistle too?  Check under your desk.  You get a whistle!  You get a whistle!  You get a whistle!  You ALL GET WHISTLES!  What’s that?  Your sister is in second grade?  It just so happens it only took 80 hours of printing to make enough whistles for every damn student, teacher, and student teacher in the school.

MOAR WHISTLES.

  1. and Youmagine!  I can’t forget you Erik and Team Ultimaker! []
  2. Close approximate dimensions: 8mm x 8mm x 42mm []
  3. Basically, twice the vertical “resolution” []
  4. Just 0.4g each?! []