MakerBot Is The New Duct Tape

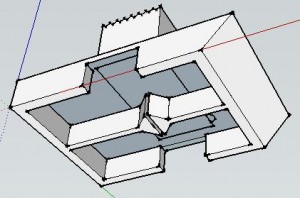
Google Sketchup Model of Broken Window Latch

Google Sketchup Model of Broken Window Latch

This summer I discovered that one of the window latches in my home was broken.  Since the windows are so old, I didn’t even bother checking for replacement parts at the hardware store.  My repair consisted of wrapping duct tape over the broken part and fitting back inside the latch mechanism.

It worked, but was a less than ideal fix.  The part had snapped in two places, making the entire part slightly unstable even when reinforced with duct tape.   Additionally, the extra thickness of the duct tape prevented the latch from sliding smoothly and eventually started to bunch up the duct tape.

Several months ago, figuring that it was only a matter of time before I bought a MakerBot CupCake CNC, I modeled the part in Google Sketchup.

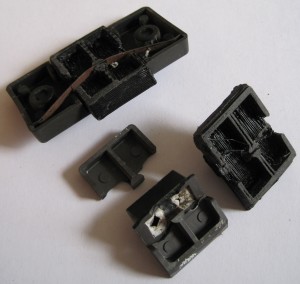
After getting my MakerBot operational yesterday, this was my second print.  It was also my fourth print – another window was missing a latch entirely.  A little light sanding and a slight use of a hacksaw blade to separate the small divide underneath the part, and it was ready for installation.  Both latches installed without fuss and work far better than the duct tape version.
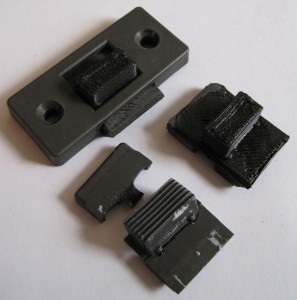
Window latches, top view

Window latches, top view

Window latches, underside

Window latches, underside

Unlike the duct tape fix, this repair permanently replaces the broken part with a functionally identical part that is also far more cosmetically appealing.  Best of all, I now live in a house that is partially built by a robot I made.  :)

Print 5: Replacement toy fire engine part

Here’s another part I printed.  The original piece was from a toy fire truck.  It served as a rotating platform, hinge, and guide for the fire ladder.  The toy broke when the part was pushed laterally, shearing the axle off.  Overall, I’d say it was a poorly designed piece.  The entire toy would have been much sturdier if the axle stuck out from the body of the truck in the form of a low round stub the rotating platform fit around.  However, I’m rarely consulted in the engineering of toy fire trucks.  :)

As with the window latch, I had taken the measurements and modeled the piece in Google Sketchup several months before ever purchasing my MakerBot.  I had to make several small changes to the design of the part to reduce overhangs.

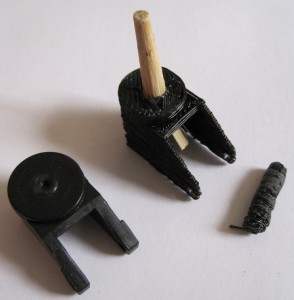
Replacement toy fire truck part, for comparison

Replacement toy fire truck part, for comparison

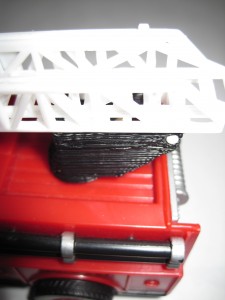
Replacement toy fire truck part

Replacement toy fire truck part

This wasn’t the cleanest piece I’ve printed, but it’s fine for a part that is destined to be broken all over again.  If I were printing it again I’d widen the two walls which serve as the hinge to the ladder.  The piece I printed had the same kind of unevenness in the tall thin axle that I had on the handle of the Z-axis crank. The part became so blobby that I tried to sand it down to be more even – and accidentally snapped the axle off.  Hence, the piece of round chop stick glued into the part.  I’m still fiddling with the Skeinforge settings to deal with this issue.

The process was really pretty easy:  Measure broken piece -> model in Sketchup -> export to STL file using a plugin -> Skeinforge -> ReplicatorG -> FIRE THE MAKERBOT!