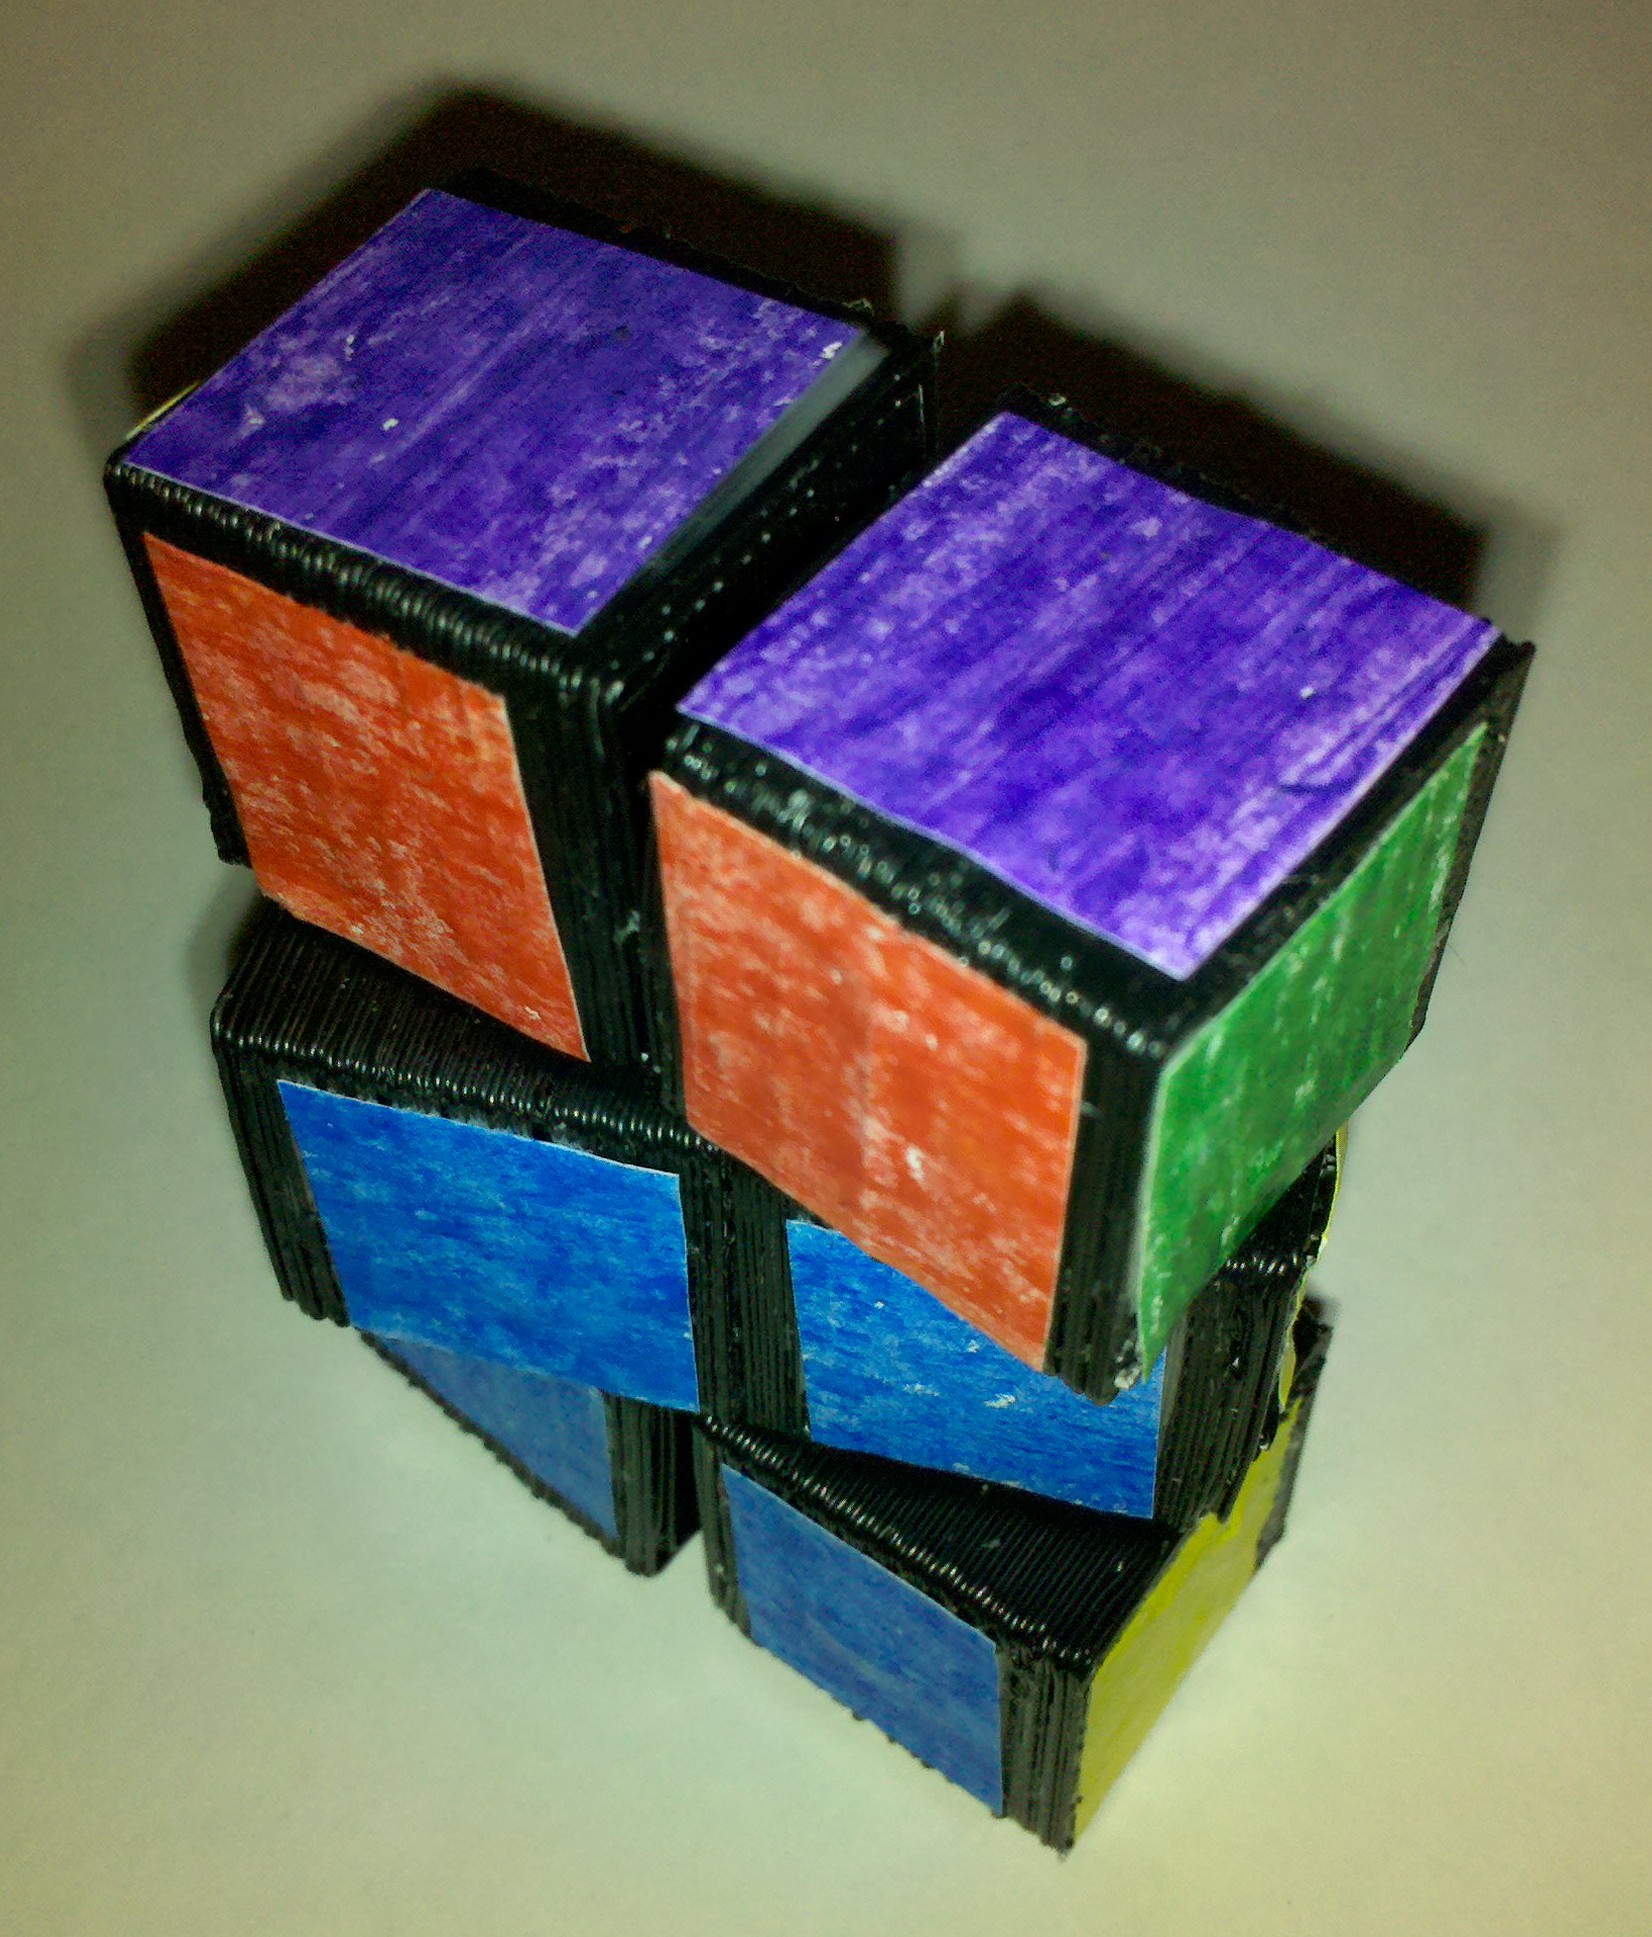
Revising the 3x2x1 Rubik’s “Cube”

3x2x1 Rubik's Cube

3x2x1 Rubik's Cube

I finally found the time to print a copy of my 3x2x1 Rubik’s Cube.  Having printed it, I’d make a number of improvements in the next design iteration.  I would:

  • Make the circular slots in the center cubes smaller or the circular tabs in the four outside cubes larger.
  • Enlargen the holes for the nut and bolt.
  • Make these cubes solid so that they slide against each other easier.1
  • Consider replacing the entire nut/bolt requirement with a connection similar to the becco block connectors.  This would make for a totally printable solution.
  • Print the cubes two at a time to minimize warping without a heated build platform.

It slides reasonably well and is certainly functional.  However, after several center cube rotations I will tighten the center bolt.2

  1. The four cube sections at the extremities are hollow. []
  2. The hole for the nut is tight enough that it doesn’t rotate as I turn the bolt. []

MakerBot Toy Repair

Magnetic Sketcher

I had previously fixed a toy fire truck by modeling a broken swivel and printing a new one.

Today I discovered a handle had broken off a magnetic drawing toy.  The yellow handle is hollow and separate from the red plastic body.  It is held in place by plastic tabs that slot into body and protrude into the handle.  The plastic tabs that held the handle in place were themselves hollow – and cracked right where the handle met the body.

I measured the broken part, modeled it in Sketchup, duplicated it, exported to an STL, put through the brand new RepG, printed, opened the toy, inserted the printed parts, put it back together, and DONE.  Since the printed tabs are on the inside, it is functionally perfect and cosmetically indistinguishable with an off-the-shelf model.

Without a MakerBot, it would have been either cosmetically unsightly or prohibitively expensive to repair.  Win.