Laying out cardboard on the garage floor.
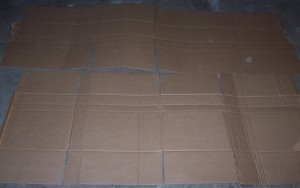
Spreading out cardboard boxes
Interweaving layers of cardboard using their flaps.
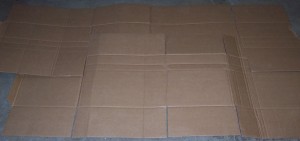
Interweaving layers of cardboard
Duct tape layers together, taped shallow sides, duct tape over holes in layers.
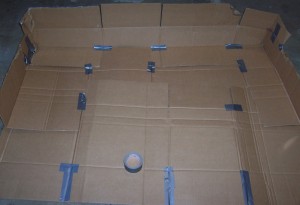
Taping up cardboard sheets
All the wood parts laid out together. This is just so you can see all the wooden parts at once – they probably wouldn’t paint very evenly this way. Plus, since I’m painting different parts different colors, I needed to separate them out.
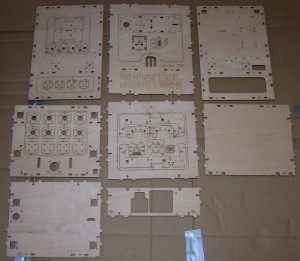
All the wooden bits
The supplies I picked up from the hardware store. Super fine sandpaper, metallic spraypaint, medium gray primer, light gray spraypaint, masks, and duct tape.
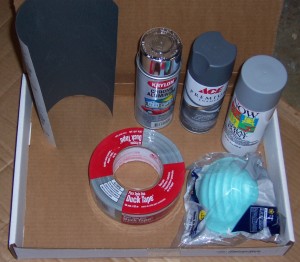
Supplies
Well, I just started spraypainting parts! Now it’s too late to turn back!
Medium gray primer:
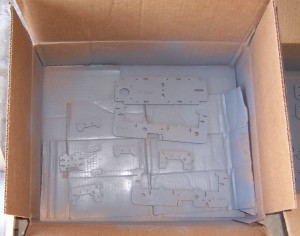
X-platform parts
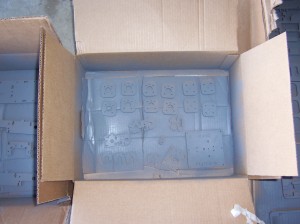
Y-platform parts and other bits
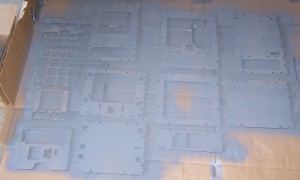
Robot body parts everywhere - the horror!
I couldn’t resist painting the printed pulleys too. There was a lot of interesting variation between the four pulleys. I could also see how one person’s MakerBot had probably been more finely tuned, how another person used a version of the pulleys with fewer facets. The smaller pulley had a little bit of plastic on top of the pulley. I didn’t think anything of it at the time I was painting. However, as it turns out that plastic nub later prevented the pulley from rotating on the Y-stage, so I had to sand it off – ruining the paint job. Once I’ve got the ‘bot printing happily I’ll go back and touch it up.

Printed pulleys - as they were meant to be seen
Once the primer had dried, I started spraypainting the parts the colors I wanted them to be.
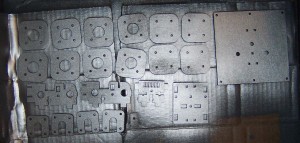
My eyes! They burn! The goggles do nothing!
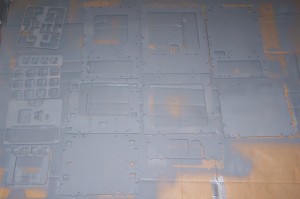
Painted body parts
You may notice that I was also painting the leftover parts from which the smaller parts had been punched out. I did this so I could test the effect of the primer and layers of color. Without the primer the wood soaked up a lot of the paint, hence the need for the primer.
While painting with the metallic paint a sparse fine mist covered the other parts as well. I found I really liked the effect of very tiny sliver specks over the flat gray. If this is something you’re looking to avoid I’d recommend not only spraypainting farther apart, but also covering the other parts you don’t want affected.


