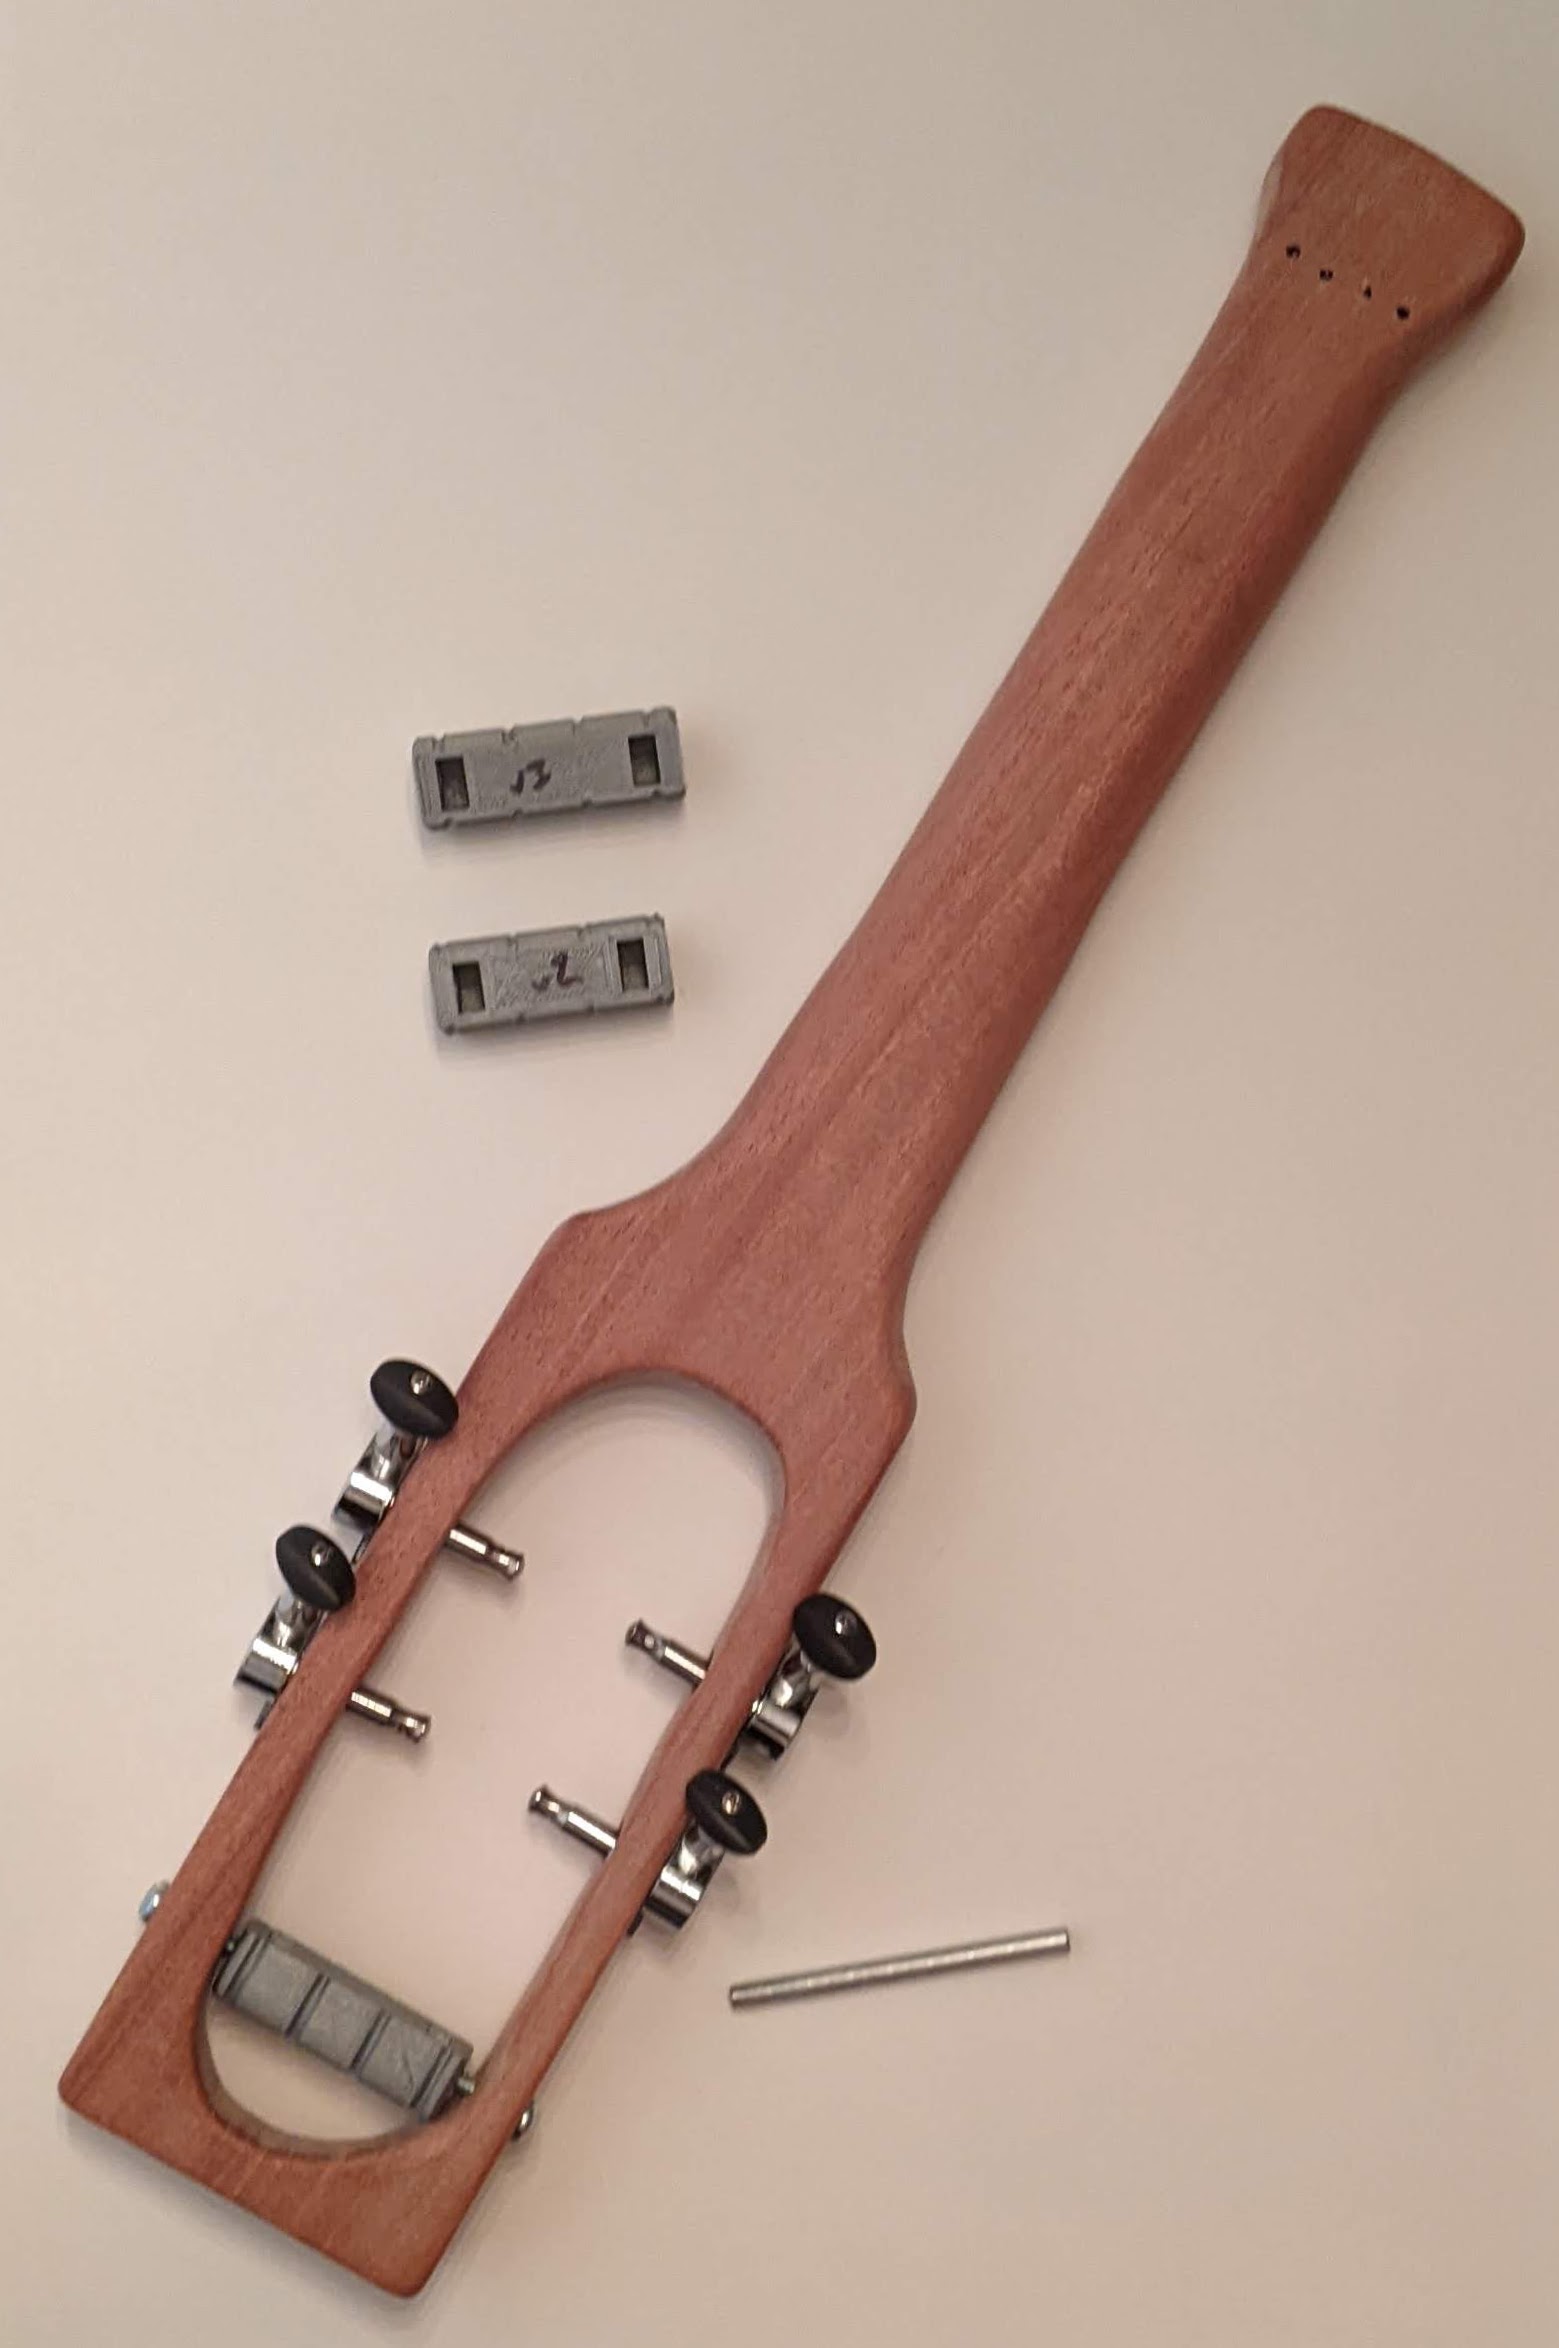
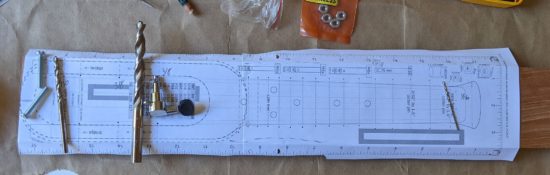
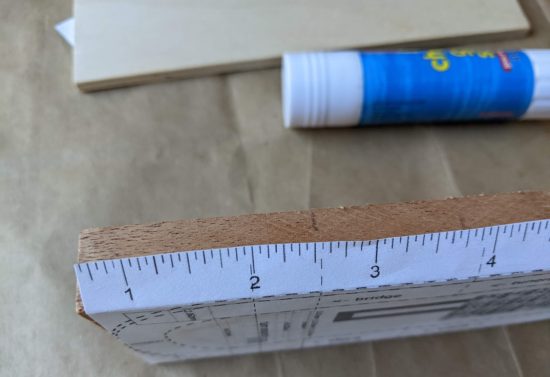
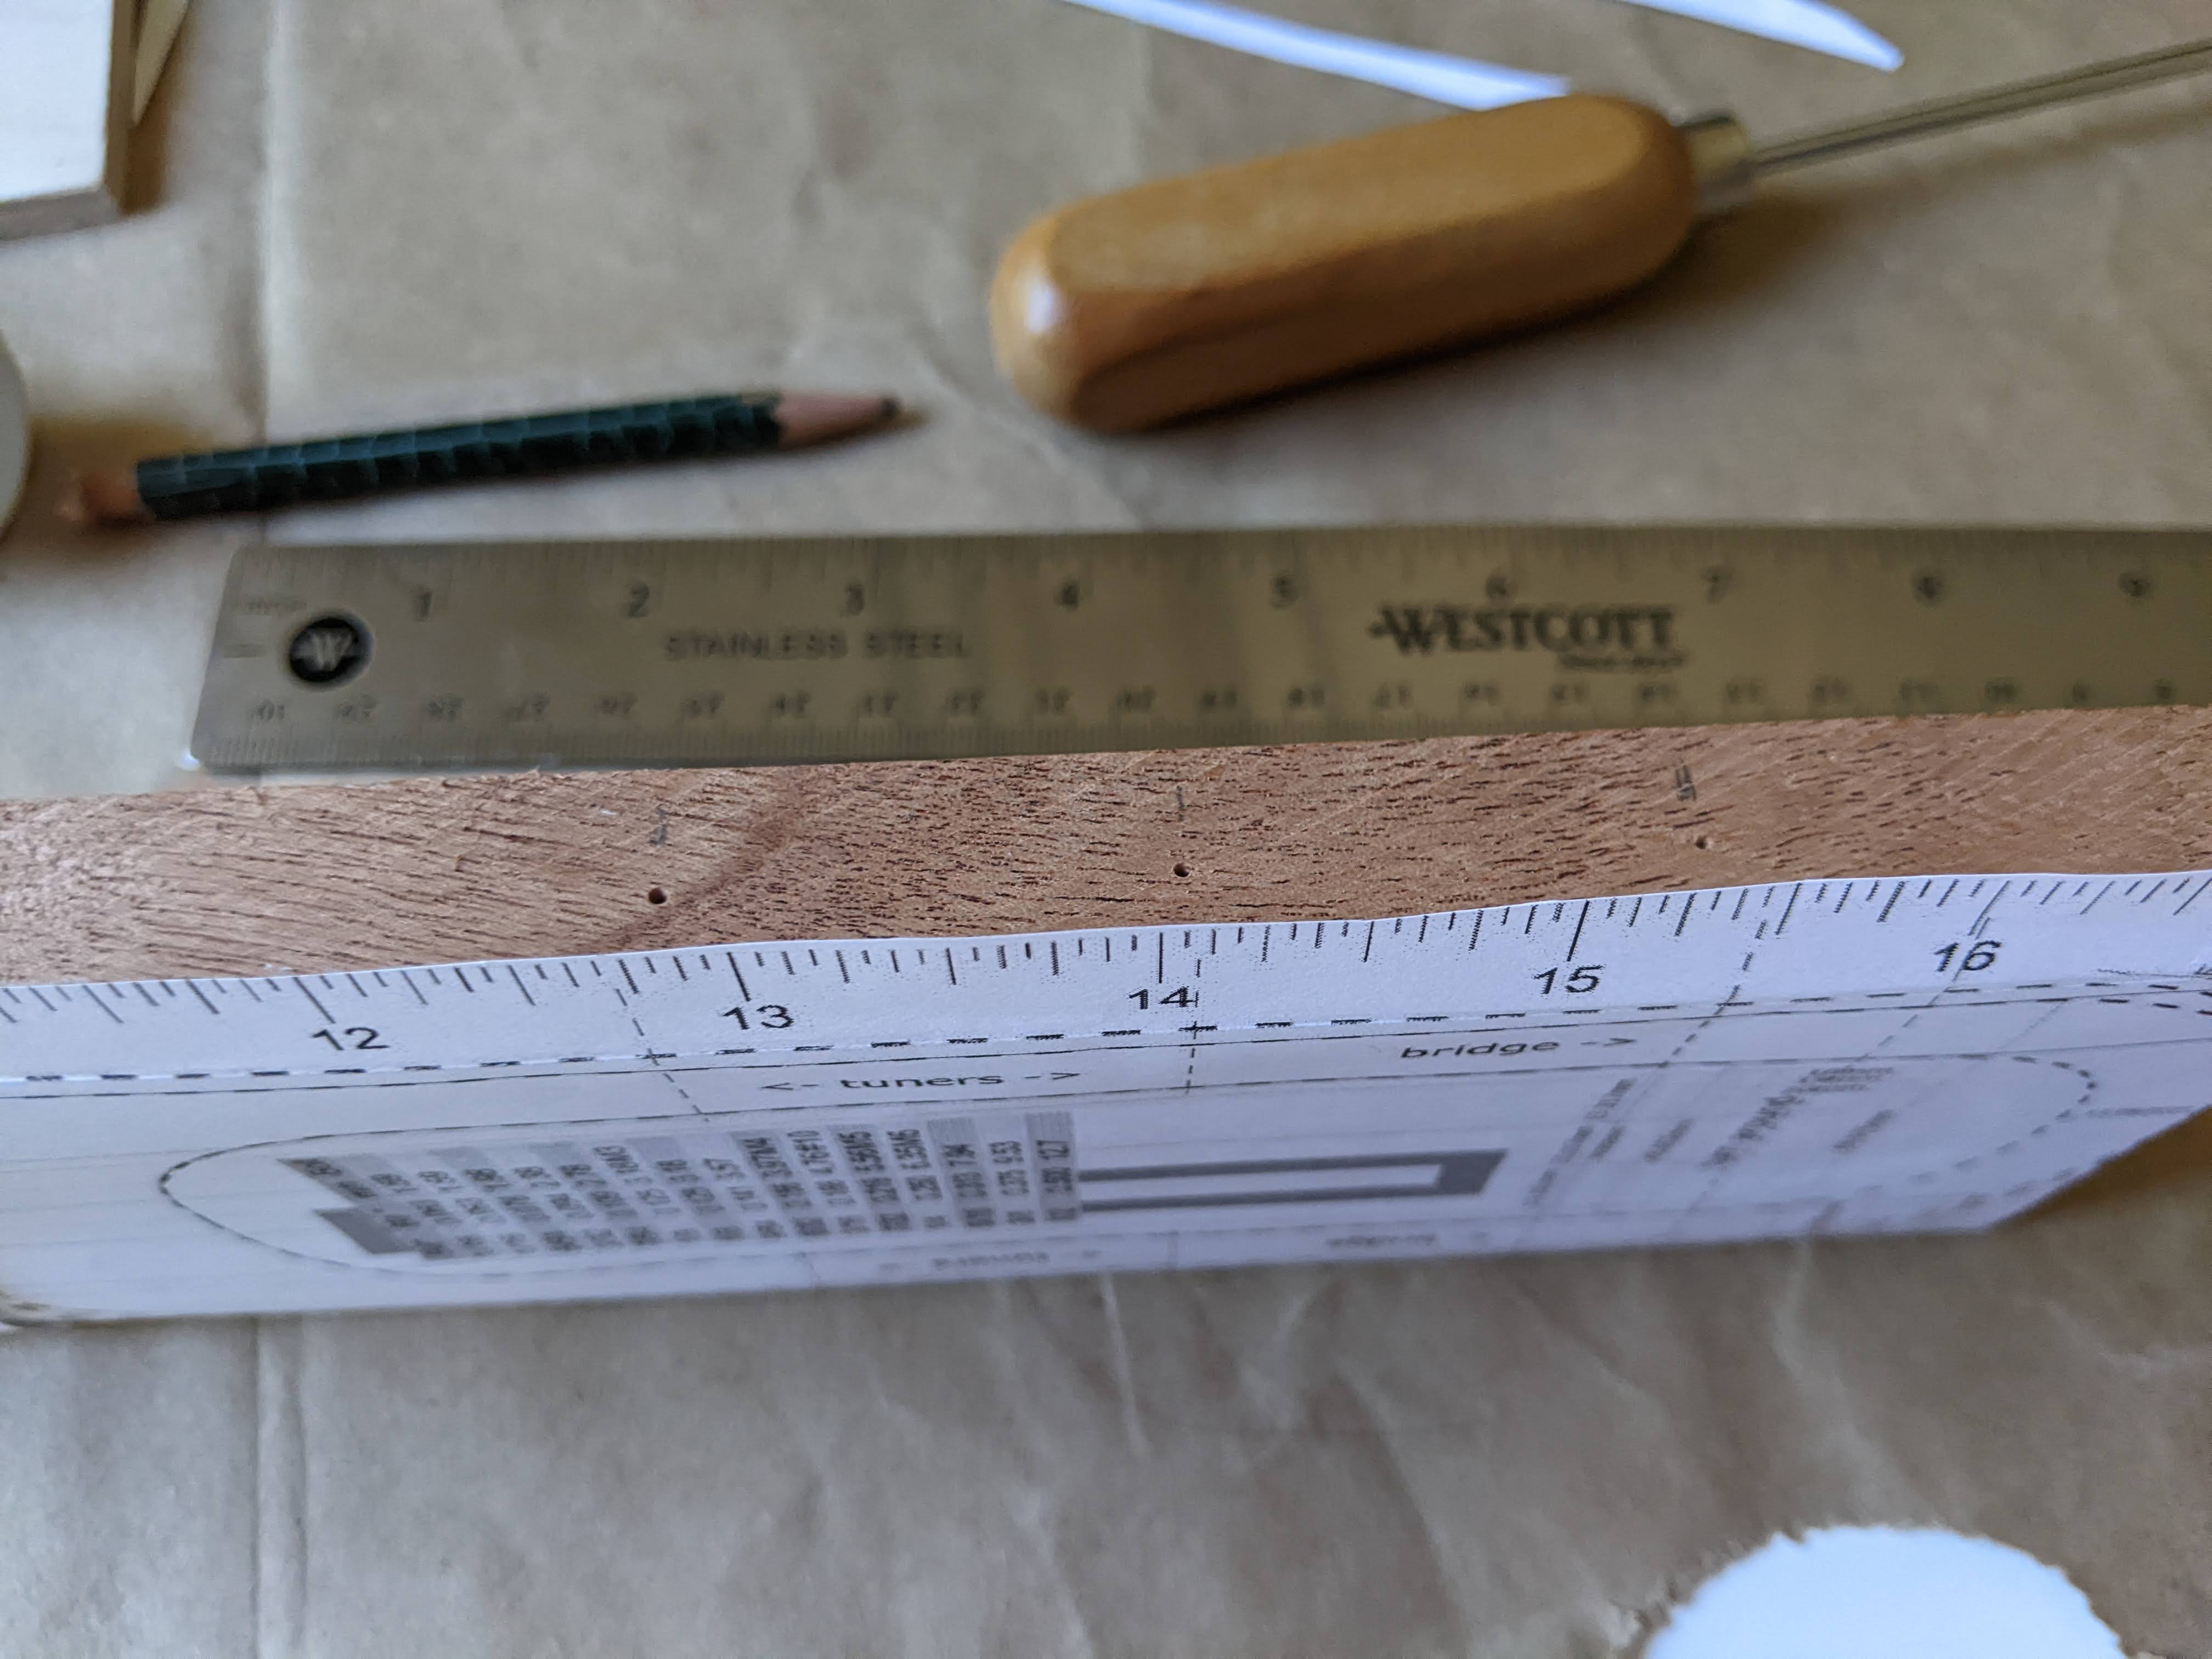
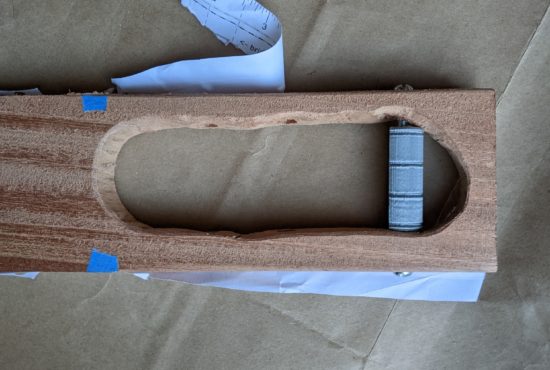
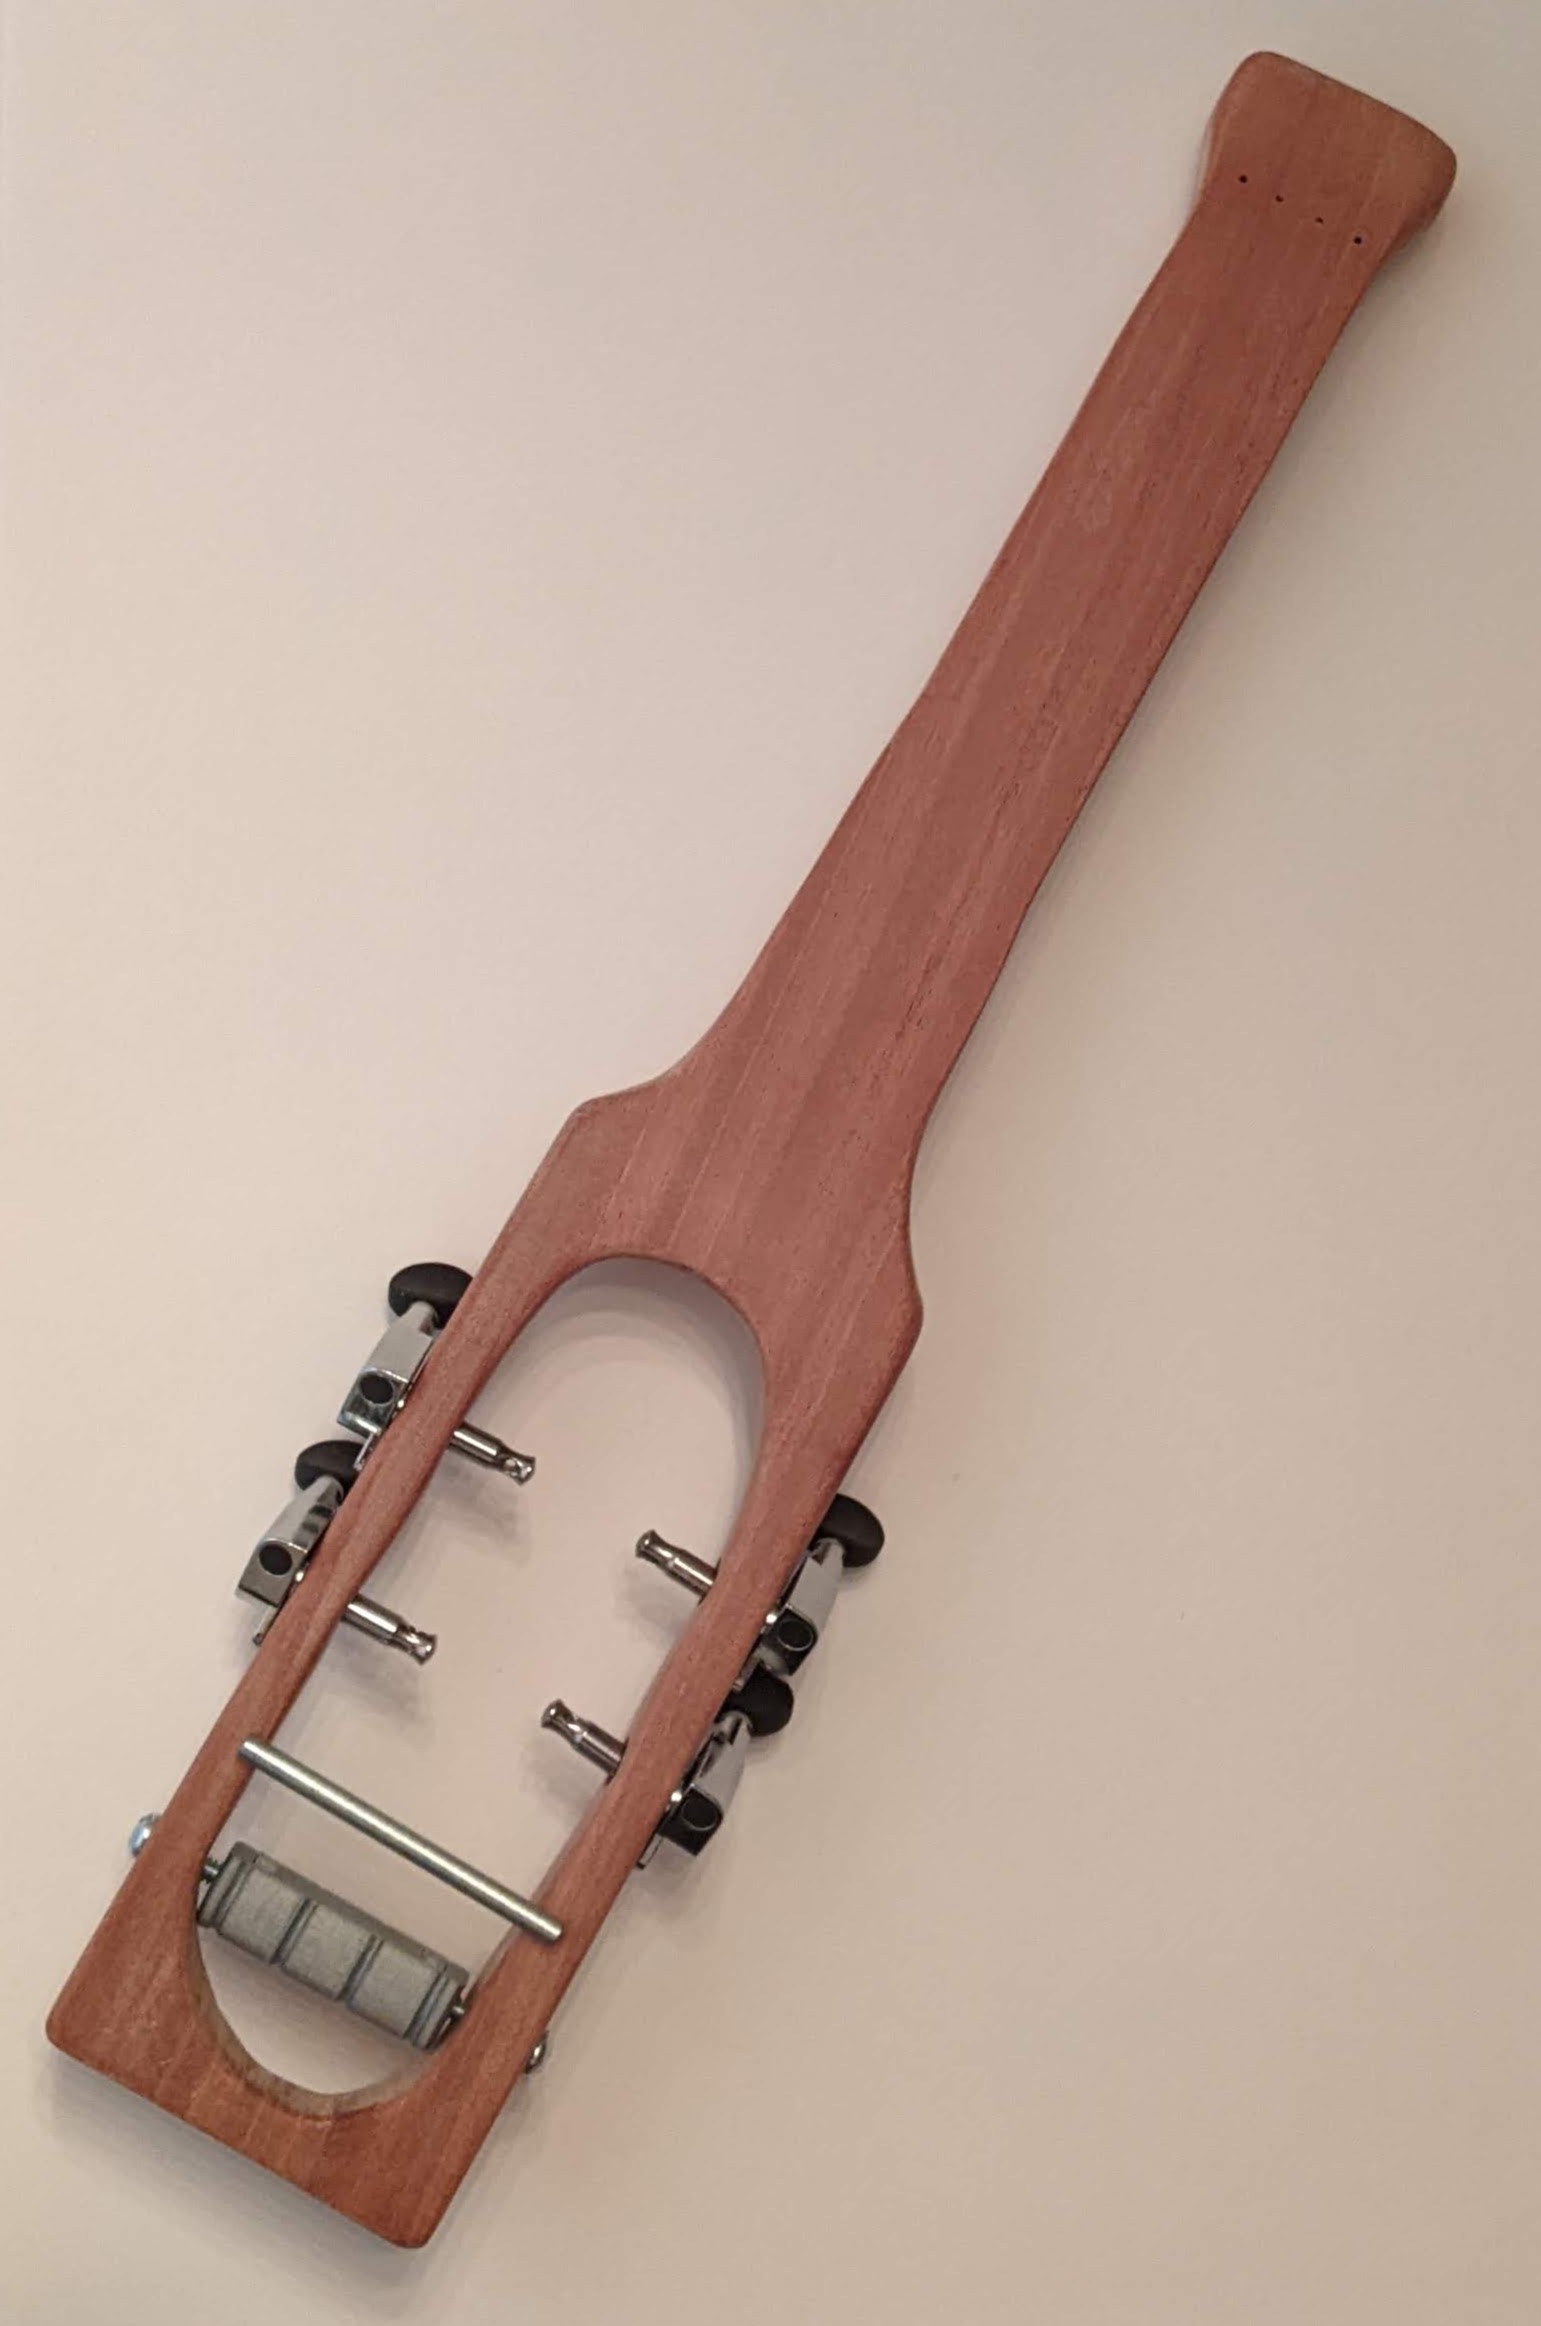
As I suggested in a prior post I mentioned how the tuning pegs were slightly angled because the holes I drilled were, unintentionally, slightly angled, causing the the tuning pegs to not sit flush against the ukulele body. You can see the slight angle of the tuning pegs – and the gap on one side for every tuner.
I initially felt my “best option” was to print thin lopsided washers. This was, of course, a total garbage idea. Ever time I did a test fitting, I knew I would hate it. Every time I played the ukulele, it would bother me. I would always know there was more I could have done to make it better.
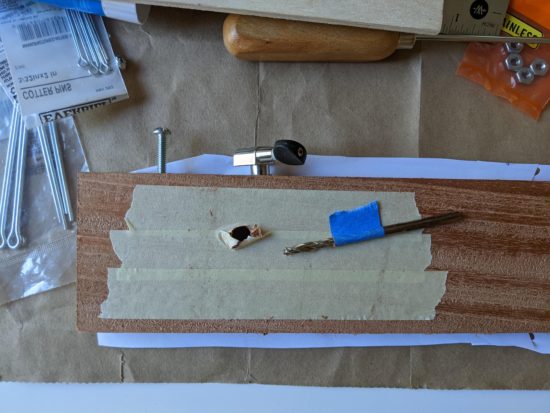
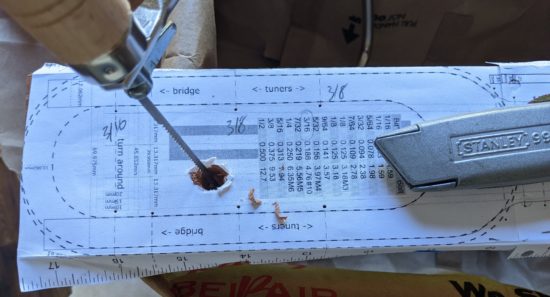
This had been bothering me for weeks. Weeks. I just checked the photos going back to my first test fitting. Six weeks. I knew I wouldn’t be able to let this go. I couldn’t live with a stupid looking gap between the tuners which would inevitably collect dust or grime. I also didn’t want a 3D printed washer obscuring the shiny tuners. That meant drilling the holes. For a third time.
The first time I drilled these holes, I had propped the plank on it’s side, sandwiched it between two short boxes, and drilled downwards as straight and as perpendicular to the wood as I could. Frankly, I did really well for some bozo with a drill, some boxes, and his kitchen floor. These holes weren’t very far off, but still off enough to angle the tuners and create that gap.
The second time I drilled the holes, I just held the board down with one hand on some scrap wood outside and the power drill in my other hand. It wasn’t even close to steady, but it did widen the holes a little. I’m just glad I didn’t really screw up the wood in this half-assed process. 1 This was successful in that all the pegs fit a little better, since the holes were slightly larger, but I knew I couldn’t get the control I needed with my drill.
It was around this time I noticed the latest Instructables “Build a Tool” contest. I’m a big fan of Instructables. It’s a great place for people to share pretty amazing projects, tips, photos, and write ups. I have an Instrucables t-shirt I wear proudly, a few patches, and a second place win in Origami and another in Cooking. (In both instances, I’ve spent my Instructables winnings on this very project.) Anyhow, seeing this contest made me think… could I create a drill? I could really use a single hand, high precision, medium torque, low speed drill – something I could have really fine-grain control over.
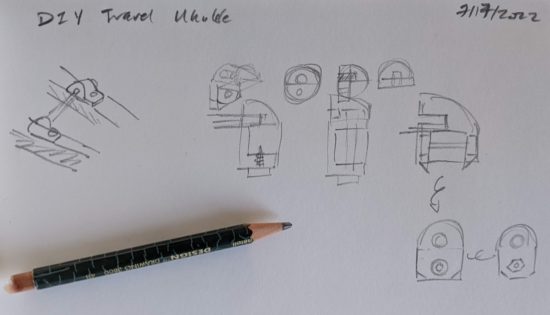
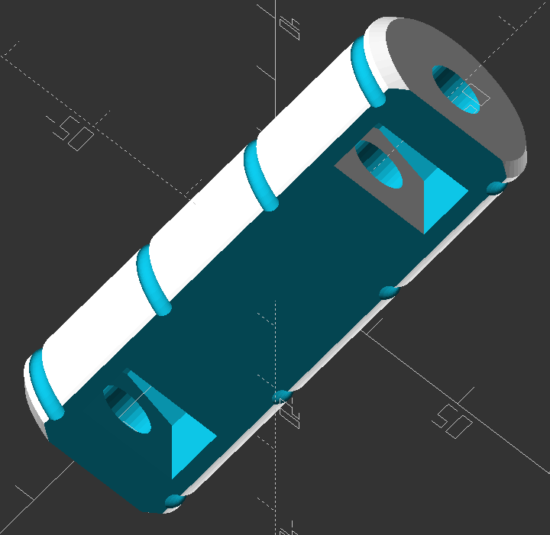
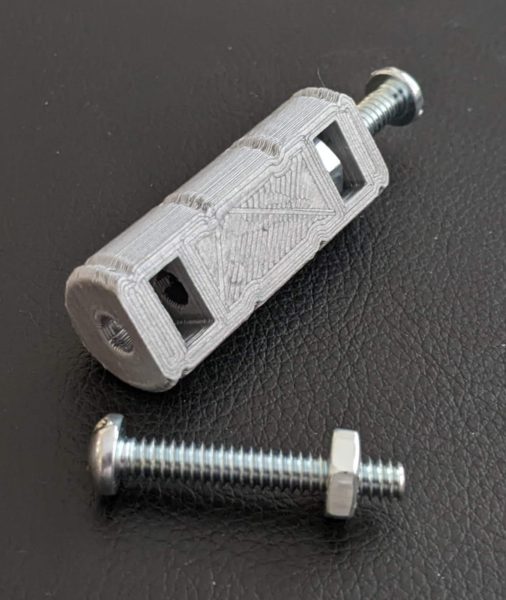
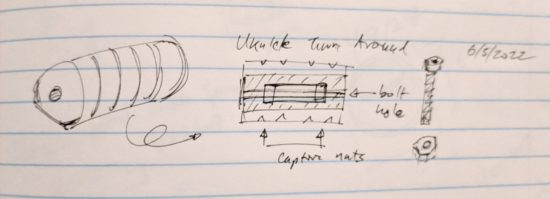
As you may have come to expect, I created several versions. I started (as usual) with a quick sketch, then an OpenSCAD model, a test print of a thin slice to make sure the nuts would fit in the appropriate slots, printed the full model, used it, then redesigned it from scratch in TinkerCAD, printed a slice, test fit that, printed the whole thing, and then used it. The OpenSCAD model was easier for me to design, since it’s been my program of choice for more than a decade, but the model used 50% more plastic, was rounder, yet chunkier, took longer to print, and kept loosening as I tried to drill with it. The TinkerCAD model was harder to design (I used several design tricks that would probably justify an entire blog post unto themselves) due to my relative unfamiliarity and the lack of an intersect function, but was thinner, used a lot less plastic, printed faster, felt nicer, and worked much better. I think printing the model with slightly undersized screw holes (by accident) really helped, since it didn’t let the machine screws slip as much. I used my standard “coarse” functional part settings of 0.28mm layers, 3 walls, and 15% infill.
This drill worked really really well for my purposes. It worked so well, I’m just going to keep it in my drill bit case forever. It may not use it often, but if I’m out of power or am building another ukulele, it could come in handy again. If you want to get really technical, maybe I didn’t so much “drill” these holes as I used a custom drill bit holder to rotate and ream out an existing hole. This last iteration of this drill was so solid, there’s no doubt in my mind you could use it to actually drill a hole. It would be slow, but you could control the process, and the machine screws perform double duty as both a tightening mechanism and as handles giving you extra leverage to rotate the drill bit.
If you want the STL files, I posted them over on Printables.
What’s next in the building a travel ukulele saga? I’m glad you asked:
- Double checking the measurements of all fret marks on the neck
- Apply de-stickified blue tape along the neck on both sides
- Marking the locations of the frets on the blue tape, to either side of the frets
- Wipe down the neck with a clean dry low-lint cloth to remove dust
- Super gluing the frets in place
- Sand, wipe down
- (Finish, wet sand with finish, dry) x2
- Wax
- Design bridge holder, install bridge
- Install tuners
- Install strings
I’ve spent way way way too long overthinking and planning this project. I do tend to sometimes kill projects through over thinking. Then again, it’s not all bad as traits go. Heck, it’s an advantage in my line of work. I know now if all this thinking and planning and writing will ever result in something playable. I hope so. Maybe it will just be an anecdote I tell years from now about how I managed to stay sane during a global pandemic, distanced from family and friends.
It’s late and I’ve been in a pensive mood. As I’ve been working on this project, I’ve reflected upon friends and family, near and far. Cutting and filing and sanding are repetitive, almost meditative tasks.
- My wife, who’s always supportive of my latest harebrained plan. She bought me the ukulele and has suffered through countless bad notes long after the kids had run to the furthest corners of the house to hide from my playing.
- My dad, who built amazing things through reading, research, meticulous planning, and, above all else, sheer force of will. I would have liked to build this ukulele with him. Maybe this version will be complete garbage and we will. Maybe this version will be great, and we’ll build a better one together.
- My mom, a fountain of endless curiosity and positive energy, an absolutely unstoppable force of nature.
- Matt Stultz, who entertained my printable ukulele questions back in 2016 and suggested the tuners I purchased, which sat in a drawer for nearly 6 years.
- Matt Arnold, who doesn’t realize it, but gave me the push I needed in a conversation on 3/22/2022. I was nudging him to work on his book – and he was pushing right back. “Afterall, a ukulele won’t make itself…”
- LawMonster13, and fellow Roger Zelazny fan, because he’ll remember a favorite quote, “Wish in one hand and do something else in the other, and squeeze them both and see which comes true.”
- Andrew Murdoch, who is very likely my most loyal blog reader, for his woodworking and sanding suggestions.
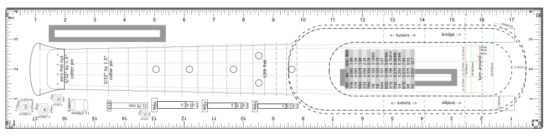
- Daniel Hulbert, and his incredibly detailed free DIY ukulele plans. Though we’ve never met in person, perhaps one day we’ll get to hang out for a bit. I’ve spent a lot of time reading and re-reading his blog posts, reviewing photographs, and watching his videos for tips and pointers. It’s hard not to feel like you are at least a little familiar with someone after reading/watching so much. I’m literally coming up on two years since I first found his CircuitsAndStrings website and plans. 2 Using these designs, I tried designing a 3D printable travel ukulele, but none of my printers were large enough to test any of my designs.3 It wasn’t until 3/22/2022 that I really got started on this project, coming up with some ideas and plans based upon Daniel’s designs.
This has gone one way longer than I would have expected. Indulge my curiosity. If you made it this far, send me an email or leave a comment.
DIY Travel Soprano Ukulele- Learning Curves and Ukuleles
- Building a Travel Ukulele: Getting Started
- Building a Travel Ukulele: Cutting Stuff
- Building a Travel Ukulele: Cutting, Filing, Shaping
- Building a Travel Ukulele: Filing, sanding, filing, sanding, filing…
- Building a Travel Ukulele: Sanding.
- Building a Travel Ukulele: Test Fitting
- Building a Travel Ukulele: Preparation, Marking and Cutting Frets
- Building a Travel Ukulele: Shaping Frets, Sanding
- Building a Travel Ukulele: Building a Drill
- Building a Travel Ukulele: No Turning Back
- Building a Travel Ukulele: Sanding, sanding, and finishing
- Building a Travel Ukulele: Finishing, sanding, painting, etc
- Building a Travel Ukulele: So Much Experimentation, Bridges, Printing, and Sanding
- Building a Travel Ukulele: Plancratineering
- Building a Travel Ukulele: Swapping Hardware, Fret Experiments
- Building a Travel Ukulele: Bridge, Stringing It Up, and a Sound Test!
- Building a Travel Ukulele: Improvements
- Building a Travel Ukulele: Back to Basics
- DIY Soprano Scale Travel Ukulele
- Repairing My DIY Travel Uke