Other Lightsabers
After doing so many web / Youtube searches and watching so many videos on the topic of lightsabers, the algorithm quickly caught up to me and started showing me similar things. There was one excellent video by Cleo Abram going behind the scenes at Disney to talk about how their incredible designer / engineer / imagineer Lanny Smoot invented a realistic looking lightsaber. Another excellent video was by HeroTech going over his designs for building a DIY lightsaber with sounds, swift extension, and retraction.
This slideshow requires JavaScript.
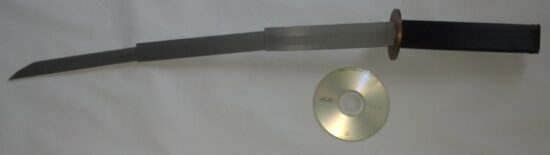
Lightsaber Dimensions
There are now so many entirely “cannon” lightsabers out there that there’s no way to know what the “real” dimensions of a lightsaber should be. Yoda and the younglings from Revenge of the Sith likely had shorter, thinner lightsabers, Kylo Ren probably had the chonkiest, Darth Maul had the longest, etc. I think it probably comes down to what’s the most satisfying for the user to hold. When it comes to a DIY lightsaber where the blade is stored inside the hilt, the blade length is going to be the number of segments multiplied by the difference of the hilt length and any overlap necessary to keep the segments steady. If we’re going with three blade segments, we can then work backwards from what would be a comfortable grip size to determine what we can fit into the hilt.
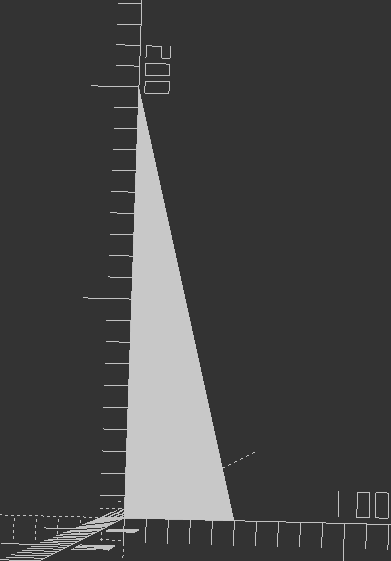
From the TwistSaber kickstarter videos, I would guesstimate the diameter of the hilt is around 2″ or 50mm. TwistSaber core slots into their hilts, so the entire mechanism of planetary gear, screw core, and blade slides must all be thinner than the inner diameter of the hilt.
Planetary Gears
It took me an embarrassingly long time to play with the MCAD library to produce involute gears. Once I was able to generate gears, I was banging my head against the idea of how to create properly meshing gears – that is, until Pete Wildsmith swooped in with the assist. He pointed me in the direction of Mattias Wandel’s excellent page on the topic of meshing gears. What I learned were these items:
- There is a very specific relationship to make a planetary gear where the planet gears are evenly spaced and mesh properly with both the sun and ring gears. The number of teeth in the sun gear must be an integer multiple of the number of planet gears. And, in turn, the number of teeth in the ring gear must be an integer multiple of the number of teeth in the sun gear.
- To increase the gear ratio from ring to sun gear, I needed to minimize the sun gear teeth and maximize the ring gear teeth, this meant the number of planet gears had to be minimized to keep the number of sun teeth down. However, I liked the idea of three planet teeth basically surrounding the sun gear, keeping it aligned. Thus, I arrived at a constant for the number of planet gears; three. From here, the choice is whether to give the sun gear a multiple of 2 or 3 of the number of planet gears. I chose a multiple of 3 because having only 6 teeth looked fairly weak and I didn’t like the idea of putting so much pressure on those teeth. Thus, the sun gear has 9 teeth. In order to get sufficient rotations of the sun gear from a half rotation of the ring gear, I chose a multiplier of 7 for the ring gear.
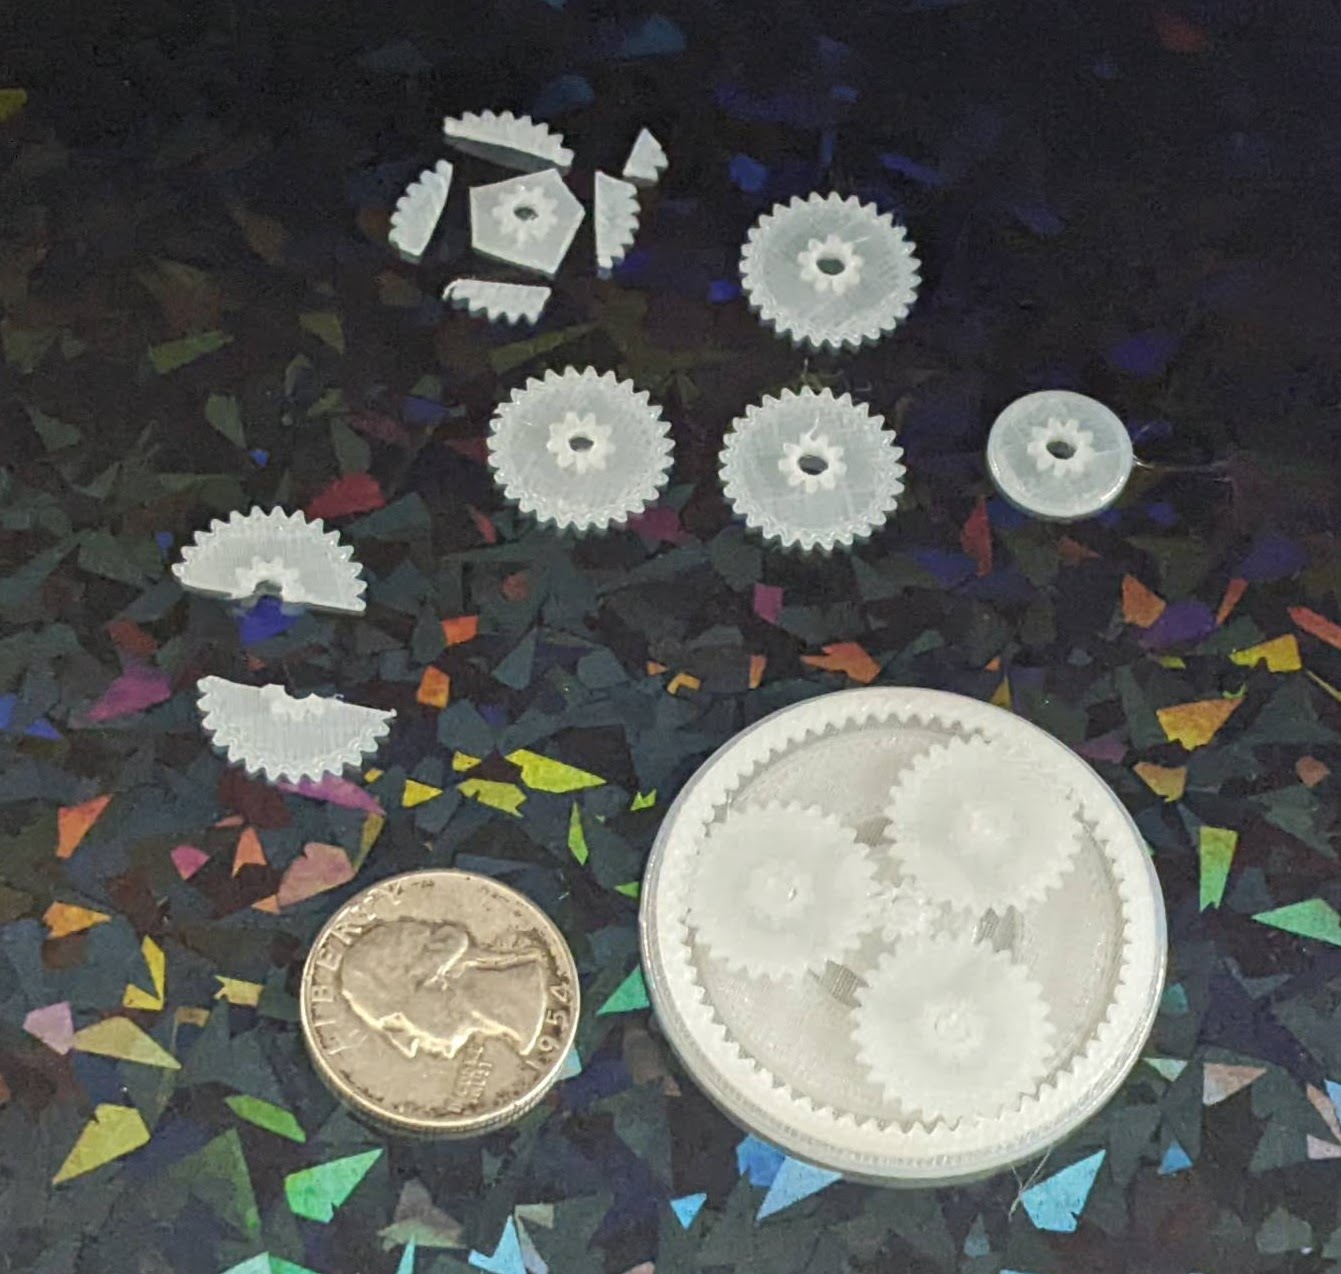
- Thus, we have 3 planet gears, a sun gear with 9 teeth, and ring gear with 63 teeth.
- The number of meshing teeth to a planet gear in the above setup is derived by subtracting the sun gear teeth from the ring gear teeth, and dividing this by two.
- In our instance, it would be (63 – 9)/2 = 27 teeth
- I learned the hard way, through trial and error, that apparently all meshing gears required the same “circular_pitch.”
- All this seems to do is scale the entire gear up or down in size. Fortunately, I don’t have to understand how the library works in order to wield it’s magic. I just fiddled with the circular pitch until the set of gears were the approximate size I needed.
- When orienting the gears together, I wasn’t sure how far to place the planet gear from the sun gear. Luckily, Matthias provides this answer. The offset of the planetary gear is calculated as (circular_pitch / π) * (Sun Teeth + Planet Teeth) / 2
Design
When I design certain mechanisms, I like to try and design the components in the smallest and most extreme ways – so the OpenSCAD designs can be modified to build something larger and less extreme. By “most extreme ways,” I mean the design gets tested for very thin parts, very steep or low angles. The plan is that if I could design very thin shorter parts and they appear to work, I could print them quickly to test them, iterate, and then try them at full scale. This is why I have some half-baked cryptex designs that are absurdly small – they were designed intended to be parametric.
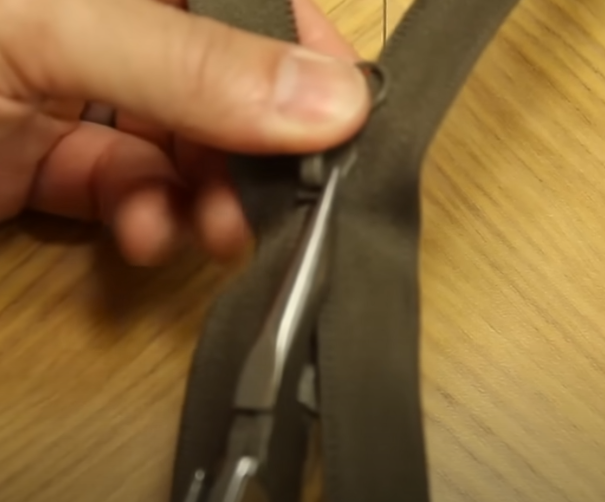
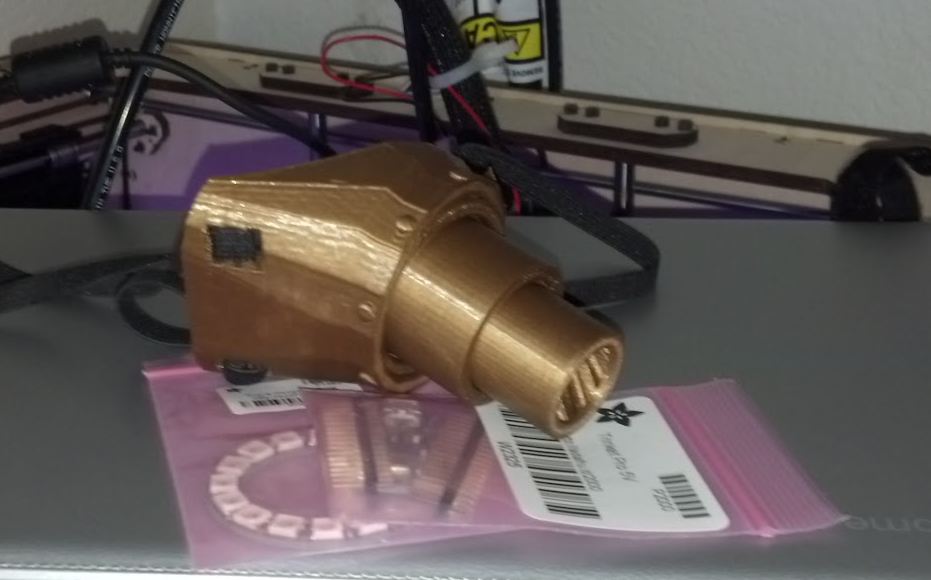
After a long and interesting search I couldn’t find the goggle components pictured in a prior post, and decided to just buckle down, tinker with some old designs on spiral telescoping parts, scale them to fit in the goggles, and start printing a new set. Of course, as anyone knows, there is no surer way to summon a lost object than to order/manufacture a new one. Maybe 30 minutes into the print job, I discovered the goggles printed in copper plastic sitting on a shelf.
This slideshow requires JavaScript.
It was an interesting search because I found bags of prototypes of other projects, including some thin segments of spiral telescoping parts, which gave me something to play with and be inspired by while I tinkered.
I’d like to put these designs to work building a working telescoping, planetary gear operated, set of goggles. Who knows? If I stuck a lens in them, perhaps a Frensel lens, they might even work as a magnifying device. And, if not, I’ll probably try to find a way to shoehorn some LED’s into them.
One other thing that’s been eating at me. There are essentially four blade segments. These are the three we see throughout construction videos, plus the casing which the outermost blade segment slides along. There are very few videos of the entire assembly working with a cutout view, but there are definitely only three actual spiral core pieces. And, yet, when the blade is extended, we can see the tip of the blade extend out further than the outermost spiral core piece. This means, from the hilt to the top the lightsaber is one hilt plus three blade segments long. Then there’s the three central spiral cores, but if they’re fully extended and the center blade segment extends beyond the spiral core… how?
Although I haven’t seen any part of the schematics or operation to demonstrate this, I think the central blade segment might have a spiral section within it. Unrelatedly… does this mean that all the blade and spiral segments could possibly be printed in place at the very same time?
Can LED’s be fit into an extending lightsaber?
One of my all time favorite Simpson’s clips where Skinner’s mother berates a grocery store clerk, “I want everything in one bag… and I don’t want the bag to be heavy!”
It’s certainly possible to make a realistic looking lightsaber, but it’s not likely to be sturdy enough for performance / battles. Cleo’s video has Mr. Smoot looking mighty apprehensive that she might attempt to more than very gently gesture with the lightsaber. You could make a lightsaber that has great sounds, great blade, great lights, but the blade won’t retract. You could make a super dangerous plasma lightsaber capable of cutting things… with 4,000 degrees Fahrenheit, but it sure won’t be portable.
I do wonder whether it would be possible to add lights to this kind of a lightsaber. I think it might work if there was a ring LED around the planetary gear / base of the central spiral core. Perhaps LED’s could be placed along the inside of the blade segments, but I’m not sure how you’d route power to these things as they slid along. Perhaps through the use of copper tape or conductive maker tape. I think these are doable, but would require a lot of testing, calibration, and probably thicker blade segments or very thin LED’s.
DIY Lightsaber Build- TwistSabers
- DIY Lightsaber Thoughts
- Wait, haven’t I worked on this before?!
- Considering the design elements of a DIY light saber
- More Musings on Lightsabers, Mechanical Components
- Slow Progress…
- Capstan Drives as alternatives to Planetary Gears?