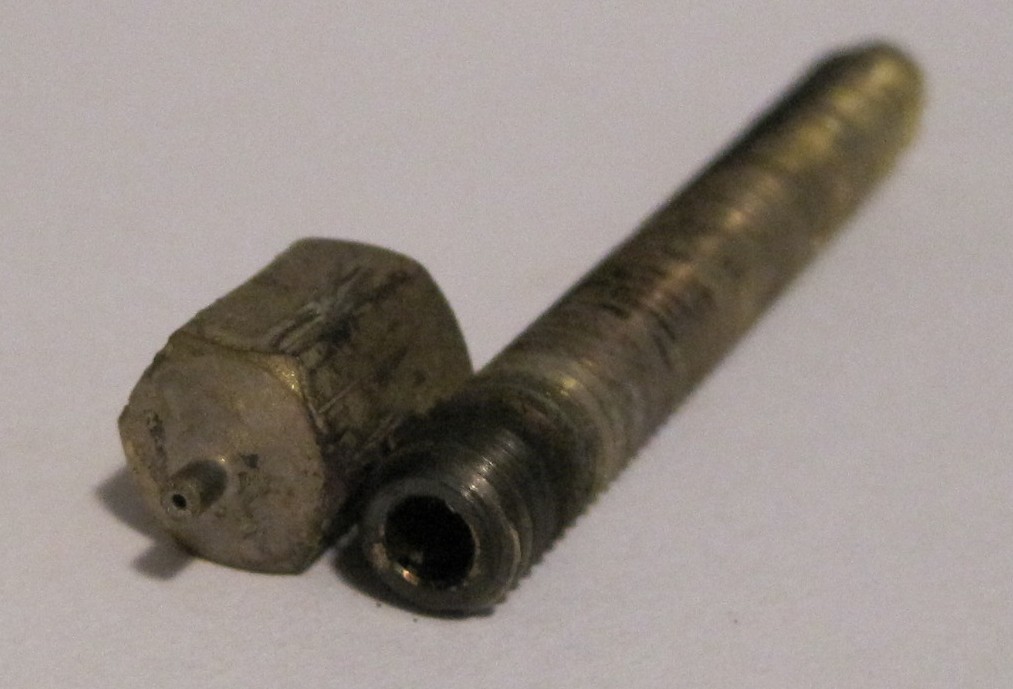
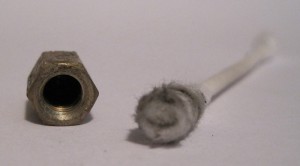
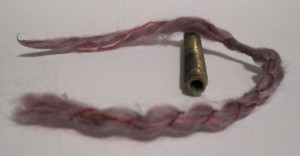
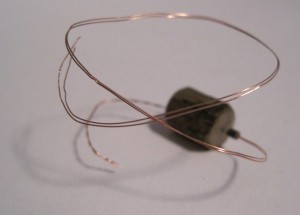
Here’s the process I used to unclog my extruder barrel and nozzle without a lot of extra equipment. Obviously you should take all reasonable safety precautions with goggles, gloves, tongs, with a fire extinguisher, etc. Plan ahead and be safe.
1. Materials:
- Clogged extruder
- Yarn
- Q-tips
- Heavy iron hook
- Wrench
- A big rock
- Ethernet cable
- Wire strippers
- Blow torch
- Safety equipment
- Drill bits
- Thick rubber band
2. Process:
- Disassemble the extruder
- Since PLA had gotten into the threads I had to leave the extruder warm as I unscrewed the PTFE insulating barrier.
- Unwrap the heater – taking off the ceramic tape, thermistor, nichrome, and Kapton tape.
- Remove plastic from the extruder
- I wrapped the unsharp end of my smallest drill bit in a thick rubber band to give it a grip.
- I then rotated the drill bit into the barrel by hand.
- When I had gotten as much out as I could, I switched to a slightly larger drill bit (again wrapped in a rubber band for grip) and drilled out as much as I could. I repeated this until I had gotten to my largest drill bit that would fit in the barrel.
- I used a precision flathead screwdriver to follow along the threads of the extruder barrel and chip out plastic.
- I used the same precision flathead screwdriver to follow the threads inside the PTFE and chip out plastic.
- Heat the barrel
- This prior post has pictures for the entire setup.
- I was unable to remove the nozzle from the barrel. Don’t worry if you can’t either.
- Put the extruder nozzle and barrel inside the large washer so the barrel is hanging down through the washer with the nozzle keeping it in place.
- Place the washer on a big iron hook or some similar piece of large thick heavy metal.
- Weigh down one end of the hook with the rock.
- With all reasonable proper safety measures in place and with adult supervision, heat the barrel and nozzle with the blow torch until it emits black smoke (which you should NOT breathe) and then keep it hot until it stops emitting smoke.
- Use the wrench to pick up the assembly and check if you can see through the nozzle.
- If you can’t see through the nozzle, keep heating it.
- Once you can see through the nozzle, it’s time to clean the extruder again
- Clean the extruder
- Once the barrel and nozzle had been heated, I found the nozzle came off very easily.
- Clean out the large cavity of the nozzle with the Q tip.
- Clean out the barrel with the yarn by inserting the yarn and “flossing” it.
- I happened to have pieces of an ethernet cable lying around. I cut open one of the wires inside and pulled out the thin copper strands. I took two of them and fed them through the 0.5mm nozzle. I “flossed” the nozzle until it felt reasonably clean.
- Reassemble!


Pingback: How to unclog your extruder barrel and nozzle by MakerBlock - MakerBot Industries
I’ve used the wire from a wire twist tie to clean out the nozzle…. near perfect fit for the 0.5mm nozzle
I tried several things before settling on copper strands from an ethernet cable – a twist tie wire included. One of the good things about the ethernet strand is that I had it very handy from after making my Y stage opto-endstop cables. I was only able to get two strands in – but if there was still something in the nozzle I could have started with one strand.
I unclogged my nozzle with a tiny (#77) drill bit in a pin vise. It’s easier than the wire, assuming you’ve got the tools on-hand. Check a hobby shop for tiny drill bits.
Robert
Unfortunately, I don’t have drill bits as tiny as .04-0.5mm. My goal was to use as few specialized parts/tools to unclog my extruder with as little damage to my equipment (such as the PTFE barrier) as possible. That said, I would love to have a set of small precision drill bits.
Thanks for these instructions.
Nichrome is pretty useful for cleaning out the nozzle orifice. Or the wires of a thermistor, they are also thin and don’t bend as easily as for example thin copper does. Sometimes you don’t even need to take everything apart. Wouln’t that be a blessing?!
For ABS, some people put their nozzles and barrels in a pot with acetone. I haven’t tried this but it should work. And be careful, smoking could kill you (especially if you use acetone as well) and don’t breath it either…
You’re welcome!
You know, I didn’t even think to use nichrome – I bet it would work great. However, I found the bendability of the copper wires to be very helpful. Since there was a minor kink in one of the wires it had a more abrasive texture for scouring the inside of the nozzle.
Not having to take everything apart would indeed be a blessing – but I think I had to given the blockage in the barrel. I suppose I could have tried heating up the barrel and putting the filament back through – but my nichrome connection totally failed as I was taking off the PTFE. So, I basically had to totally disassemble anyhow.
I am trying to avoid the use of acetone, but I’ve heard it works with time and agitation. The blow torch was quite gratifying. I stayed as far away from that smoke as I could manage – my understanding is that it’s none too pleasant to breathe.
By the way, I love your blog and follow it religiously. :)
If you lack a blowtorch, you could probably use a really high power soldering iron instead. Just put some solder on the tip and touch it to the barrel. Tried it with a low power soldering iron and it melted the PLA enough to pull it out. With a higher power one it should be possible to burn it out.
Stupid question: what does the solder do?
Small drill bits: I get individual #77 drill bits for $1.00 each at the local hobby shop; I usually buy a few at a time because I’ll usually break a couple. A pin vise will run $6. Neither helps you if you don’t have ’em on hand, but they’re not that hard to find, and it’s a lot less invasive than the blowtorch-and-acetone method…
You know, that’s a really good point. I bet they’re pretty handy to have around. Amazon has a 31 piece pin vice set for under $10.
So, did you really manage to totally unclog the extruder by just drilling it out? Didn’t it still leave a big chunk of plastic in the nozzle or barrel? Did it just melt out?
MakerBlock,the solder would help with the heat transfer from the tip of the soldering iron to the heater barrel, resulting in a higher heater barrel temperature.
Burn PLA, BURN!!
I’m sorry – maybe I’m being slow here… Do you put the molten solder inside the barrel?
Pingback: MakerGear Enhanced Operator’s Pack | MakerBlock
Pingback: How to get better results from your 3D printer – Part IV - MakerBot Industries