
I thought it would be neat to try cutting a QR code stamp. (Skip to the end to see the one time I was able to get the stamp to work)
The obvious problem is this would require an incredibly detailed and precise approach to carving. To get the smallest QR code that can still contain a URL, it would be limited to 16 characters, the lowest error correction (7%) rate, and would still have 21×21 pixels (441 total). After a little testing, I realized the code needs a little white space around the QR code to read properly. This means 23×23 pixels all carved into a less than 1″ square area. I know from the design of the eraser carving station that the eraser is 24.5 mm wide… so each pixel is roughly 1mm square.
I tried several things that definitely did not work well:
-
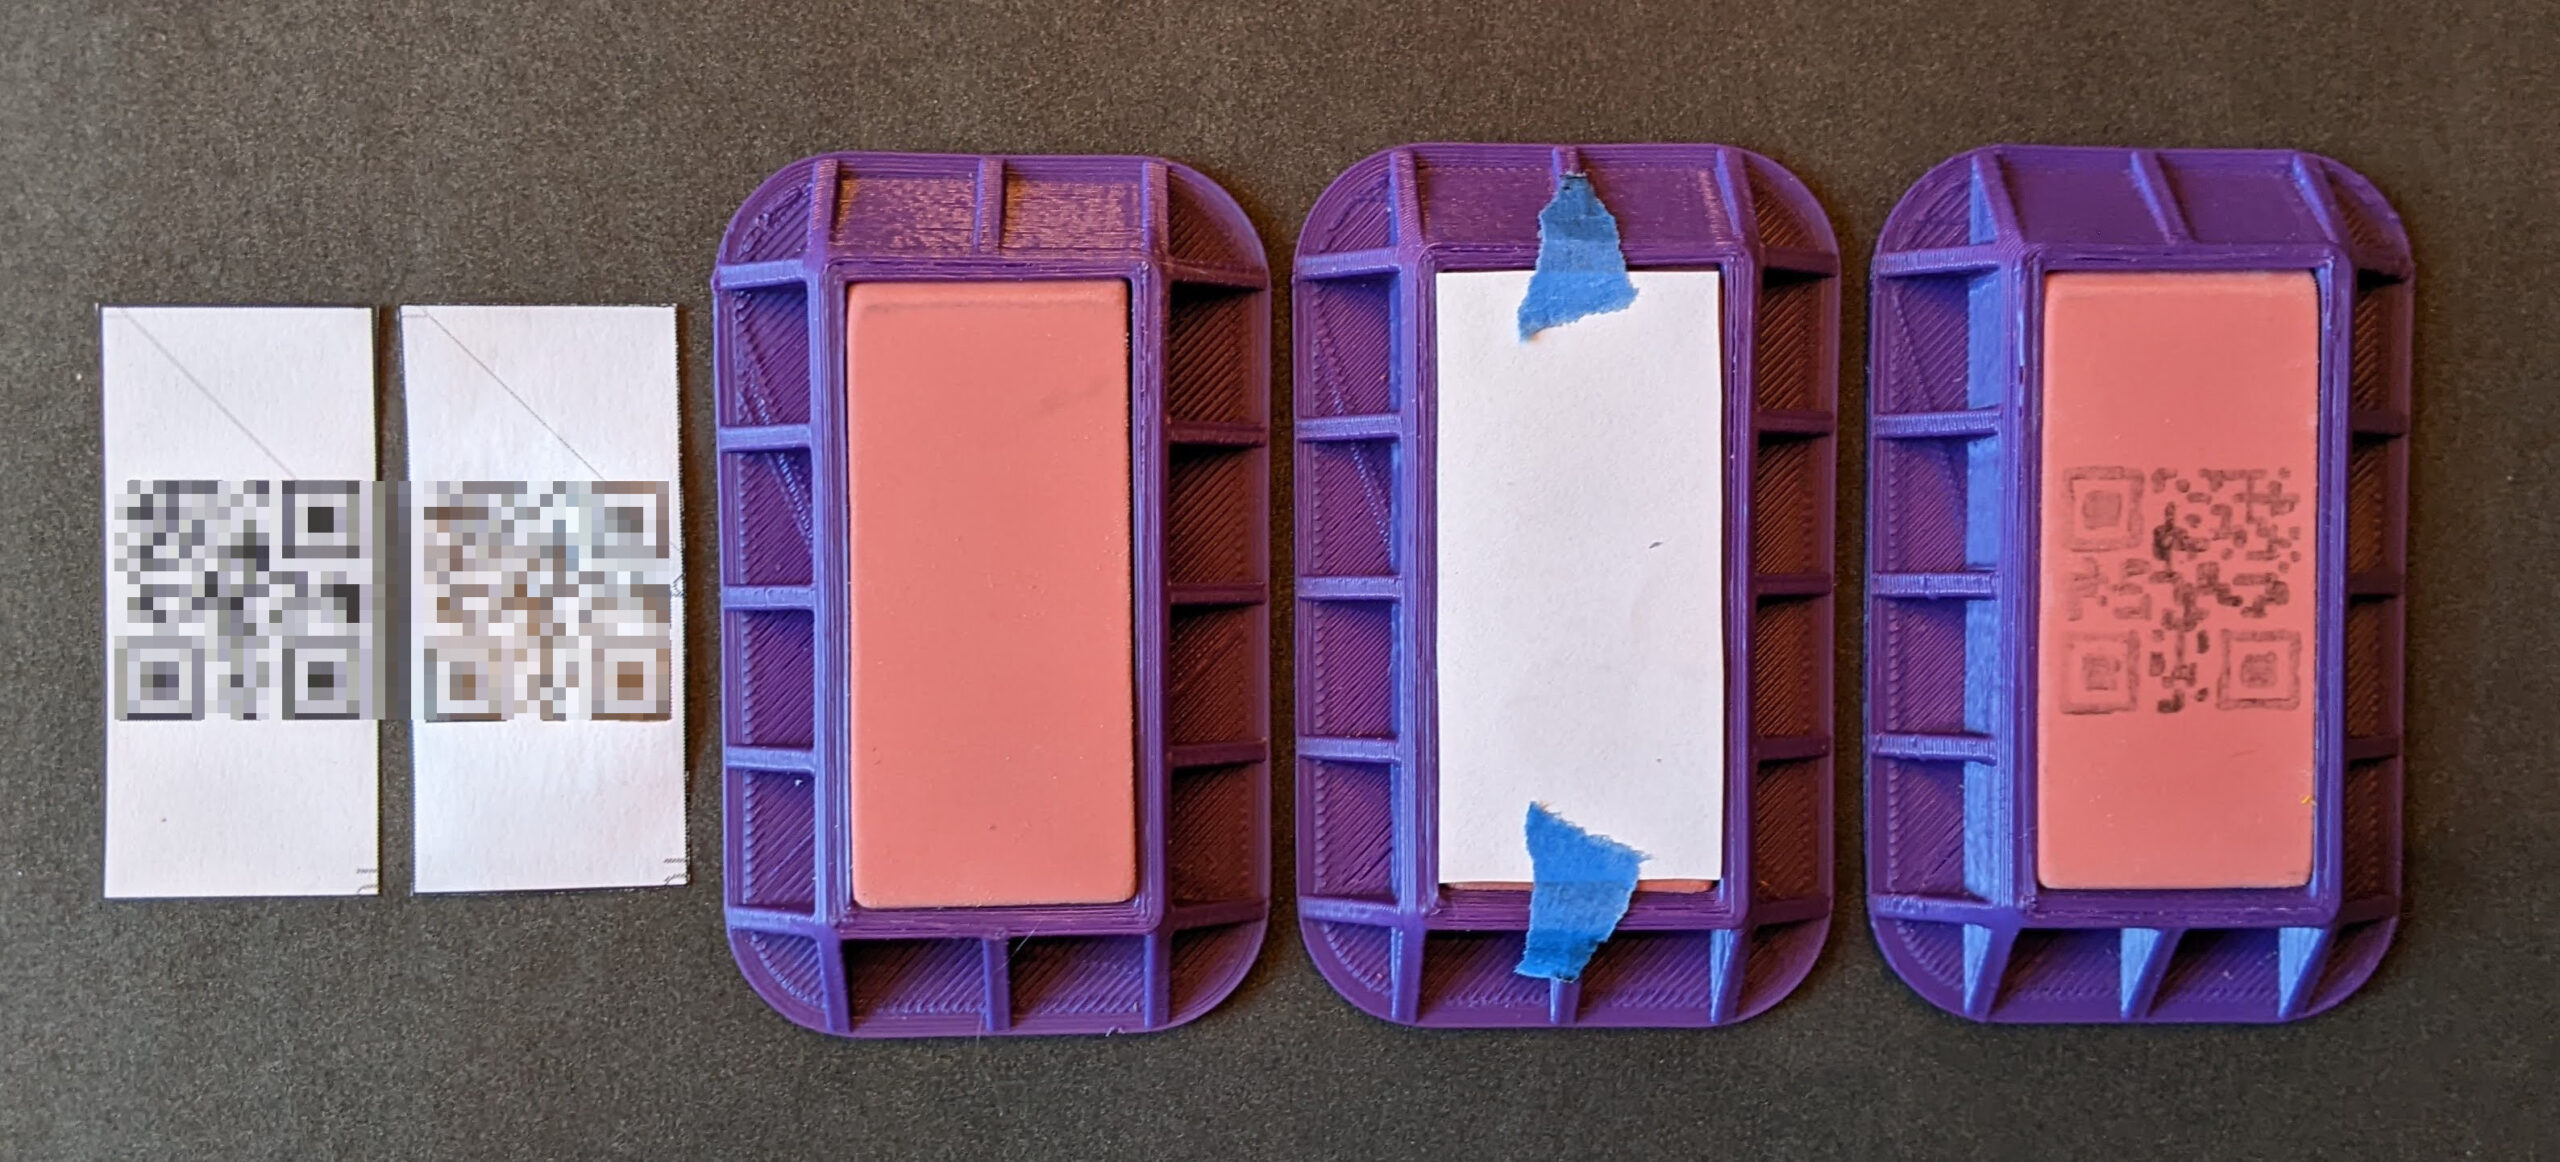
- Printing the design in one of my templates, trimmed, colored in with a pencil, taped in place, then rubbed onto the eraser to transfer the design.
- This didn’t really work very well since the pencil trace to rubbing process introduces a lot of error. I tested this by trying to scan the reversed drawing on the eraser. Didn’t work at all.
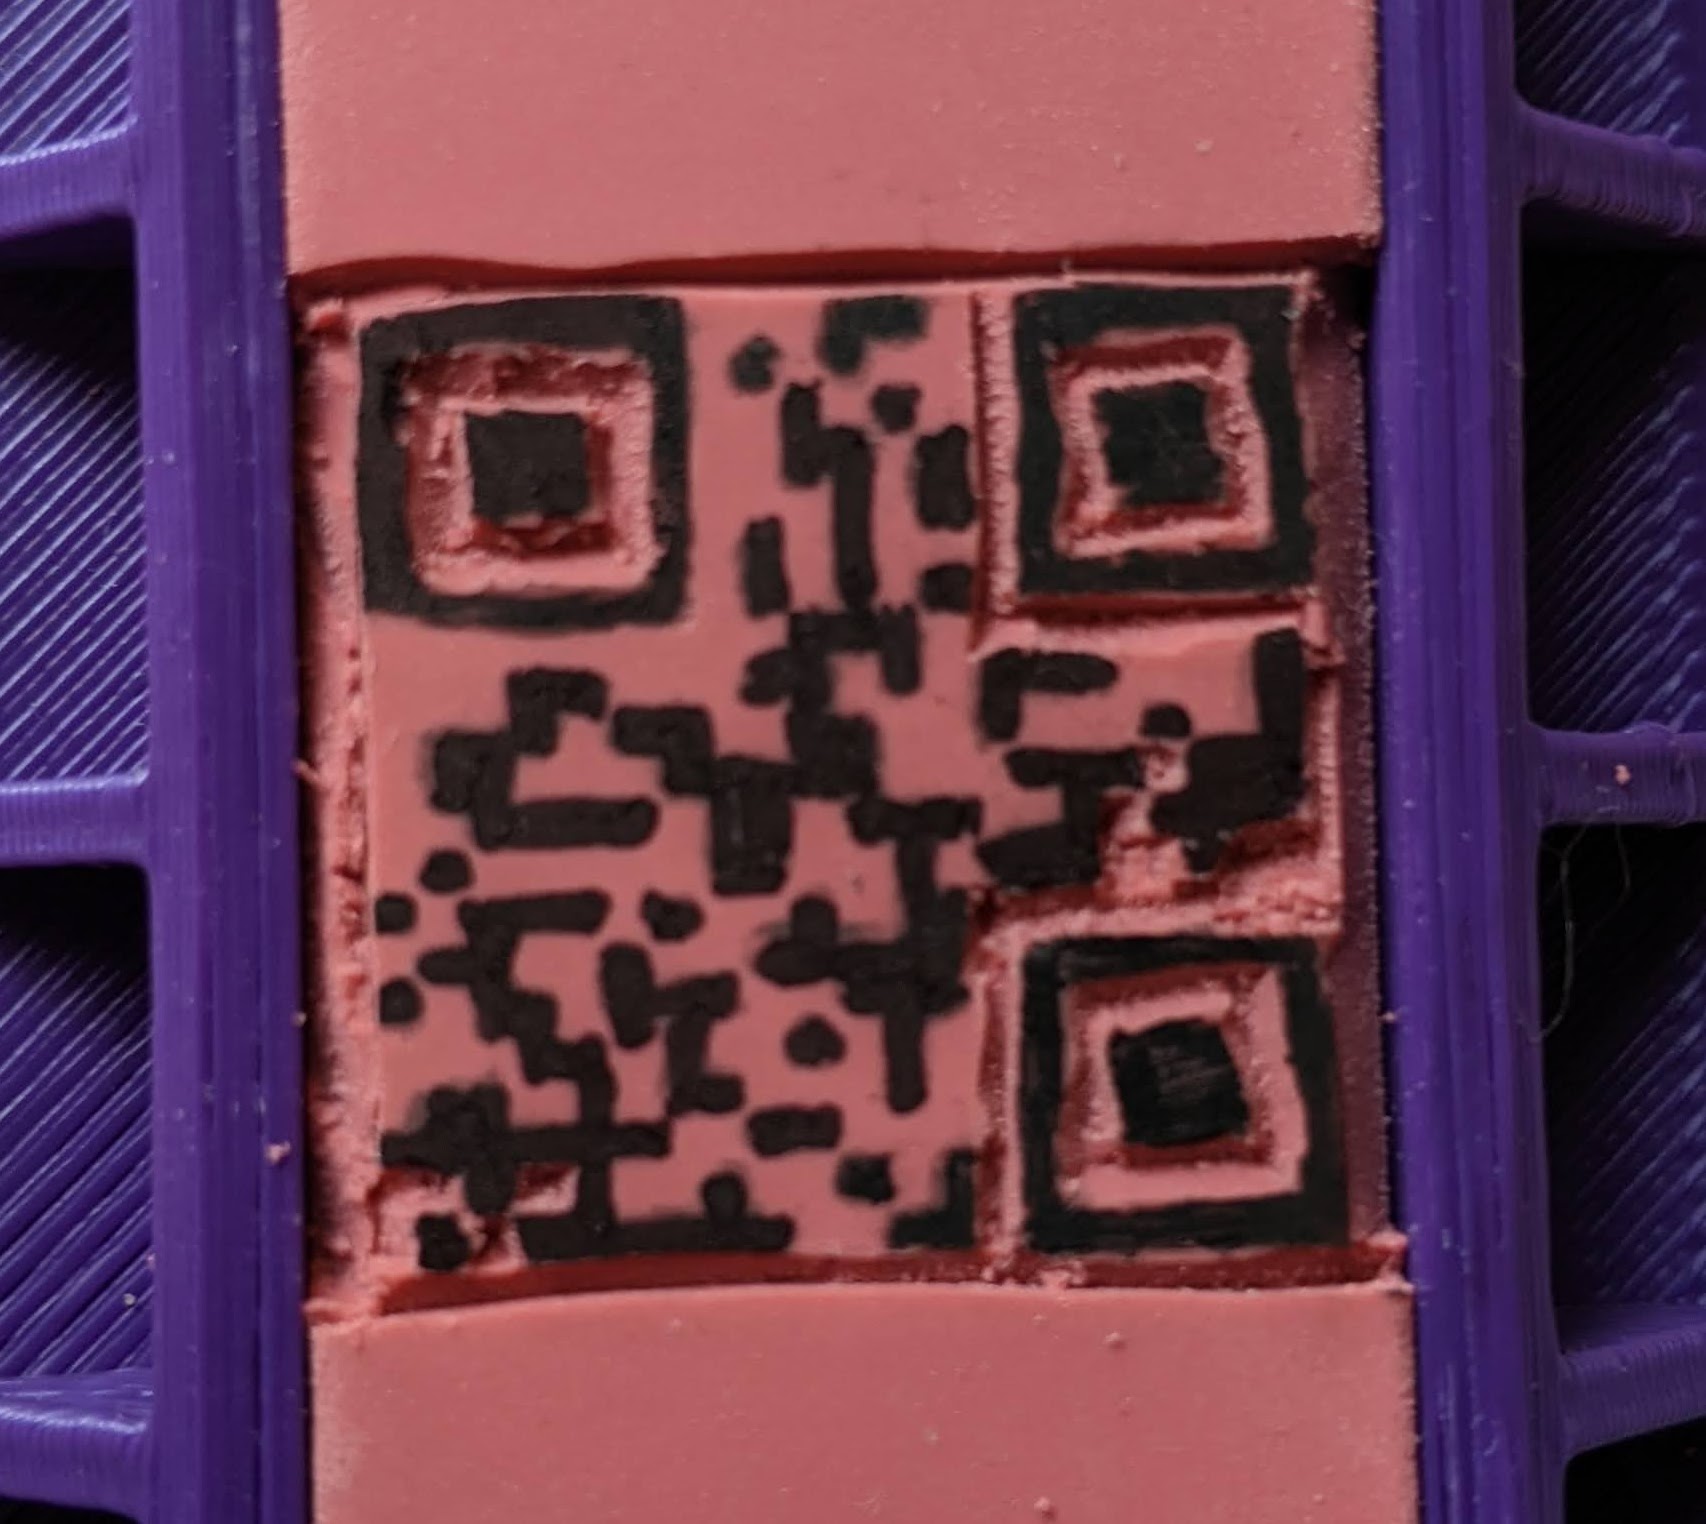
- The 1mm wide pixels would have been a nightmare to cut with even the smallest carving blade, so I switched to my craft blade. The blade is so sharp and incisions so thin, that many times it was difficult to see where or whether I had made a cut. Once I switched from a vertical cut to a 45 degree angle, it seemed to get a little bit easier and cleaner.
- After I was about a quarter done I tried using a fine tip sharpie to color in the pixels. After a lot of hassle, I could get this to scan, so I kept going.
- The darkened pattern was still a bit messy and my cutting wasn’t significantly better.
- I flipped the eraser over and tried a new tactic. I taped a template to the eraser and tried to cut the design through the paper. This didn’t work well because when I cut very small pixels out of the design, the paper quickly lost cohesion and then became useless.
- Finally I pulled up a large picture of the QR code on my laptop and tried to keep to the design as best I could. It wasn’t pretty – but I was done.
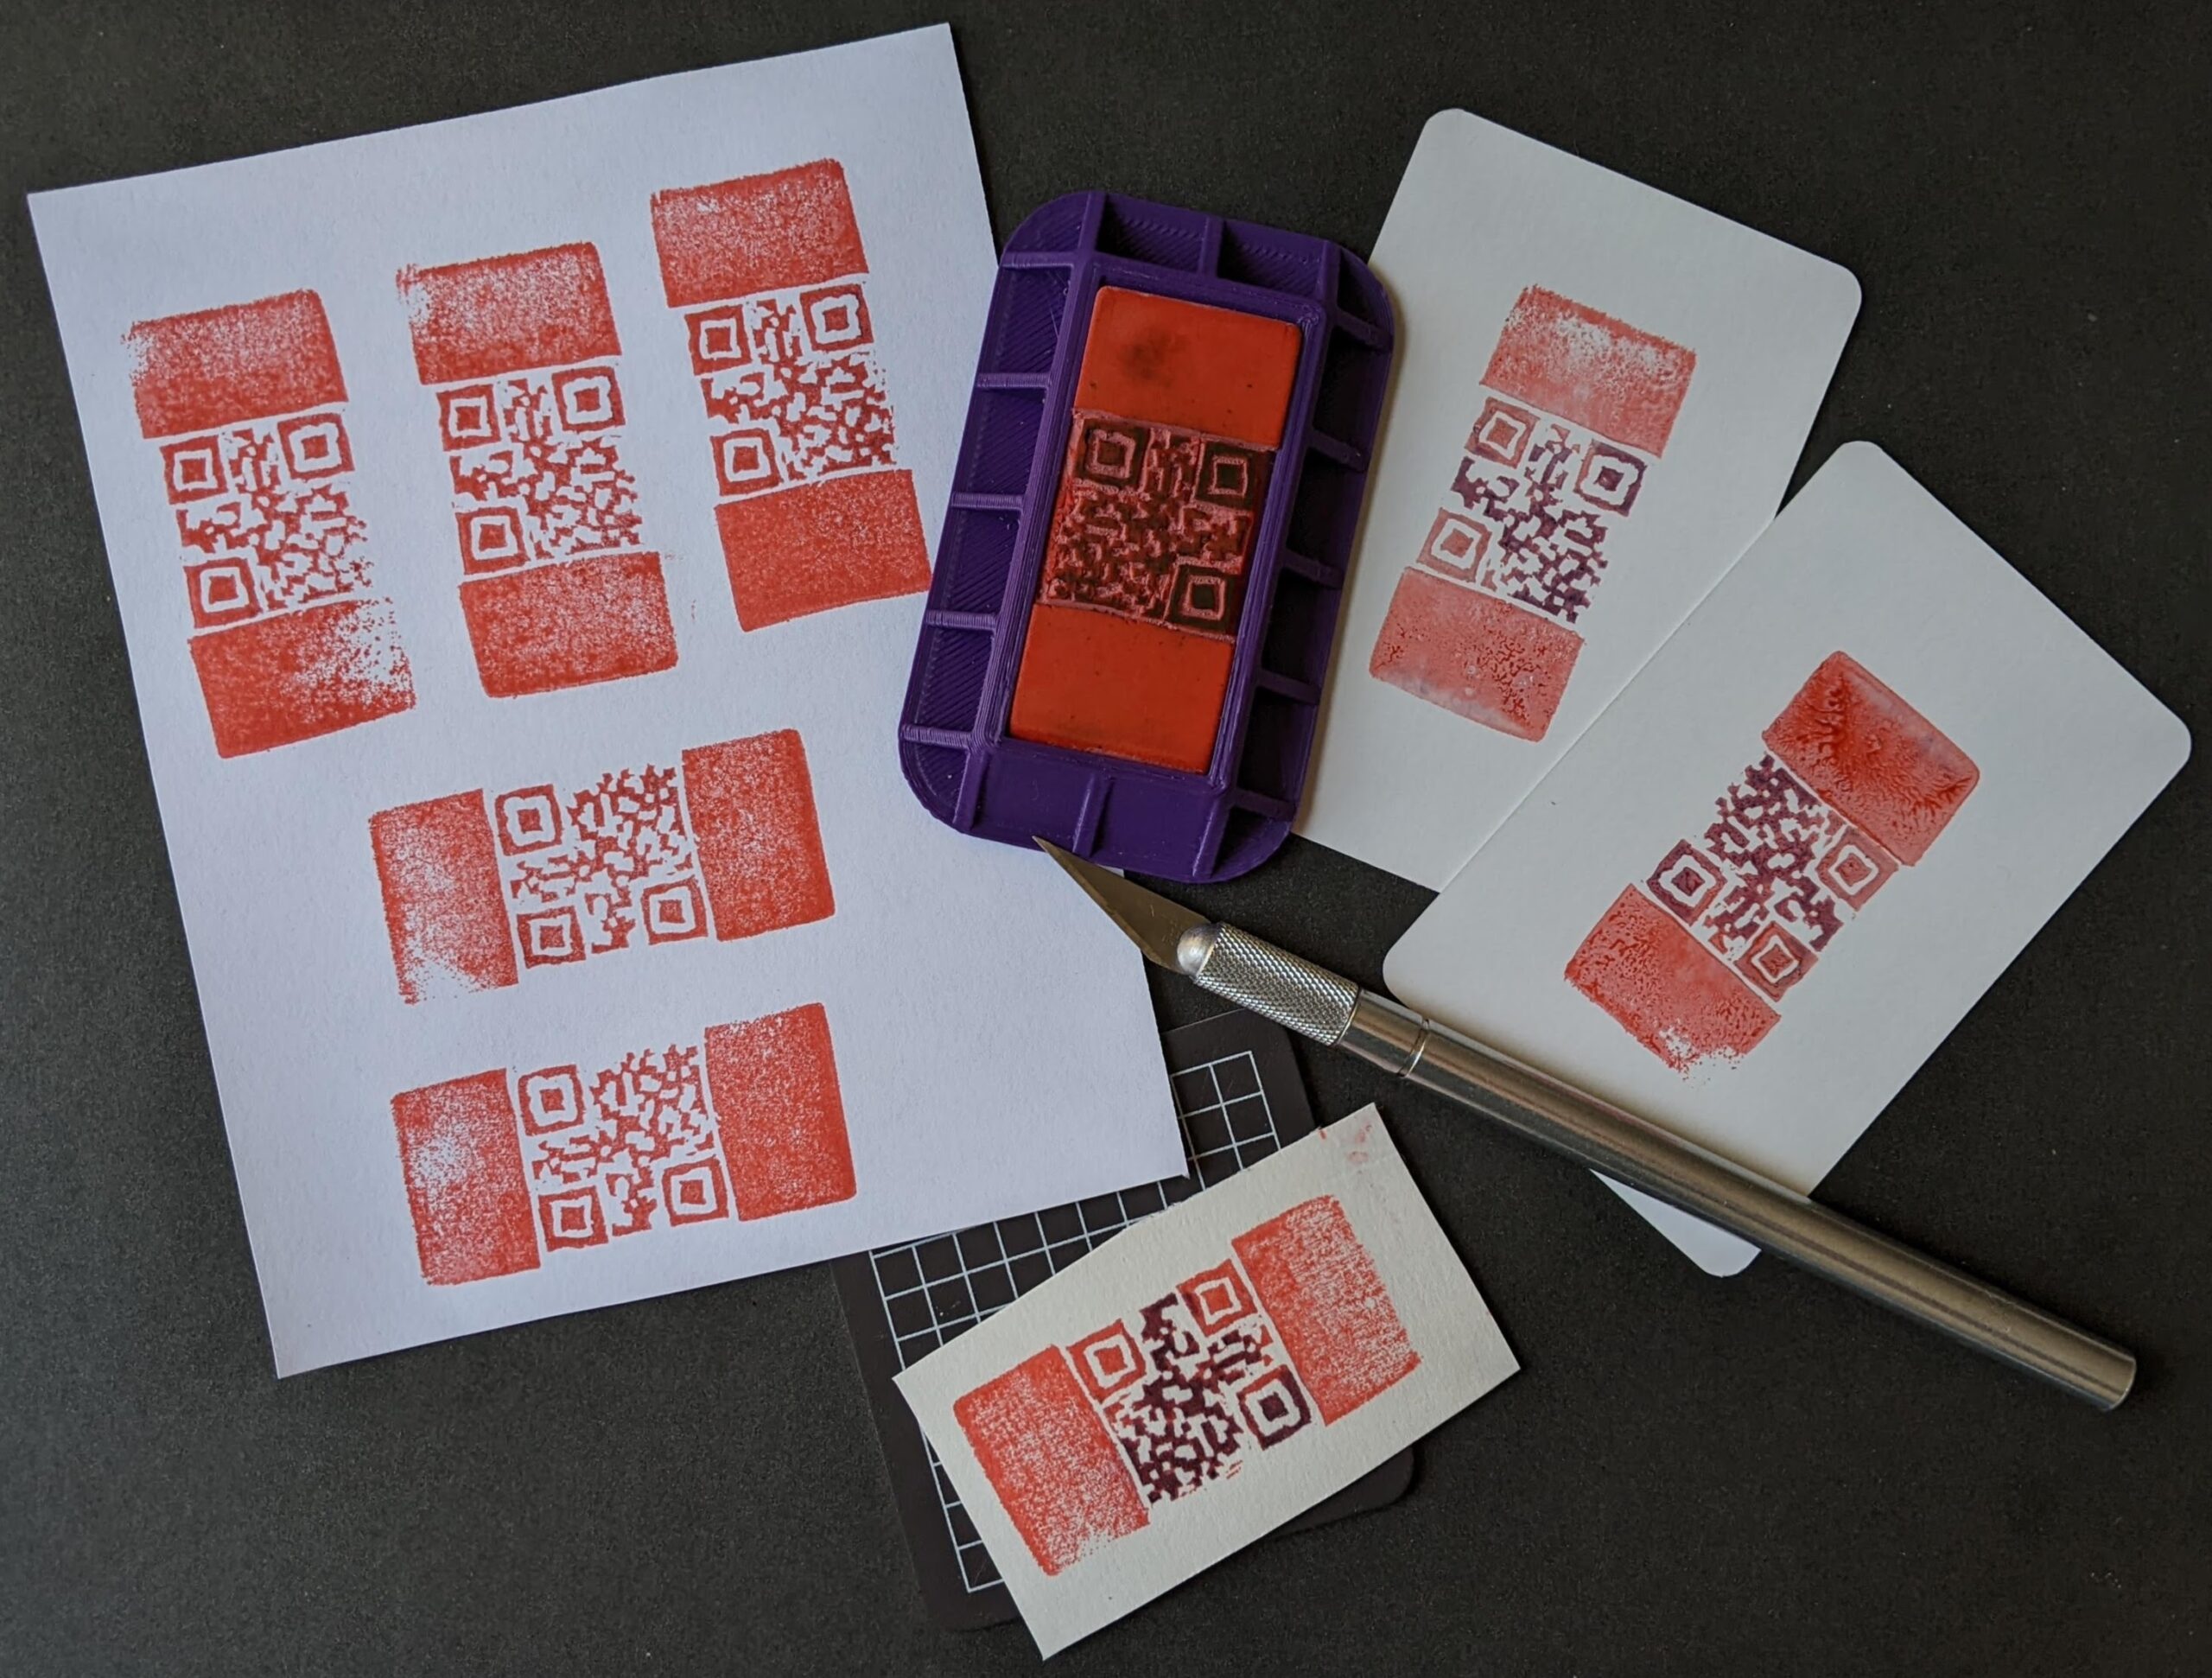
The results were less than stellar. The leftover ink from the sharpie discolored the inkpad a little and got transferred onto the first few stamp impressions. Out of a dozen different impressions, only one could be scanned by my phone.
If I tried this again (and, let’s be honest, I probably will) I would use the template / pencil transfer method just to place “landmarks” and then refer back to the large display on the laptop.
Lastly, I was able to get just one impression that could be scanned:
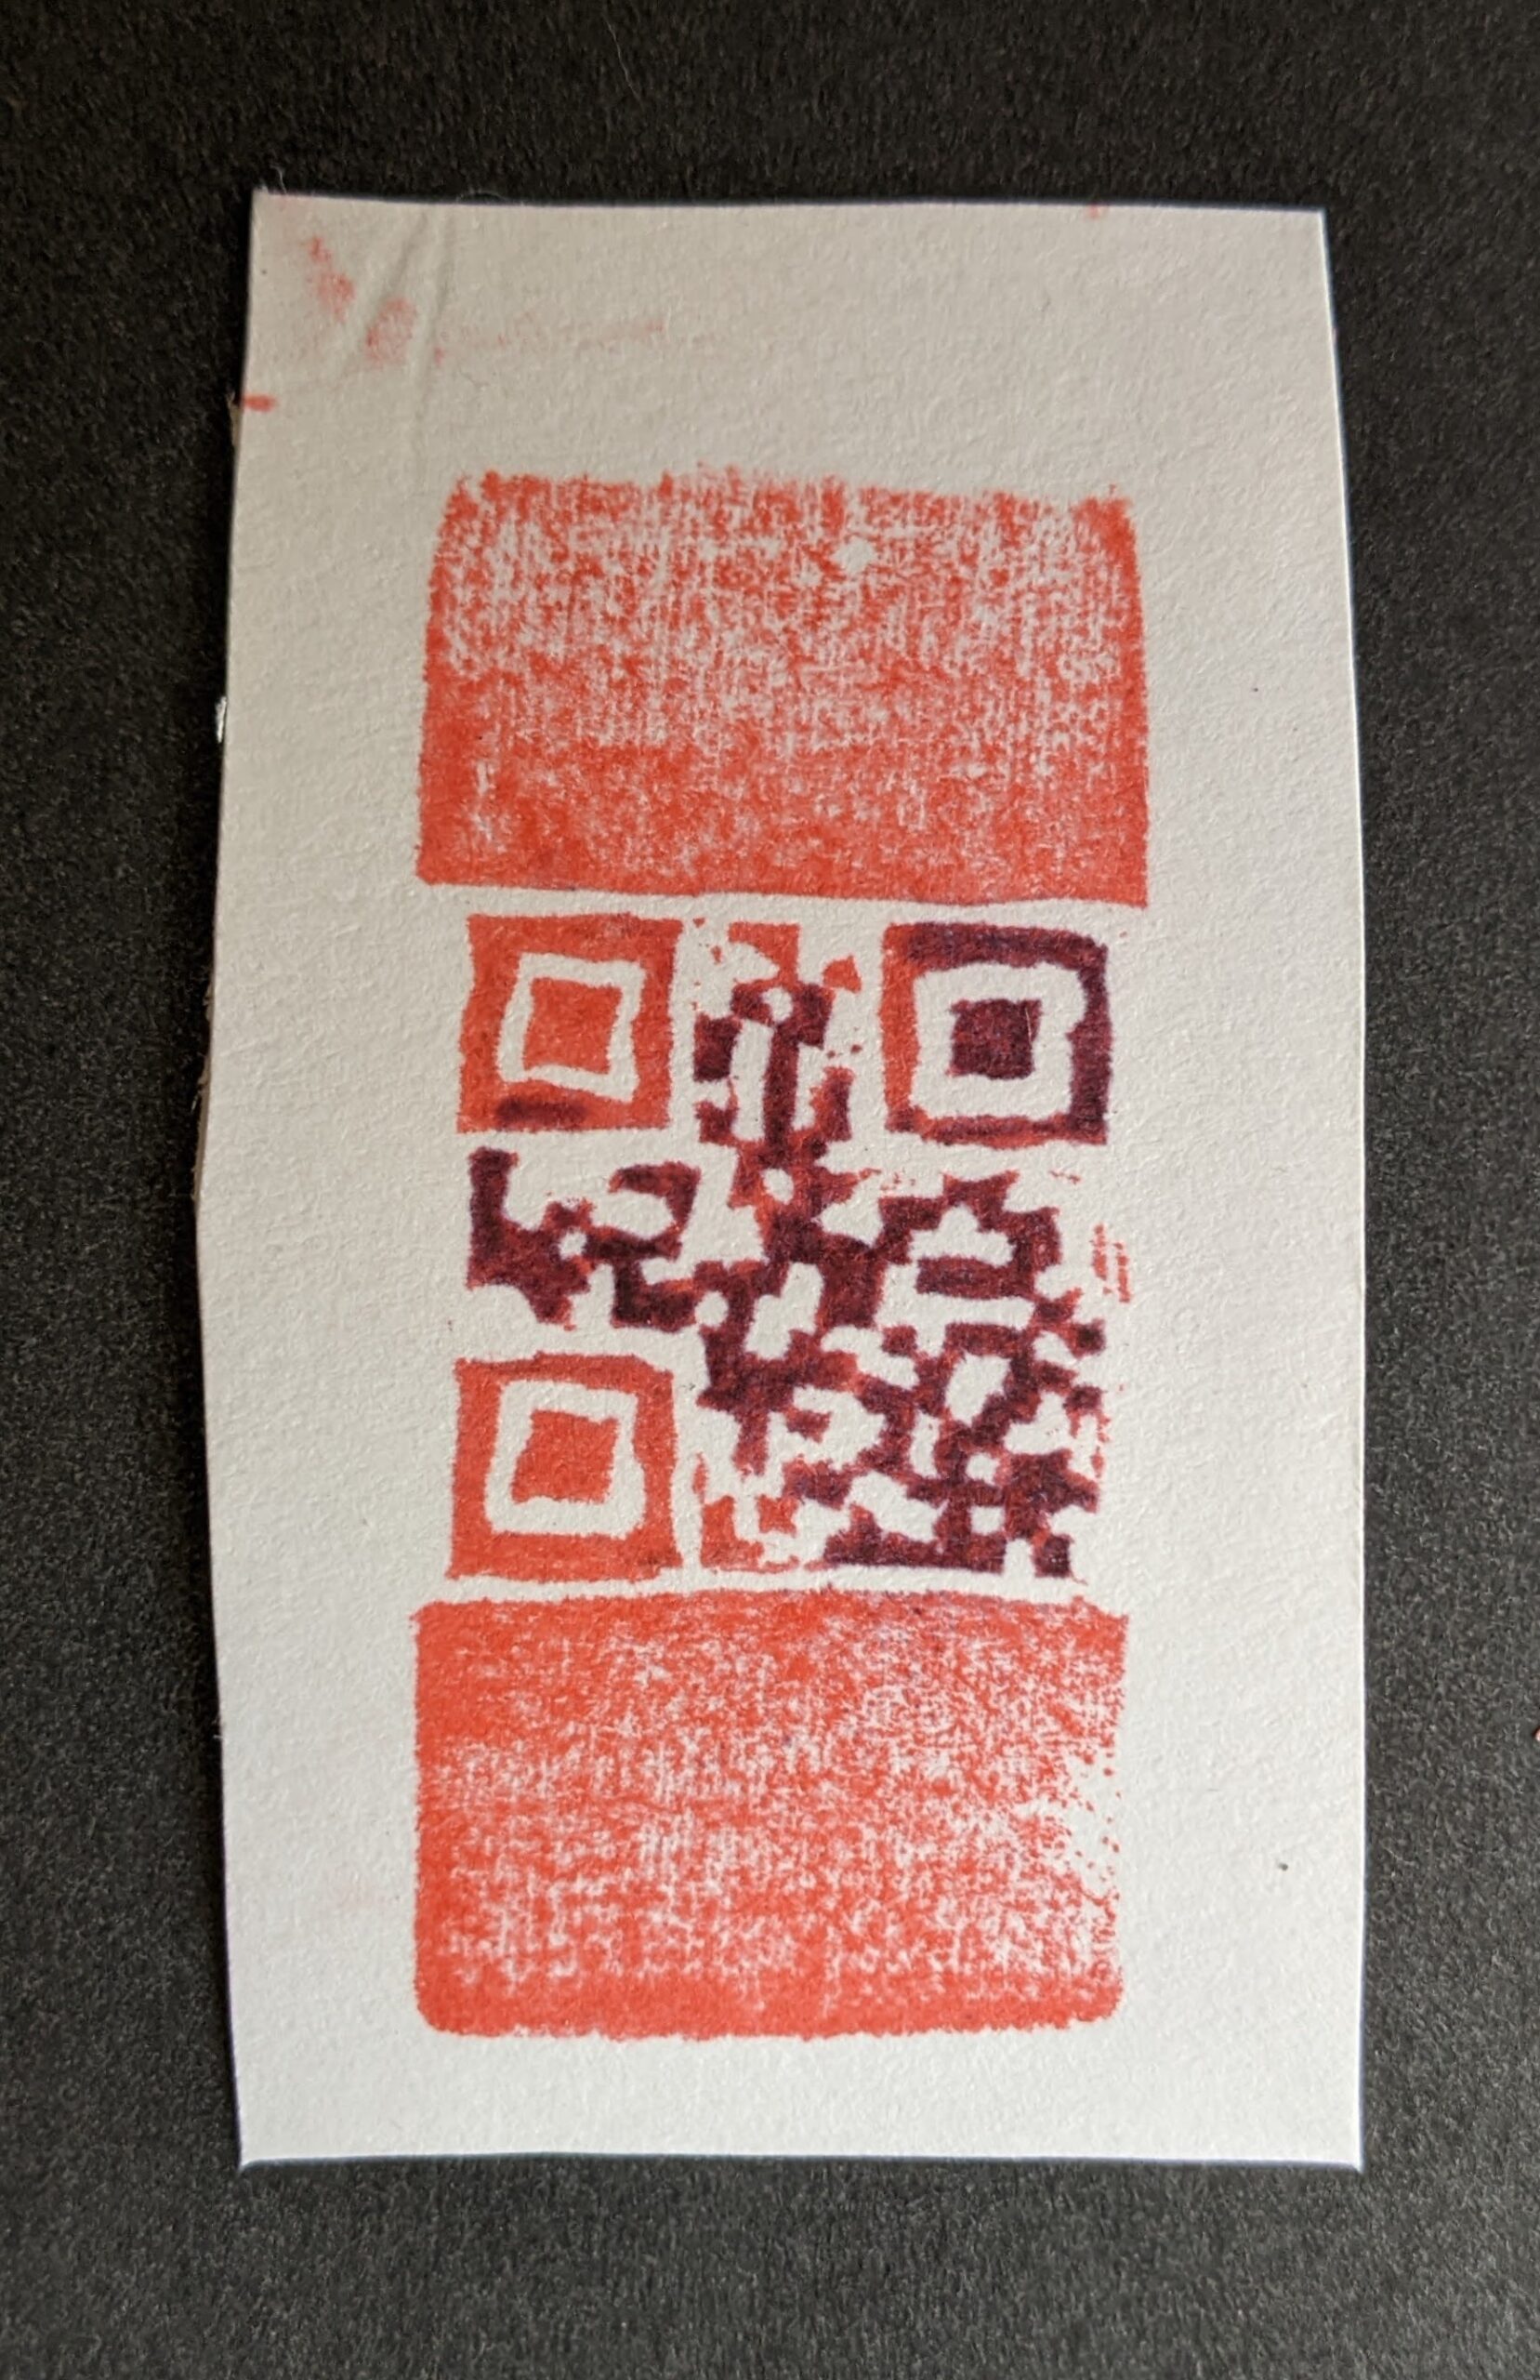
The reason the bit of paper is a little oddly shaped is that I had stamped onto a piece of scrap cardstock. I’d stamped on other pieces of paper, cards, and even on that same piece of cardstock. This was the one time it worked.
Eraser Stamp Carving