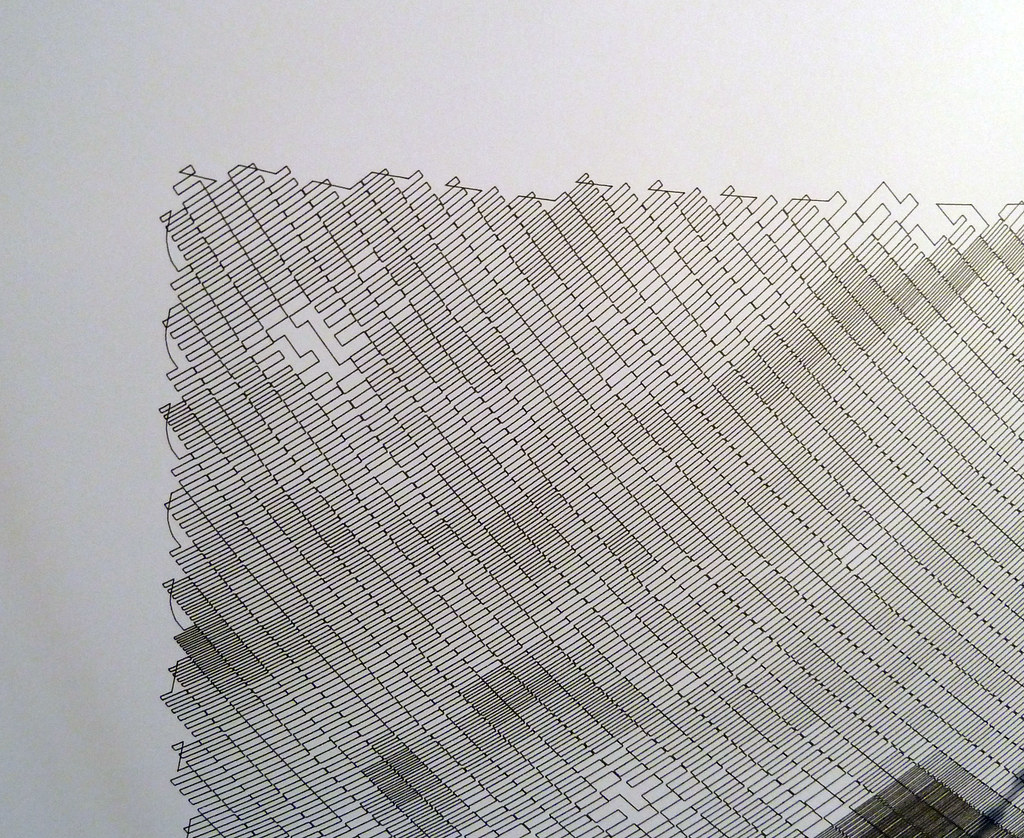
I’ve given a lot of thought to how I can improve my DrawBot setup now that I have a Polargraph brain on the way. 1
- Print a nice 3D printed plastic case for my DrawBot brain
- The 3D printed plastic case I have for my current DrawBot doesn’t fit very well2 and doesn’t look awesome as it is literally duct taped to the plywood. An awesome new brain upgrade deserves a sweet new plastic case. I might customize Sandy’s design by adding some dual-extruded black/white hotness to it.
- Putty, sand, prime, and paint my big chunk of plywood so it is presentable
- Though, really, since I would just paint the wood white anyhow, I’ll most likely just prime the wood twice and call it a day.
- Reconsider beaded cord versus fishing line
- I’ve been using fishing line for my DrawBot, but many others including Sandy use beaded cord.
- Fishing line. Fishing line is great when you enjoy the process of drawing as much as the drawing itself. From more than a foot or two away the pen holder looks like it is just floating in space. It is also cheap and pretty easy to manage with just a spool attached to the stepper motor. The biggest downside is that since it is wound around a spool a full turn of the spool when it is full of fishing line will let out more line than when there is little fishing line left on the spool. Every time fishing line is pulled in, it adds very slightly to the diameter of the spool and will skew the drawing. There are a few ways to compensate for this. You could enter the diameter of just the spool, spool full of fishing line, or spool half-full of fishing line. Each different usage will basically skew the drawing slightly differently. Another, more complex, alternative is to try to compensate for the extra diameter caused by the fishing line by fiddling with the code itself to consider a different spool diameter depending upon how much fishing line has been reeled in or out. Since this is way beyond my current Arduino programming capabilities, I’m just leaving it here as food for thought.
- Beaded cord. Beaded cord is also fairly cheap, and certainly way cheaper than using a toothed belt. Since a beaded cord with matching sprocket does not accumulate on the sprocket, you have to figure out some way to manage the beaded cord – even if it just to let it hang off the side of the robot. With a kid and a cat, long loose lengths of cord might be problematic. Now that my daughter is older, this is less of a consideration. Lastly, the beaded cord will allow you to consistently draw images without having to worry about the spool-fishing line-variable diameter problem.
- As I’ve been thinking about exhibit a drawing robot at the upcoming Bay Area Maker Faire in May
- Design, print, and attach a mount for a large roll of paper
- Ideally, when I’m done with a print job I can pull the paper across the print surface, tear off the finished drawing, and have a fresh new piece of paper ready to go without having to spend a lot of time re-aligning and re-mounting paper.
- While it would be super cool to have the roll of paper motorized, I have no delusions that I’m going to do this.
- Design, print, and use a new gondola, complete with servo powered pen-lift
- Although I have the servo ready to connect to my existing DrawBot, I never did this. My favorite looking drawing robot drawing techniques were all TSP single line art or single-line-shading, so there was never a need for a pen lift or servo. I basically never invested the time to improve my gondola to do much more than create reliable drawings. As it is the gondola is weighed down by a piece of wire poked through a ziplock baggie with half a dozen old batteries inside. I like this solution because it is essentially re-using old batteries as small modular weights of consistent mass. But, there are so many better ways to use old batteries as weights without it being ugly. Plus, with a servo enabled gondola, I’ll be able to explore the world of vector drawings. I should probably just create a Polargraph style gondola and call it a day, since Sandy has logged more hours with a drawing robot than anyone else I’ve heard of.
- Route wires in a pleasing manner
- As you might have figured out by now, my current DrawBot set up is hacky and ugly. I’d like to have my DrawBot set up so that it looks nice and not a tangle of wires leaning against the wall.
- Photo courtesy of Sandy Noble [↩]
- I can only blame the designer – me [↩]
