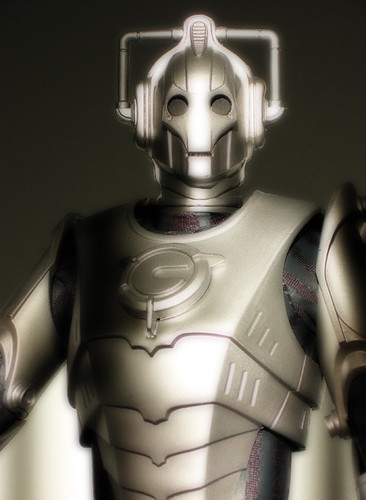
MakerBot just released the photostream and wiki instructions for the Plastruder MK5. 1 This looks like a total overhaul of their original designs. 2
It is based on Charles Pax’s Paxtruder which has such a small form factor that it is possible to squeeze two extruder heads into one Makerbot. The Paxtruder also uses a delrin plunger which is used to push the filament against the extruder pulley, rather than the previous idler wheel design. I like the delrin plunger idea since it would be a lot easier to adjust tension and remove/insert filament. The idler wheel held in by a large bolt and nut works… but is finicky and sometimes prone to fussiness.
Out are the big/small/weird and whimsical dinos in favor of lasercut acrylic “arches.” There may be a benefit to the arches over the dinos, but I’m not sure what it would be.
The entire heater element and extruder head has been redesigned as well. I don’t recall seeing any published designs which reference this new system. We’ve all seen power resistors in use in RepRap/MakerBot projects – but they’ve usually been relegated to heated build platform designs. Now a pair are being used as the full heating element in place of tempermental3 nichrome wire. The problem with the old nichrome wire wrapped around the barrel system is that if you need to rebuild the heater, you’ve got to toss out the old nichrome since the insulation is going to get peeled off as soon as you pull it off the barrel.
The new MK5 system uses a PTFE sleeve to feed the filament down into the heater. Interestingly, the PTFE sleeve is encased in a snug metal tube which should prevent any bulging problems.
My understanding of the instructions is that the MK5 is far less prone to failure than the previous MK4 model Plastruder. I’ll grant the Plastruder is easily the most4 challenging component of the Makerbot to get working.
The instructions also hint at Generation 4 electronics. Right now I’m rockin’ the Gen 3 which have served me quite well. I wonder what the Gen 4 has in store? One thing I have to really like about the electronics is that I know they’ll never really be obsolete. 5 If I wanted to upgrade to Gen 4, I can always print off a Mini-Mendel or Mendel, and swap in the new electronics.
However, if this new system is as resilient as the instructions describe, I’m on board. I’m probably not going to have a good excuse to test out this new Plastruder design for a while since my Plastruder has been behaving itself since the last time I rebuilt my Plastruder and I just scored some spare MK4 parts. 6
- Photo courtesy of Johnson Cameraface [↩]
- A close tie for the photo was “Number 5 is alive!” a la Johnny 5 from Short Circuit. I’m just too much of a Doctor Who fanboy to NOT use an “You will be upgraded” joke. [↩]
- Pun intended!!! [↩]
- Dang. I’ve already used temperamental, finicky, and fussy… Where’s my thesaurus? Oh, that’s right – he’s out EATING Tony Buser’s Laser Dinosaur! [↩]
- Bite me Cybermen! [↩]
- Thanks again guys! [↩]

Just for reference, nophead uses power resistors, and has done for more than a year, in his extruder. I’m not sure if you meant that you’ve seen no such designs, or that they’re in the minority, but either way, its out there now.
Sorry, not to imply that its bad that MakerBot is wrong to use it, just so you know that there is a precedent and that the design works well.
@Sum Guy: Doh! I’m sorry! Good catch! I thought nophead had only used the power resisters for the heated build platform. If he used them for the heater for his extruder, then I’m wrong. :) Thanks for the correction!
No problem :)
the switch from dinos to arches is the result (it appears to me) of changing where the support attaches. Before the hot end would attach(with bolts) to the edges of the layers of acrylic, whereas now the layers of acrylic sit on top of another and that is what the arches attach to. Since having 2 points of attachment is better than 1, the dinos were made taller to attach at the corners. In the MK3 there was one short and one tall dino. THis also allowed the bolts attaching the dinos to the plastruder to line up with the bolt holes for the extruder controller board. Now they seem to have moved the board off the plastruder entirely.