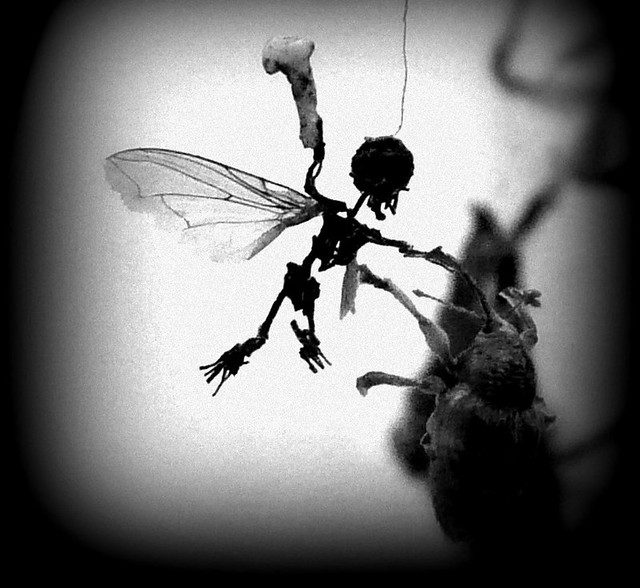
This last weekend my daughter and I tried making some small objects using paper mache from shredded paper.1 Here’s what we did:
- Soaked 3 gallons of shredded paper in 1 gallon of water in a 5 gallon bucket for a week in a warm garage
- Each day I stirred the mixture a little – to see if the paper was absorbing the water and disintegrating
- We scooped the paper pulp out of the bucket, squeezed the water out, put the pulp into another bucket and added a liberal amount of glue – and then kneaded the glue into the pulp
- We then formed the gluey pulp into simple shapes – and left them to dry
After four days, the sculptures (a fairy sized bed, bathtub, table, two chairs, and a footstool) are mostly dried. They all have a grayish brown look with a rough texture – as if they were carved badly from hard rock. It was difficult to mold the gluey paper pulp into shapes – and it didn’t want to keep complex forms. Nonetheless, for their intended purpose – fairy sized furniture and fixtures – I think they look really nice. Once they’re fully dry, we’ll sand and paint them with some acrylic paints (which will also help seal them up).
If they come out well or if there is enough interest, I’ll put together a tutorial on how to do this all yourself. But, in case you’re interested already, the process is pretty simple and there’s not much more than what I’ve described above and in the prior post.
Default Series Title- Photo courtesy of Esther Simpson [↩]
