Stopping for now

The body of the MakerBot is complete, rods in, X and Y stages in, pulleys and belts on, motors bolted on.  No opto-ends stops yet for obvious reasons.  The opto-endstops also require popsicle sticks.

On to the plastruder.  I put together the Weird Dino and the Tall Dino, but the idler pulley requires super glue.  I don’t happen to have any lying around, so I’ll need to go out to the hardware store.  But, this is as good a spot to stop as any.

I originally intended to document each step – but the directions on the MakerBot wiki are so good that there’s just no need.  So, the pictures you’re going to see are going to basically jump from a bunch of spraypainted wood giant chunks of the robot already bolted together.

The build process, much of what consists of fitting pieces together and using the MakerBot “t-slot” semi-captive nut method, is very intuitive, relatively easy, and extremely gratifying.  Sometimes its a little bit of effort to get that nut in the notch properly, but it was never that bad.

Building a robot that builds things

Once the painted parts were dry, I couldn’t resist getting started bolting the thing together.  Putting the parts together is pretty fun – it goes quickly and all the parts fit together very well.  In fact, it went so quickly that I didn’t get pictures of each step as I was originally planning.  Oh well, I guess you’ll just have to build one for yourself.  ;)

Behold!  A robot being born!

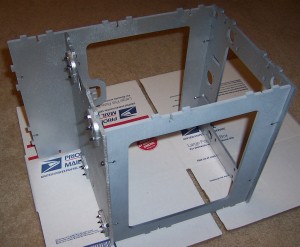
Front, middle, back, and Z-axis brackets bolted on

Front, middle, back, and Z-axis brackets bolted on

And now…

The top

The top

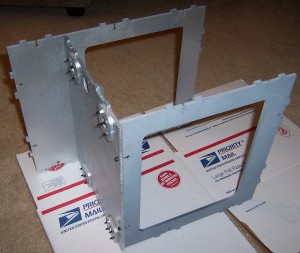
Here the body panels are mostly all put together.  You’ll notice I opted to install the Z-axis threaded rods after assembling the body.

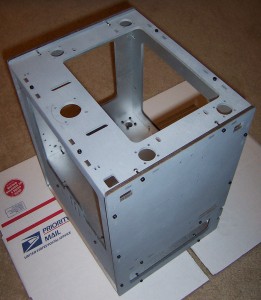
Sides, top, bottom all bolted together

Sides, top, bottom all bolted together

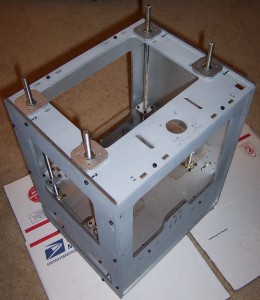
The new system is really huge improvement over the prior.  Before you had to get all of the Z-axis rods identically assembled and installed.  Now I just had to set them up, drop them in, make sure the top of the topmost pulley on each rod was just below the level of the top panel.  Any higher and it would have interfered with the smooth rotation of that axis.

Z-axis installed

Z-axis installed

The Z-stage is also a huge improvement over prior designs.  Since the new brackets are “U” shaped, you can remove the entire stage without having to unbolt the entire assembly.  It’s also possible to adjust one or more rods individually by lifting the stage on that side slightly and rotating the hex nut as required.

I feel smarter just having seen these designs in action.

Things I learned while painting my MakerBot

Painted my MakerBot lasercut wood parts (and plastic pulleys!) today.  Here’s what I learned:

  • Spray paint cans work better when they’re not pointed downwards, so it helps to angle/elevate one part of the painting surface. 1
  • Too much ventilation or cross ventilation will let debris fly into the room.
  • Position the things to be painted close together, it will help you paint faster and will waste less paint.
  • Use primer and buy two cans.  Although, had I positioned the pieces more effectively I may not have needed the second can.  Then again, I think it probably would have worked better to put even more primer than I did.
  • I wiped the edges of some of the smaller parts, but not all of them.  The end result is that some paint wiped off as it had adhered to the ash from the lasercutter.  I think I like this effect as it made the parts look a little worn, but you may not.
  • If you’re painting your MakerBot, don’t forget to consider painting the pulleys!
  • Sand down any stray plastic parts off of the printed pulleys before you paint them.  I didn’t realize the clearance on the small pulley was so low, and I had to sand the painted finish to get it to fit properly.
  • Make sure no parts accidentally shift and overlap before you start painting.  It won’t be a big deal, but it’s a little extra unnecessary work to paint it.
  • If you’re spraypainting different colors, cover other parts while you paint a new color.  A fine mist will be deposited on those other parts.  I like the effect, but it may not work for you.
  • Keep in mind that if you are using a primer and then a coat of paint some of the parts won’t fit as well (or may fit better!) when you go to assemble the robot.  I found it necessary to sand away nearly all of the paint on a few body panel tabs.  I also needed to sand away the pain that got on the inside of the round X and Y axis mount holes.
  • If you’re painting the “MakerBot Industries” logo on the front a different color than the surrounding body, you probably want to do it at this stage.  I didn’t even think about it until I started assembling the body.  It won’t be a problem to paint it by hand later, but I could have done this all at once.
  1. I guess this is why you see graffiti on walls, not floors. []

Here we go!

Laying out cardboard on the garage floor.
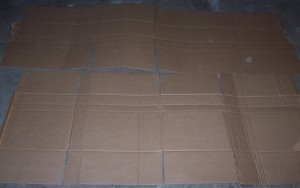
Spreading out cardboard boxes

Spreading out cardboard boxes

Interweaving layers of cardboard using their flaps.
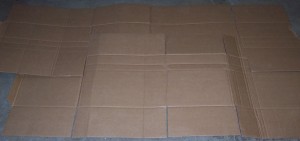
Interweaving layers of cardboard

Interweaving layers of cardboard

Duct tape layers together, taped shallow sides, duct tape over holes in layers.
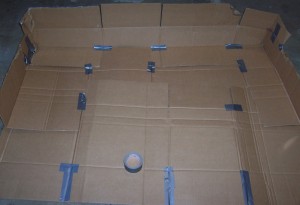
Taping up cardboard sheets

Taping up cardboard sheets

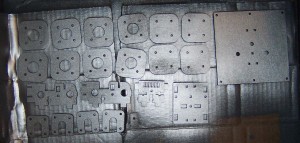
All the wood parts laid out together.  This is just so you can see all the wooden parts at once – they probably wouldn’t paint very evenly this way.  Plus, since I’m painting different parts different colors, I needed to separate them out.
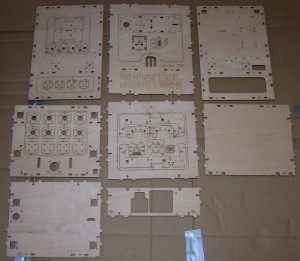
All the wooden bits

All the wooden bits

The supplies I picked up from the hardware store.  Super fine sandpaper, metallic spraypaint, medium gray primer, light gray spraypaint, masks, and duct tape. 1
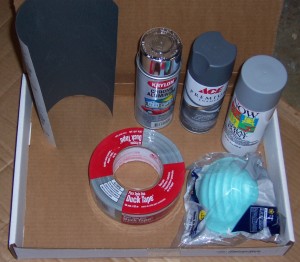
Supplies

Supplies

Well, I just started spraypainting parts!  Now it’s too late to turn back!

Medium gray primer:
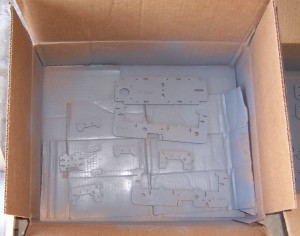
X-platform parts
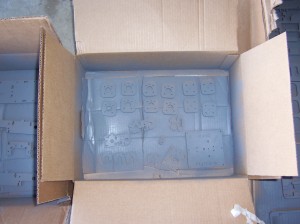
X-platform parts

Y-platform parts and other bits
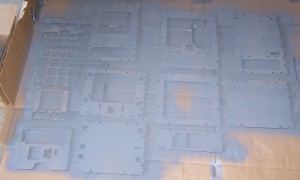
Y-platform parts and other bits

Robot body parts everywhere - the horror!

Robot body parts everywhere - the horror!

I couldn’t resist painting the printed pulleys too. There was a lot of interesting variation between the four pulleys. I could also see how one person’s MakerBot had probably been more finely tuned, how another person used a version of the pulleys with fewer facets. The smaller pulley had a little bit of plastic on top of the pulley. I didn’t think anything of it at the time I was painting. However, as it turns out that plastic nub later prevented the pulley from rotating on the Y-stage, so I had to sand it off – ruining the paint job. Once I’ve got the ‘bot printing happily I’ll go back and touch it up.

Printed pulleys - as they were meant to be

Printed pulleys - as they were meant to be seen

Once the primer had dried, I started spraypainting the parts the colors I wanted them to be.
My eyes!  They burn!  These goggles do nothing!

My eyes! They burn! The goggles do nothing!
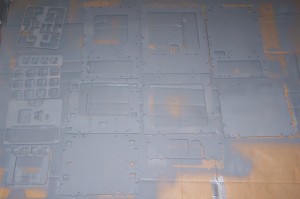
Painted body parts

Painted body parts

You may notice that I was also painting the leftover parts from which the smaller parts had been punched out.  I did this so I could test the effect of the primer and layers of color.  Without the primer the wood soaked up a lot of the paint, hence the need for the primer.

While painting with the metallic paint a sparse fine mist covered the other parts as well.  I found I really liked the effect of very tiny sliver specks over the flat gray.  If this is something you’re looking to avoid I’d recommend not only spraypainting farther apart, but also covering the other parts you don’t want affected.

  1. I already have duct tape, but it never hurts to have more… []

Sanding

This part is probably unnecessary.  I’m not sanding down the surface of the wood parts because it is so thin the veneer would probably come right off.

However, there are some small tabs throughout the pieces where they were once attached to larger parts.  I’d rather do it now than after painting and then have to paint the sanded parts over again.

Preparing to paint

Here’s what I did to get ready to paint:

  • Gathered a lot of cardboard boxes, opened up and laid flat
  • Taped said cardboard into large overlapped sheets, taped up any holes
  • Bought primer, dark gray
  • Opened the garage for ventilation
  • Changed into clothes I didn’t mind getting dirty
  • Looked carefully at the various diagrams to make sure I’m going to paint certain parts the colors I want

Printed Pulleys Assembled!

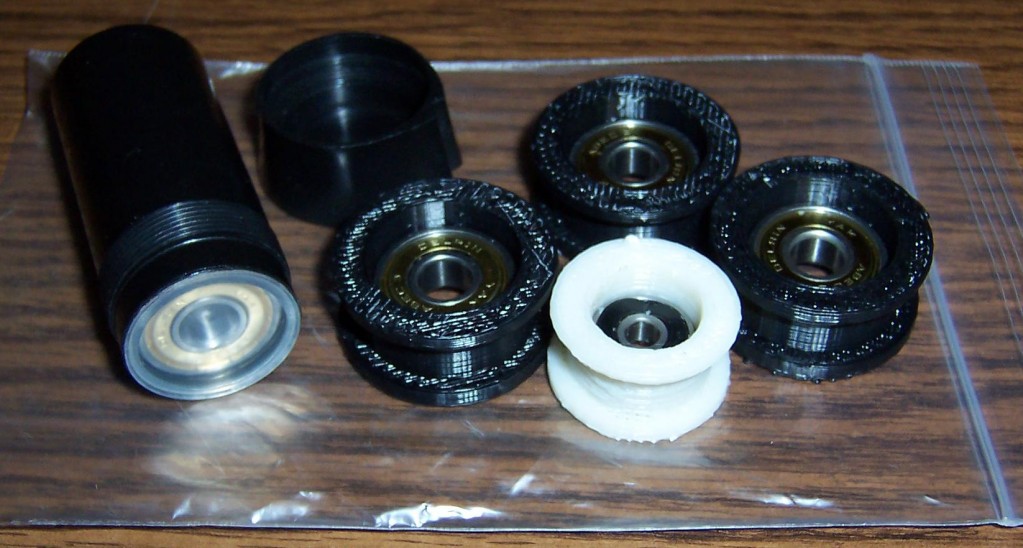
I’ve just take the first step to building my MakerBot!  Admittedly, two of the bearings were already in the printed pulleys, but that’s just not the point.  I’ve taken a material step towards building it!  Huzzah!

Printed pulleys assembled!

Printed pulleys assembled!

Oh, and I don’t think I was supposed to have a pack of 8 extra bearings.

No, no, I’m supposed to have these 8 bearings.  I suppose it would help if I read the directions.  (I’m just so used to grabbing things and tossing them together and expecting them to work.  I guess it’s a little more complicated than that when you’re building a robot, eh?)

Second Law, Schmecond Law

Unfortunately, in the haste to get the MakerBots out the door for the holidays the guys at MakerBot left out opto-endstop kits on some shipments.  These guys have been super responsive even before I bought a kit from them, so I’m not that concerned.  Frankly, it’s a little bit of a relief that I can skip the soldering stuff for now and move on to some of the pulley making steps.

In any case, as I understand it, these are not vital to the proper functioning of the MakerBot and that they’re really just a failsafe if the ‘bot forgets the second law of robotics.