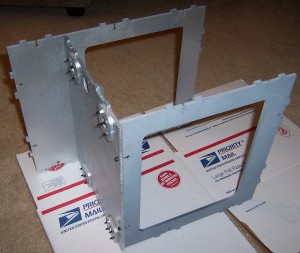
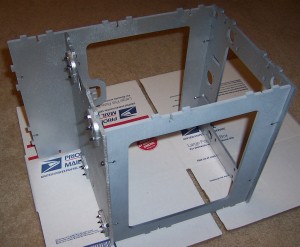
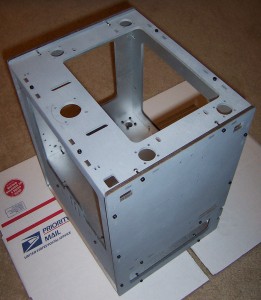
Once the painted parts were dry, I couldn’t resist getting started bolting the thing together. Putting the parts together is pretty fun – it goes quickly and all the parts fit together very well. In fact, it went so quickly that I didn’t get pictures of each step as I was originally planning. Oh well, I guess you’ll just have to build one for yourself. ;)
Behold! A robot being born!
And now…
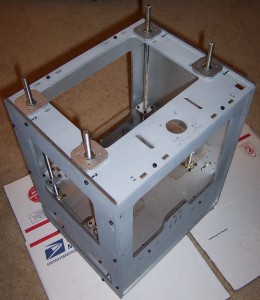
Here the body panels are mostly all put together. You’ll notice I opted to install the Z-axis threaded rods after assembling the body.
The new system is really huge improvement over the prior. Before you had to get all of the Z-axis rods identically assembled and installed. Now I just had to set them up, drop them in, make sure the top of the topmost pulley on each rod was just below the level of the top panel. Any higher and it would have interfered with the smooth rotation of that axis.
The Z-stage is also a huge improvement over prior designs. Since the new brackets are “U” shaped, you can remove the entire stage without having to unbolt the entire assembly. It’s also possible to adjust one or more rods individually by lifting the stage on that side slightly and rotating the hex nut as required.
I feel smarter just having seen these designs in action.


Pingback: On cleverness | MakerBlock